Gardening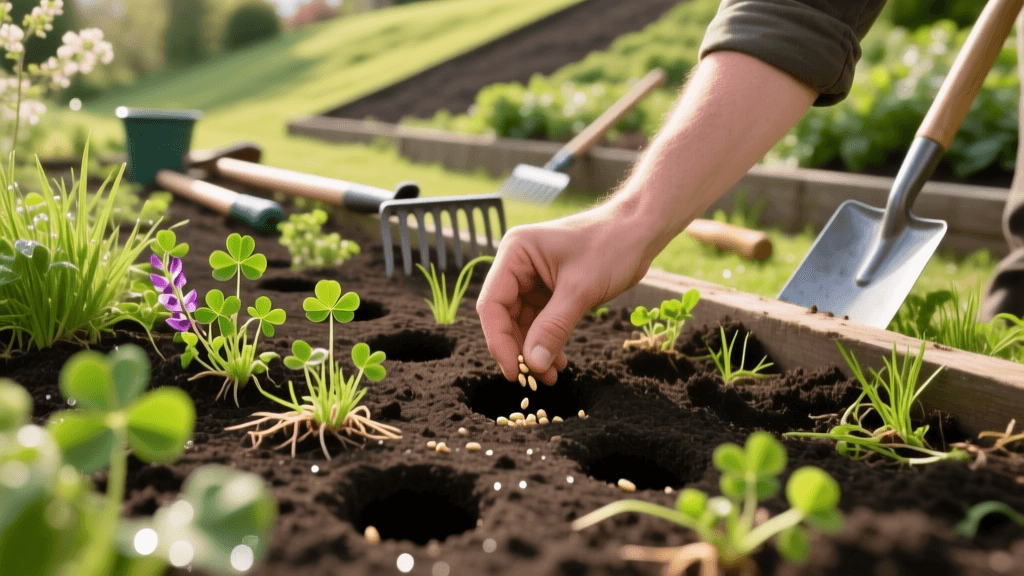
Aerating and Overseeding Cover Crops for Garden Soil
Introduction to Garden Bed Aeration and Overseeding
When most homeowners hear the terms aeration and overseeding, they immediately picture turfgrass management. However, these vital soil preparation techniques are equally transformative when applied to vegetable and flower garden beds. Over time, garden soil becomes compacted due to foot traffic, heavy rainfall, and the repetitive use of rototillers. This compaction chokes plant roots, limits water infiltration, and stifles the beneficial microbial life required for robust harvests. By adapting traditional lawn care practices—specifically core aeration and strategic overseeding with cover crops (often called green manure)—gardeners can dramatically improve soil structure, suppress weeds, and naturally fertilize their beds for the upcoming growing season.
Why Garden Beds Suffer from Compaction
Healthy garden soil should consist of roughly 50% solid matter (minerals and organic material) and 50% pore space (half air, half water). When soil is compacted, the pore space is crushed, creating a dense environment where roots struggle to penetrate and earthworms cannot survive. In traditional gardening, heavy reliance on mechanical tilling often creates a hardpan layer just below the tiller's reach. Furthermore, walking on wet garden beds or harvesting heavy crops like squash and pumpkins compresses the soil profile. According to the Sustainable Agriculture Research and Education (SARE) program, minimizing soil disturbance and introducing deep-rooting plant covers are the most effective ways to reverse this degradation without relying on synthetic chemical amendments.
Aeration Techniques for Vegetable and Flower Beds
Unlike lawns, which can withstand the heavy machinery of commercial core aerators, garden beds require a more nuanced approach to avoid damaging existing root systems, drip irrigation lines, and soil ecology. Here are the primary aeration techniques adapted for garden spaces:
1. Broadforking (Deep Manual Aeration)
The broadfork (or U-bar digger) is the gold standard for aerating established garden beds. Priced between $120 and $180 for a high-quality steel model, this tool features four to six long tines attached to a U-shaped handle. To use it, you step the tines into the soil and pull the handles backward, lifting and cracking the soil profile without turning it over. This method fractures the hardpan layer at depths of 8 to 12 inches while preserving the delicate mycorrhizal fungal networks and soil stratification that rototillers destroy.
2. Manual Core Aeration
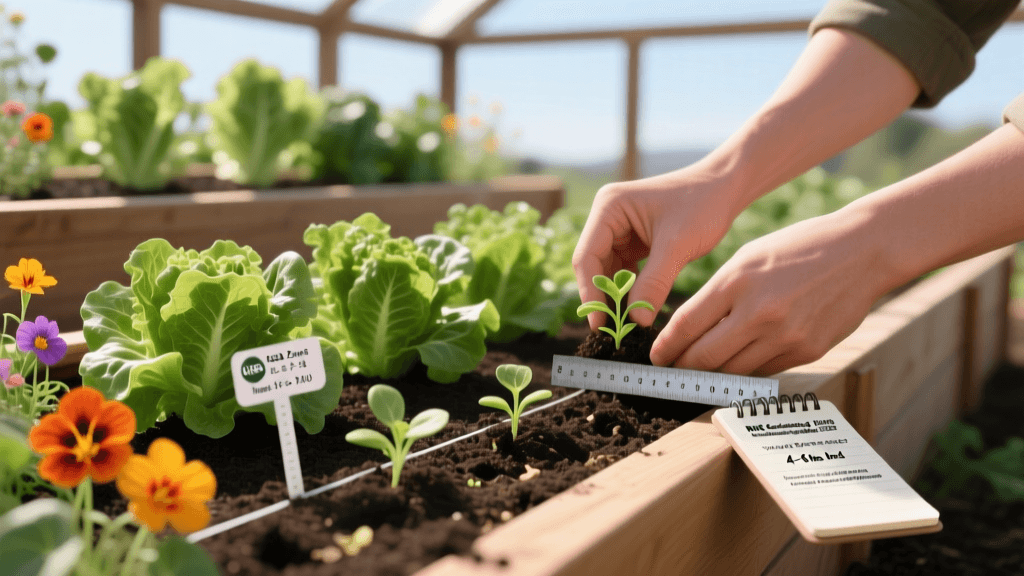
For smaller raised beds or areas with severe clay compaction, a manual step-on core aerator is highly effective. This tool extracts 3-inch to 4-inch plugs of soil, leaving them on the surface to break down naturally. The physical removal of these cores creates immediate channels for oxygen, water, and liquid fertilizers to reach the subsoil. It is highly recommended to perform the screwdriver test before aerating: push a standard screwdriver into the soil. If it cannot penetrate easily, your soil is too dry and needs deep watering 24 hours before aeration. If it sinks too easily and comes out coated in mud, the soil is too wet, and aerating will worsen compaction.
3. Biological Aeration (Biodrilling)
Biological aeration involves planting specific cover crops with aggressive taproots that drill through compacted layers. When these plants die back, the decaying roots leave behind deep, organic-rich channels that act as natural aeration tubes for the next crop's root system.
Overseeding with Cover Crops (Green Manure)
Once the soil is physically aerated, the next step is overseeding. In a gardening context, overseeding means broadcasting cover crop seeds over the freshly aerated soil to establish a protective, soil-building canopy. The aeration holes provide perfect micro-environments for seed-to-soil contact, protecting the seeds from birds and drying winds. The SARE publication Building Soils for Better Crops demonstrates that integrating cover crops into garden rotations can increase subsequent vegetable yields by up to 20% while drastically reducing the need for external nitrogen fertilizers.
Selecting the Right Cover Crop Seed
Choosing the right seed depends on your primary soil goal. Legumes, such as crimson clover and hairy vetch, host rhizobia bacteria that pull nitrogen from the atmosphere and fix it into the soil. Grasses, like winter rye and annual ryegrass, produce massive, fibrous root systems that scavenge leftover nutrients and prevent winter erosion. Brassicas, particularly daikon radishes, are used specifically for their thick taproots that shatter compacted clay.
Pro Tip: When overseeding legume cover crops, ensure the seeds are coated with the proper bacterial inoculant specific to that plant species. This guarantees the nitrogen-fixing nodules will form on the roots once the seeds germinate in your aerated soil.
Cover Crop Comparison Chart
The following table outlines the most popular cover crops used in garden bed overseeding, including their specific seeding rates and aeration benefits.
| Cover Crop Type | Seeding Rate (per 1,000 sq ft) | Primary Aeration / Soil Benefit | Best Planting Window | Spring Termination Method |
|---|---|---|---|---|
| Crimson Clover | 0.5 lbs | Nitrogen fixation; shallow fibrous roots improve topsoil structure. | Late Summer to Early Fall | Mow or weed-whip at flowering. |
| Winter Rye | 2.0 lbs | Nutrient scavenging; dense fibrous roots prevent erosion and build organic matter. | Fall (up to first frost) | Crimp or cut 3 weeks before planting. |
| Daikon Radish | 0.5 lbs | Biodrilling; thick taproots fracture deep hardpan compaction. | Late Summer | Winter-kills in cold zones; decomposes in place. |
| Hairy Vetch | 1.5 lbs | Heavy nitrogen fixation; provides thick weed-suppressing mulch mat. | Early Fall | Chop and drop using a scythe or trimmer. |
Step-by-Step Aeration and Overseeding Guide
To successfully execute this dual technique in your home garden, follow this actionable timeline:
- Clear and Prep (Late Summer/Early Fall): Remove spent summer crops, pull large weeds, and clear surface debris. Do not rototill the bed; leave the existing soil structure intact.
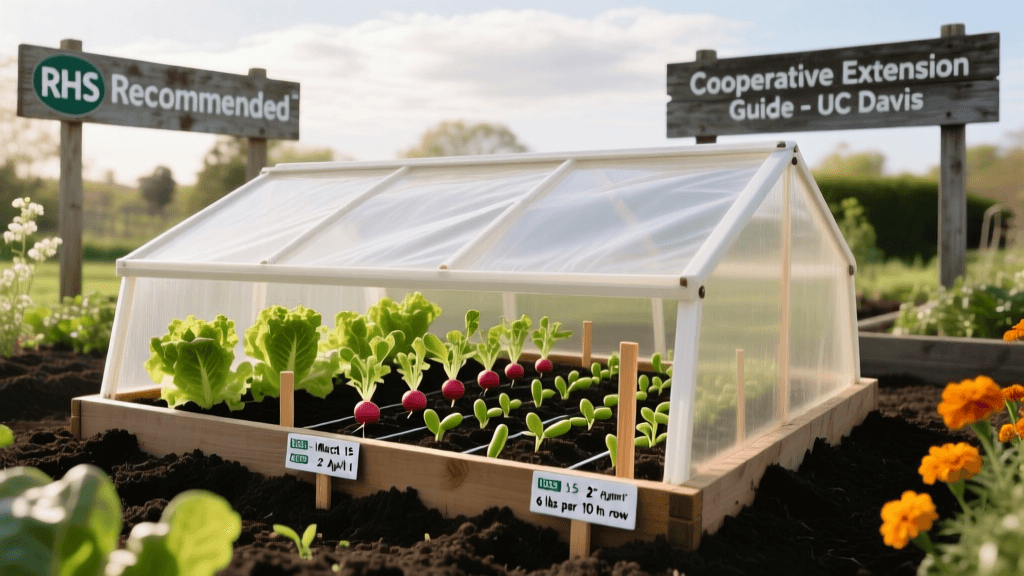
- Test Moisture and Aerate: Water the bed deeply if the soil is dry. Wait 24 hours, then use a broadfork or manual core aerator to fracture the soil. Space your broadfork insertions about 6 to 8 inches apart across the entire bed.
- Broadcast the Seed: Using a handheld broadcast spreader or by hand, evenly distribute your chosen cover crop seed over the aerated bed. The seeds will naturally fall into the aeration holes and cracks, ensuring excellent soil contact.
- Top-Dress and Rake: Apply a very thin layer (about 1/4 inch) of screened compost over the seeds. Gently drag a leaf rake or a piece of chain-link fence over the bed to cover the seeds and press them into the soil.
- Water Consistently: Keep the top inch of soil consistently moist for the first 7 to 10 days until germination is complete. Once established, the cover crop will rely on natural rainfall.
Spring Termination and Soil Integration
The final phase of the aeration and overseeding cycle occurs in the spring, roughly three to four weeks before you plan to transplant your spring vegetables. The cover crop must be terminated before it goes to seed. Furthermore, Penn State Extension recommends cutting the cover crop while it is still succulent to ensure rapid decomposition. Using a string trimmer, scythe, or lawn mower, cut the cover crop down to the soil surface. Leave the plant material exactly where it falls as a nutrient-rich mulch. The extensive root systems left behind in the aerated soil will begin to decompose, feeding earthworms and releasing trapped nutrients directly into the root zone of your new vegetable transplants. By treating your garden beds with the same aeration and overseeding respect typically reserved for premium lawns, you build a resilient, high-yielding soil ecosystem year after year.