Tree Care
How to Plant and Grow Eastern Redbud Trees Successfully
Introduction to the Eastern Redbud
The Eastern Redbud (Cercis canadensis) is a spectacular, deciduous ornamental tree that heralds the arrival of spring with its vibrant, pea-like magenta flowers. For beginner gardeners and homeowners looking to elevate their landscape, this native tree offers a manageable size, breathtaking seasonal color, and relatively straightforward care requirements. Growing naturally across eastern North America, the Redbud thrives in USDA Hardiness Zones 4 through 9. Whether you are planting a focal point in your front yard or adding dappled shade to a backyard patio, this comprehensive beginner-friendly guide will walk you through every step of planting and nurturing your Eastern Redbud tree to maturity.
Choosing the Right Redbud Variety
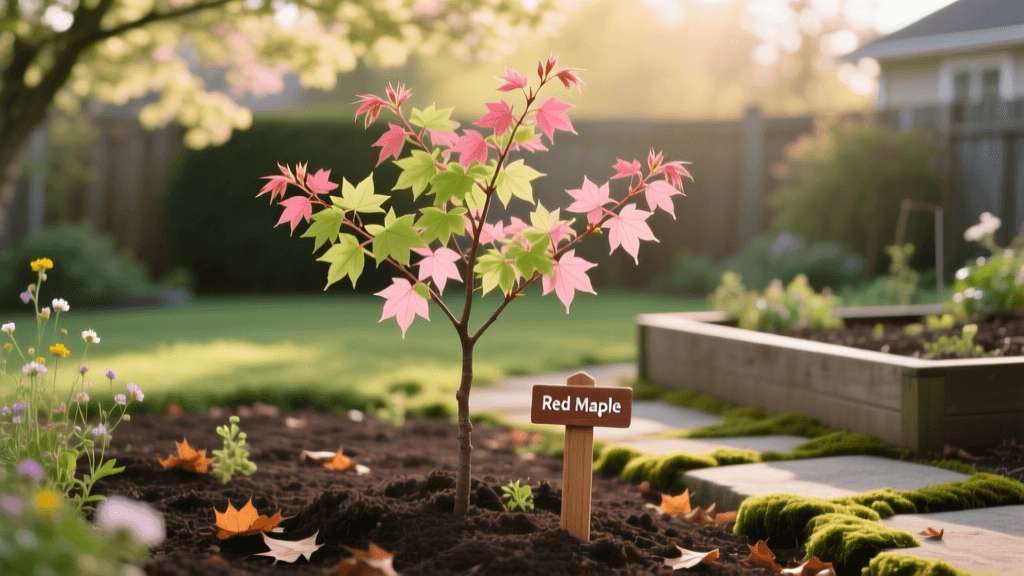
Before you head to the nursery, it is crucial to select a cultivar that fits your specific landscape needs. While the straight species is beautiful, horticulturists have developed several stunning varieties that offer unique leaf colors, weeping habits, and disease resistance. Expect to spend between $50 and $120 for a 5-gallon container tree, or $150 to $300 for a larger balled-and-burlapped (B&B) specimen.
| Variety | Foliage Color | Mature Size | Best Use |
|---|---|---|---|
| Forest Pansy | Deep Purple | 20-30 ft tall | Striking color contrast in sunny borders |
| Appalachian Red | Dark Green | 15-25 ft tall | Vibrant fuchsia blooms, cold hardy |
| Ace of Hearts | Light Green | 10-12 ft tall | Small spaces, patios, and courtyards |
| Ruby Falls | Purple-Red | 6-8 ft tall | Weeping accent tree for tight spaces |
When and Where to Plant
Timing is everything when establishing a new tree. The absolute best time to plant an Eastern Redbud is in the early fall, about six weeks before your first expected hard frost. This allows the root system to establish itself in the cool, moist soil without the stress of supporting summer foliage. Early spring, just after the ground thaws, is your second-best option.
When selecting a planting site, aim for a location that receives full sun to partial shade. In hotter southern climates (Zones 8 and 9), afternoon shade is highly recommended to prevent leaf scorch. Eastern Redbuds prefer well-draining, loamy soil with a slightly acidic to neutral pH ranging from 6.0 to 7.0. If your soil is heavy clay, which often plagues new residential developments, you must improve drainage before planting. You can achieve this by top-dressing the surrounding area with compost over time or planting the tree slightly higher than grade, creating a gentle berm that slopes away from the trunk. Never add sand to clay soil, as this creates a concrete-like texture that suffocates roots. If you are unsure about your soil composition, purchase a mail-in soil testing kit from your local university cooperative extension office (typically around $15) to get precise amendment recommendations.
Step-by-Step Planting Guide
Proper planting technique is the single most important factor in your tree's long-term survival. Follow these actionable steps to ensure your Redbud gets off to a healthy start:
- Step 1: Dig the Right Hole. Dig a hole that is two to three times as wide as the root ball, but no deeper than the root ball itself. The goal is to provide loose soil for horizontal root expansion while keeping the tree at its original growing depth.
- Step 2: Locate the Root Flare. The root flare (the trunk base where it widens into the roots) must be slightly above the surrounding soil grade. Planting too deep is a leading cause of tree death. If the nursery buried the flare, gently brush away the top inch or two of soil before planting.
- Step 3: Position and Backfill. Place the tree in the center of the hole. Backfill with the native soil you just dug out. Avoid adding heavy compost or potting soil directly into the hole, as this can create a 'bathtub effect' that traps water and rots roots.
- Step 4: Water and Settle. Fill the hole halfway with soil, then pour in 5 gallons of water to eliminate air pockets. Once the water drains, finish backfilling and tamp the soil down gently with your hands.
Watering and Mulching for Success
Newly planted Redbuds require consistent moisture to develop a robust root system. During the first growing season, provide approximately 10 to 15 gallons of water per week, either through rainfall or supplemental irrigation. A highly effective, beginner-friendly product is the Treegator slow-release watering bag (costing around $20). Simply zip it around the trunk, fill it with a hose, and it will slowly drip water directly into the root zone over 5 to 7 days, preventing runoff and saving you time.
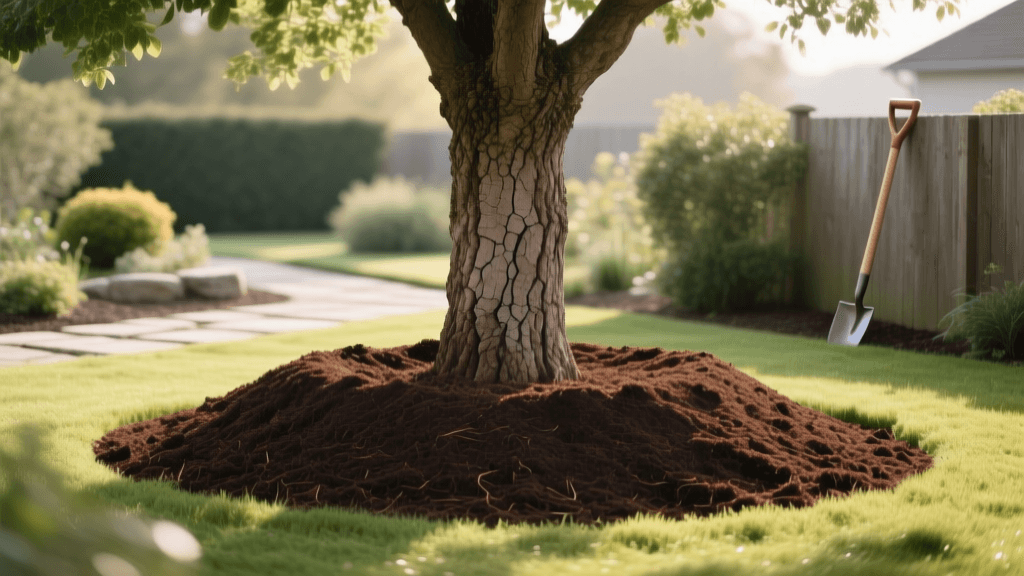
Mulching is equally critical for moisture retention and weed suppression. Apply a 2-to-3-inch layer of organic hardwood mulch in a wide ring around the tree. Crucial Warning: Never pile mulch against the trunk. This practice, known as 'volcano mulching,' traps moisture against the bark, inviting fungal diseases and rodent damage. Always leave a 3-inch mulch-free donut around the base of the trunk.
Fertilizing and Pruning Schedules
Eastern Redbuds are relatively light feeders. For the first year, do not fertilize; the tree needs to focus on root growth rather than top growth. Starting in the second year, apply a balanced, slow-release granular fertilizer in early spring just as the flower buds begin to swell. A product like Espoma Tree-tone (approx. $15 for a 4 lb bag) provides essential organic nutrients and beneficial microbes. Apply according to the package directions based on the trunk diameter, spreading it evenly under the drip line.
Pruning should be minimal but strategic. The ideal time to prune is in late winter or very early spring while the tree is still dormant, but before the sap begins to flow heavily. Your goal is to establish a strong central leader or well-spaced scaffolding branches with wide, U-shaped crotches. Remove any dead, damaged, or crossing branches. Always use sharp, sterilized bypass pruners—wipe the blades with a 10% bleach solution between cuts to prevent the spread of pathogens. Make clean cuts just outside the branch collar to promote rapid healing.
For branches larger than an inch in diameter, always use the three-cut method to prevent the heavy wood from tearing the bark down the trunk. First, make an undercut about a third of the way through the branch, six inches from the trunk. Second, cut completely through the branch a few inches further out from the undercut. Finally, make a precise, clean cut just outside the branch collar to remove the remaining stub.
Identifying and Managing Pests and Diseases
While generally resilient, Eastern Redbuds can fall victim to a few specific issues. The most devastating is Botryosphaeria canker, a fungal disease that causes branches to wilt, die back, and ooze dark sap. According to the Clemson University Cooperative Extension, there is no chemical cure for this canker. Prevention is your best defense: avoid wounding the bark with string trimmers, water deeply during droughts to reduce environmental stress, and promptly prune out infected branches well below the visible canker margins, sterilizing your tools immediately.
Insect pests like leafhoppers and scale can occasionally appear. Leafhoppers cause stippling on the leaves, while scale insects look like small, immobile bumps on the twigs. For minor scale infestations, apply horticultural oil (such as Bonide All Seasons Spray Oil, around $12) during the dormant season in late winter to smother the overwintering pests. By maintaining a healthy, unstressed tree through proper watering and mulching, your Redbud will naturally resist most severe pest pressures.
Final Thoughts on Redbud Care
Growing an Eastern Redbud is a deeply rewarding endeavor for any beginner gardener. By respecting the root flare during planting, utilizing slow-release watering methods, avoiding volcano mulching, and keeping an eye out for canker, you will ensure your tree thrives for decades. Within just a few short years, your Redbud will reward your efforts with a breathtaking canopy of spring blossoms and a graceful, architectural form that anchors your landscape beautifully.