Tree Care
Beginner's Guide to Planting and Growing Apple Trees
Introduction to Home Apple Orcharding
Growing your own apple trees is one of the most rewarding investments you can make in your home landscape. Not only do apple trees provide beautiful spring blossoms and welcome summer shade, but they also yield a delicious, homegrown harvest that tastes vastly superior to store-bought fruit. However, for beginners, the prospect of planting and maintaining a fruit tree can seem intimidating. From understanding rootstocks to managing seasonal pruning, there is a learning curve involved. This comprehensive, beginner-friendly guide will walk you through every step of planting, growing, and caring for apple trees in your backyard, ensuring you set the foundation for decades of fruitful harvests.
Understanding Apple Tree Rootstocks
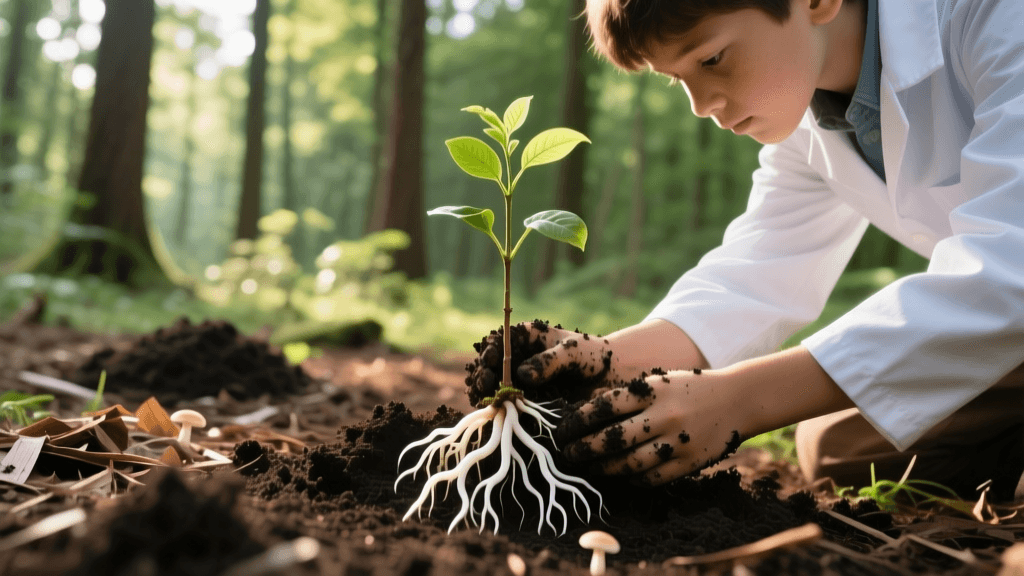
Unlike many plants, apple trees do not grow 'true to seed.' If you plant a seed from a Honeycrisp apple, the resulting tree will not produce Honeycrisp apples. Instead, commercial and home garden apple trees are created through grafting: a piece of the desired fruiting variety (the scion) is attached to a specific root system (the rootstock). The rootstock determines the ultimate size of the tree, its disease resistance, and how quickly it will bear fruit.
According to the University of Minnesota Extension, selecting the right rootstock is just as critical as choosing the apple variety itself, especially for home gardeners with limited space.
| Rootstock Type | Mature Height | Time to First Fruit | Spacing Required | Best For |
|---|---|---|---|---|
| Dwarf | 8-10 feet | 2-3 years | 8-10 feet apart | Small yards, patios, easy harvesting |
| Semi-Dwarf | 12-15 feet | 4-5 years | 15 feet apart | Standard home gardens, good yield balance |
| Standard | 18-25+ feet | 6-10 years | 20-25 feet apart | Large properties, shade, livestock forage |
Choosing the Right Variety
When selecting your apple variety, consider your USDA Hardiness Zone and whether the tree requires a cross-pollinator. Most apple trees are not self-fertile and require a second, different apple variety blooming at the same time nearby to produce fruit. Crabapple trees are excellent, universal pollinators if you lack space for a second full-sized apple tree.
Selecting the Ideal Planting Location
Site selection is paramount for the long-term health of your apple tree. Apple trees require full sun, which means at least 6 to 8 hours of direct, unfiltered sunlight daily. Avoid planting in low-lying areas where cold air settles (frost pockets), as late spring frosts can kill delicate blossoms and ruin your annual crop.
Soil drainage is equally important. Apple trees will not tolerate 'wet feet' or waterlogged soil, which quickly leads to root rot. Before planting, perform a simple percolation test: dig a hole 12 inches deep, fill it with water, and let it drain. Refill it and time how long it takes to drain. If it drains slower than one inch per hour, you will need to amend the soil, plant on a slight berm, or choose a different location.
Step-by-Step Planting Instructions
Whether you purchase a bare-root tree (shipped without soil while dormant) or a container-grown tree from a local nursery, proper planting technique ensures successful establishment.
- Prep the Roots: For bare-root trees, soak the roots in a bucket of water for 12 to 24 hours before planting to rehydrate them. For container trees, gently loosen any circling roots.
- Dig the Hole: The Penn State Extension recommends digging a hole that is twice as wide as the root system but no deeper than the root ball itself. Rough up the smooth sides of the hole to encourage outward root growth.
- Locate the Graft Union: Find the knobby bump near the base of the trunk where the scion was grafted to the rootstock. This union must remain at least 2 to 3 inches above the final soil line. If buried, the scion will develop its own roots, defeating the dwarfing effect of the rootstock.
- Backfill with Native Soil: Place the tree in the hole and backfill with the native soil you dug out. Avoid adding heavy compost or fertilizer directly into the planting hole, as this can create a 'bathtub effect' where water pools, and it discourages roots from expanding into the surrounding native soil.
- Water Deeply: Water the tree thoroughly as you backfill to eliminate air pockets. Create a small soil berm around the outer edge of the planting hole to help retain water.
First-Year Care: Watering, Mulching, and Fertilizing
The first year is all about root establishment. Your primary goal is to keep the tree alive and growing, not necessarily producing fruit.
- Watering: Newly planted apple trees need about 1 inch of water per week. During hot, dry summer spells, provide a deep, slow soaking using a drip hose. Shallow, frequent watering encourages weak surface roots.
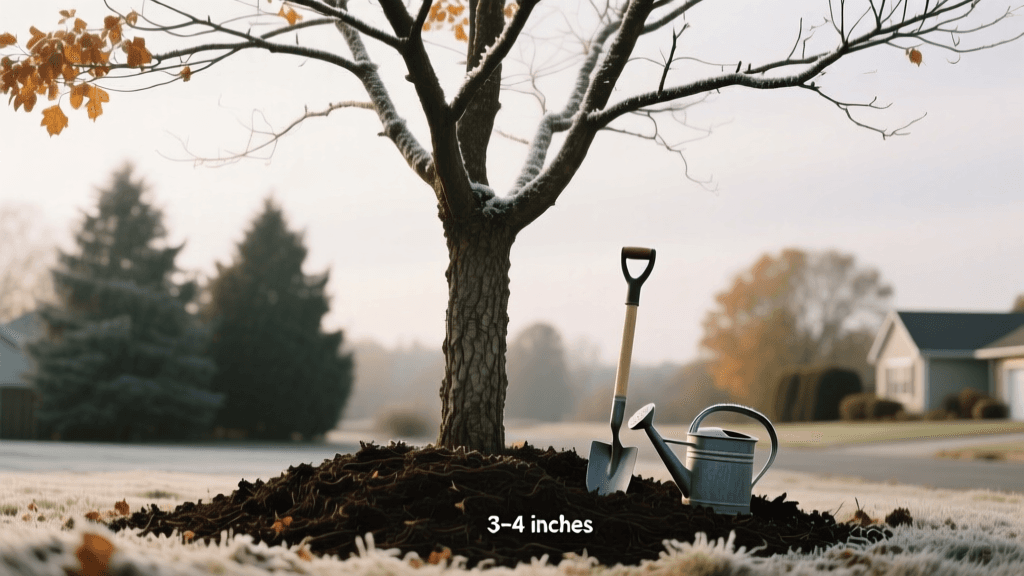
- Mulching: Apply a 2 to 4-inch layer of organic mulch (like wood chips or shredded bark) in a 3-foot radius around the tree. Crucially, keep the mulch at least 3 inches away from the trunk itself. The Arbor Day Foundation strictly advises against 'volcano mulching,' which traps moisture against the bark and invites rot and rodent damage.
- Fertilizing: Do not fertilize your tree at the time of planting. Wait until the following spring. Once established, a balanced 10-10-10 fertilizer can be applied in early spring, but only if a soil test indicates a nutrient deficiency. Over-fertilizing promotes excessive leafy growth at the expense of fruit production and increases susceptibility to fire blight.
Pro-Tip for Beginners: If your young tree attempts to produce fruit in its first or second year, pinch off the small, marble-sized apples. Allowing a young tree to bear fruit drains energy away from vital root and branch development, stunting its long-term growth.
Pruning and Training for Beginners
Pruning is essential for creating a strong structure that can support the heavy weight of future apple crops and allowing sunlight to penetrate the canopy for fruit ripening. For home growers, the 'Central Leader' system is the most straightforward and effective training method.
In a central leader system, the tree is trained to have one main vertical trunk (the leader) with horizontal branches spaced evenly around it, resembling a Christmas tree shape. Pruning should be done during the dormant season in late winter, just before the buds begin to swell. Always use sharp, sterilized bypass pruners (wiped with a 10% bleach solution between cuts) to prevent the spread of disease.
The Three D's of Pruning
If you are overwhelmed by pruning, start with the Three D's: remove any wood that is Dead, Damaged, or Diseased. Next, remove any branches that cross and rub against one another, or branches that grow inward toward the center of the canopy. Finally, use clothespins or small weights to gently bend new, upward-growing branches down to a 45-degree angle; horizontal branches produce fruit, while vertical branches produce only leaves.
Managing Common Pests and Diseases
Apple trees are susceptible to a variety of pests and fungal diseases, but proactive management can keep your tree healthy without heavy reliance on harsh chemicals.
- Dormant Oil Spray: In late winter, apply a horticultural dormant oil spray to the trunk and branches. This organic treatment suffocates overwintering insect eggs, such as scale and aphids, before they hatch in spring.
- Apple Scab and Cedar Apple Rust: These fungal diseases cause olive-green or orange spots on leaves and fruit, leading to premature leaf drop. Planting disease-resistant varieties (like Liberty, Freedom, or Enterprise) is the best defense. If you have susceptible varieties, practice rigorous sanitation by raking up and destroying all fallen leaves in the autumn.
- Codling Moth: The culprit behind 'wormy' apples. You can manage codling moths organically by hanging pheromone traps in the canopy in early spring to disrupt mating, or by bagging individual developing apples in specialized fruit protection bags shortly after petal fall.
Harvesting Your Apples
Knowing exactly when to pick your apples comes with experience, but there are reliable visual and tactile cues. Background color is the best indicator; the base color of the apple skin (excluding the red blush) should transition from bright green to a creamy yellow. Furthermore, a ripe apple will detach easily from the spur when you lift it gently and give it a slight twist. If you have to yank hard, it needs more time on the tree.
Once harvested, store your apples in a cool, humid environment, such as the crisper drawer of your refrigerator. With proper care, site selection, and a bit of patience, your beginner apple tree will transition from a fragile sapling into a beloved, fruit-bearing centerpiece of your garden for decades to come.