Lawn Care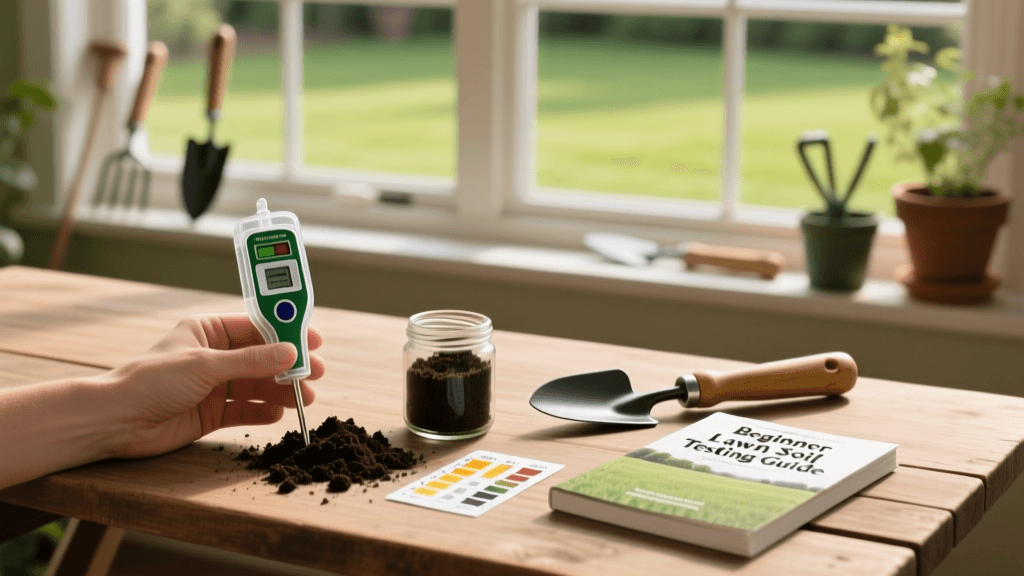
The Beginner Guide To Lawn Soil Testing And Ph Balance
The Foundation of a Thriving Lawn
Every beginner dreams of a lush, carpet-like lawn that is the envy of the neighborhood. However, many new homeowners make the critical mistake of focusing solely on what happens above ground—mowing, watering, and seeding—while completely ignoring the environment below ground. The secret to a resilient, vibrant lawn is not an expensive brand of grass seed or a weekly application of chemicals; it is the health, structure, and chemical balance of your soil.
Think of your soil as the stomach of your lawn. If the soil's pH is off-balance or if it lacks essential nutrients, your grass cannot properly digest the fertilizers and water you provide. This phenomenon, known as 'nutrient lockout,' means you could be wasting hundreds of dollars on lawn care products that your grass simply cannot absorb. In this beginner-friendly growing guide, we will walk you through the exact steps to test your soil, interpret the results, and amend your lawn's foundation for long-term success.
Why Soil Testing is Non-Negotiable
Before you purchase a single bag of fertilizer or weed killer, you must understand your soil's baseline. According to the University of Massachusetts (UMass) Extension Turf Program, applying fertilizer without a soil test is not only economically wasteful but can also lead to environmental pollution through nutrient runoff into local waterways. A professional soil test provides a precise chemical analysis of your yard, revealing the exact pH level, organic matter content, and macro-nutrient profile.
Most turfgrasses, including Kentucky Bluegrass, Fescue, and Bermuda, thrive in slightly acidic soil with a pH between 6.0 and 7.0. When the pH drops below 6.0 (becoming more acidic), essential nutrients like phosphorus and potassium become chemically bound to soil particles and unavailable to grass roots. Conversely, if the pH rises above 7.5 (alkaline), micronutrients like iron and manganese become locked out, leading to severe chlorosis, or yellowing of the grass blades.
Step-by-Step: How to Collect a Soil Sample
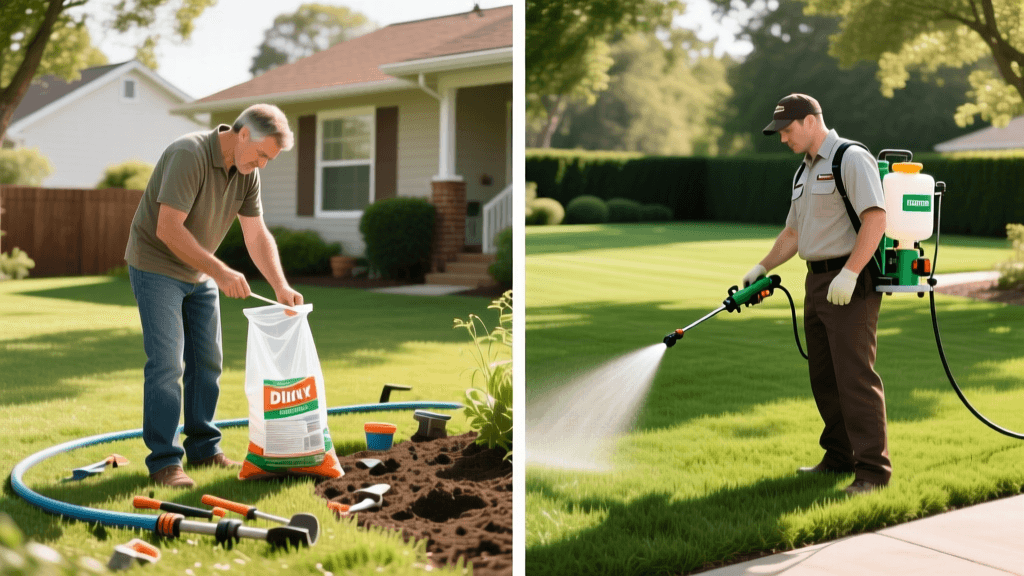
You do not need a degree in agronomy to collect a proper soil sample. While you can purchase at-home test kits like the Luster Leaf Rapitest (costing around $15 to $20) from your local garden center, beginners are highly encouraged to send their samples to a university extension office or a private lab for a comprehensive analysis. This usually costs between $20 and $35 and provides tailored, science-backed recommendations.
Tools You Will Need:
- A clean garden trowel or a dedicated soil probe
- A clean plastic bucket (never use a galvanized metal bucket, as it can skew zinc and iron readings)
- A plastic zip-top bag or the specific mailing container provided by your testing lab
The Collection Process:
- Map Your Yard: Divide your lawn into distinct zones (e.g., front yard, backyard, shaded areas). Test each zone separately, as soil composition can vary drastically across a single property.
- Clear the Surface: Gently brush away any surface debris, thatch, or mulch without digging into the soil.
- Dig to the Root Zone: For established lawns, insert your trowel to a depth of 3 to 4 inches. This is the active root zone where your grass absorbs the majority of its nutrients.
- Use the Zig-Zag Method: Walk in a zig-zag pattern across the zone and collect 8 to 10 subsamples. This ensures a representative composite sample rather than an isolated anomaly.
- Mix and Package: Place all subsamples into your plastic bucket, break up any large clods, and mix them thoroughly. Scoop about two cups of the mixed soil into your mailing bag, label it clearly, and send it to the lab.
Understanding Your Soil Test Results
When your results arrive, they can look like a confusing spreadsheet of numbers and chemical symbols. As a beginner, you only need to focus on three primary metrics: Soil pH, Phosphorus (P), and Potassium (K).
Your lab report will likely include a 'Buffer pH' alongside your standard water pH. While water pH tells you the current acidity of your soil, the Buffer pH tells you how resistant your soil is to change (its buffering capacity). Clay-heavy soils have a high buffering capacity and require significantly more lime to alter their pH compared to sandy soils. Always follow the lab's specific tonnage recommendations based on the Buffer pH, rather than guessing based on the standard pH alone.
How to Adjust Soil pH: A Beginner's Amendment Chart
If your soil test reveals that your pH is outside the optimal 6.0 to 7.0 range, you will need to apply soil amendments. It is crucial to note that adjusting soil pH is not an overnight process. It can take anywhere from 3 to 6 months for lime or sulfur to fully react with the soil profile. Below is a structured guide to common amendments, application rates, and estimated costs.
| Amendment Product | Target Action | Application Rate (per 1,000 sq ft) | Estimated Cost | Best Time to Apply |
|---|---|---|---|---|
| Pelletized Calcitic Lime | Raises pH (Reduces Acidity) | 25 - 50 lbs (to raise pH by 0.5) | $15 - $25 per 40lb bag | Early Fall or Early Spring |
| Wood Ash (Hardwood) | Raises pH (Fast-Acting) | 10 - 15 lbs (Max limit per year) | Free (if sourced from fireplace) | Late Fall (Avoid on alkaline soils) |
| Elemental Sulfur | Lowers pH (Increases Acidity) | 5 - 10 lbs (to lower pH by 0.5) | $20 - $30 per 4lb bag | Spring or Fall (Requires soil bacteria) |
| Iron Sulfate | Lowers pH & Greens Up Lawn | 10 - 15 lbs (Faster than elemental) | $25 - $40 per 10lb bag | Spring or Early Summer |
Pro Tip for Application: Always use a rotary broadcast spreader to apply lime or sulfur evenly. To prevent burning your grass and to help the amendment work its way into the soil profile, lightly water your lawn immediately after application to wash the granules off the grass blades and into the thatch layer.
Decoding the N-P-K Fertilizer Ratio
Once your pH is balanced, your lawn is ready to absorb macronutrients. Every bag of lawn fertilizer displays a three-number ratio on the front, known as the N-P-K ratio. This represents the percentage by weight of Nitrogen (N), Phosphorus (P), and Potassium (K).
- Nitrogen (N): The engine of growth. Nitrogen is responsible for the lush, green color and rapid blade development. Most established lawns require 2 to 4 pounds of actual nitrogen per 1,000 square feet annually, split across multiple applications.
- Phosphorus (P): The root builder. Phosphorus is critical for seed germination and establishing deep root systems. Many states now ban phosphorus in routine lawn fertilizers to protect waterways, allowing it only in 'Starter Fertilizers' used when overseeding or laying new sod.
- Potassium (K): The stress defender. Potassium acts as the lawn's immune system, helping grass withstand drought, heavy foot traffic, and extreme winter cold. 'Winterizer' fertilizers typically feature a high potassium ratio.
Common Beginner Mistakes to Avoid
Even with the best intentions, beginners often stumble when managing lawn soil. Avoid these common pitfalls to save time, money, and frustration:
- Guessing the pH: Never apply lime just because your neighbor did. If your soil is already alkaline, adding lime will cause severe iron chlorosis and stunt growth.
- Over-Fertilizing: Applying more nitrogen than your grass can process leads to rapid, weak growth that is highly susceptible to fungal diseases like Brown Patch and Dollar Spot.
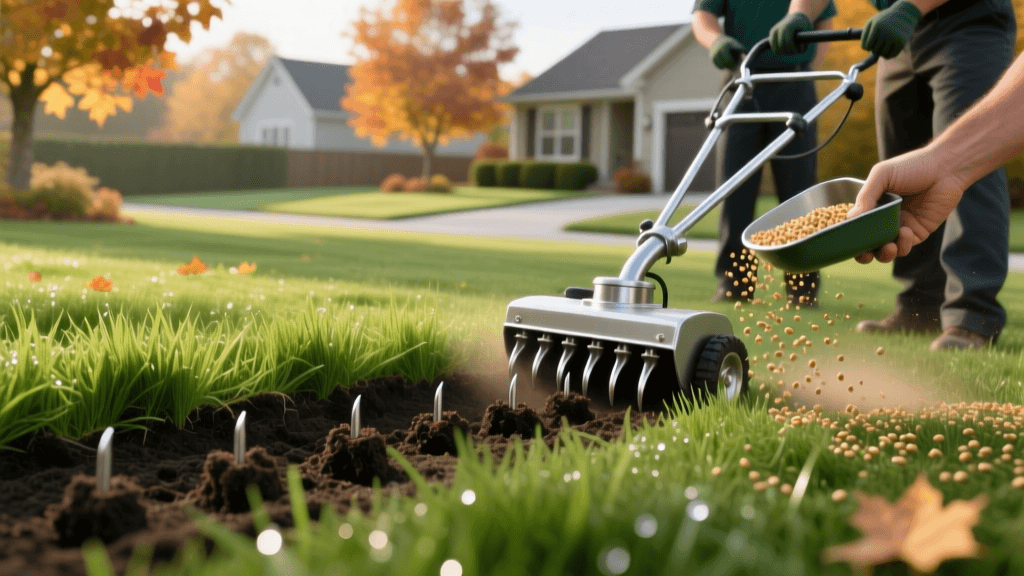
- Ignoring Compaction: If your soil is heavily compacted, water and amendments cannot penetrate the surface. Always pair your soil amendment strategy with core aeration, especially in high-traffic areas.
- Testing at the Wrong Time: Avoid testing soil immediately after applying fertilizer or lime. Wait at least 6 to 8 weeks after an application to get an accurate baseline reading.
Your Seasonal Soil Care Calendar
To maintain perfect soil health, integrate these simple tasks into your annual lawn care routine:
- Early Spring: Test soil if it has been over two years. Apply sulfur or lime based on lab results. Use a high-nitrogen fertilizer to wake up the grass.
- Late Summer: Prepare for fall overseeding. Core aerate the lawn to relieve compaction and improve soil-to-seed contact.
- Early Fall: The absolute best time to apply pelletized lime, as the winter freeze-thaw cycles will naturally incorporate it into the soil. Apply a balanced fertilizer to rebuild root reserves.
- Late Fall: Apply a potassium-rich winterizer fertilizer to protect the grass crowns from freezing temperatures.
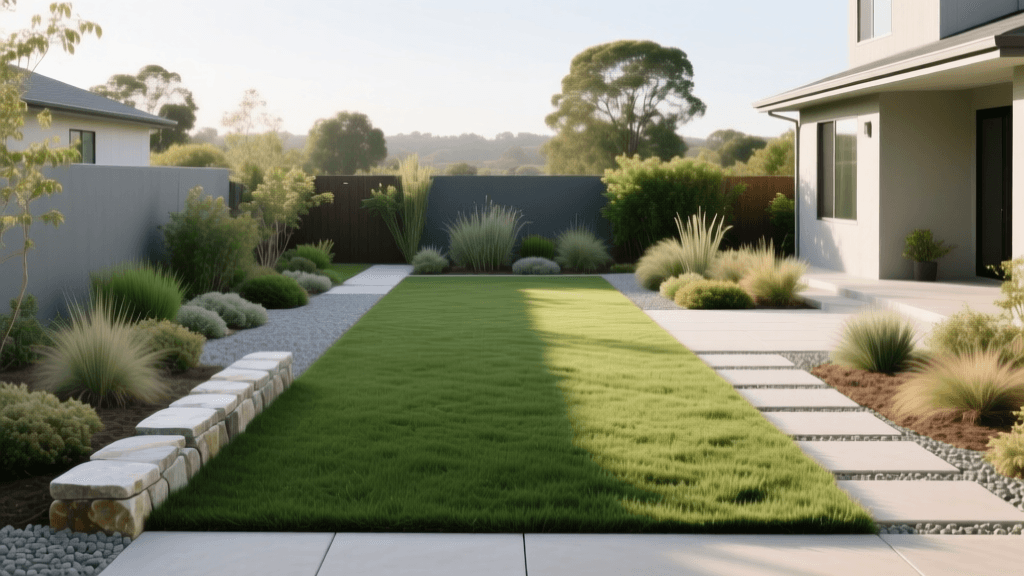
By treating your soil as a living ecosystem rather than just 'dirt,' you set the stage for a lawn that naturally resists weeds, survives droughts, and stays vibrantly green year after year. Grab a trowel, get your hands dirty, and let the science of soil guide your lawn care journey.