
Landscaping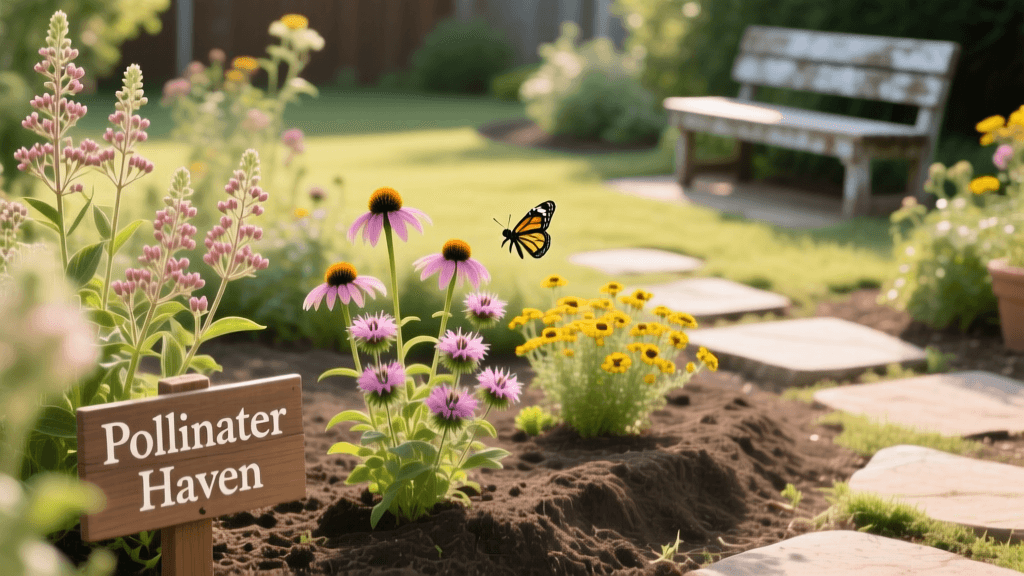
Beginner Guide To Growing A Native Pollinator Garden
Why Choose a Native Pollinator Garden?
Landscaping is about much more than just achieving a pristine, manicured lawn. Today, sustainable landscaping and garden bed planning are shifting toward ecological responsibility, and there is no better way for a beginner to start than by growing a native pollinator garden. Native plants are species that have evolved naturally in your specific region over thousands of years. Because they are adapted to your local climate, rainfall patterns, and soil types, they require significantly less water, zero synthetic fertilizers, and minimal pest control once established.
Beyond the practical benefits of low-maintenance landscaping, native pollinator gardens provide critical habitat for declining bee, butterfly, and bird populations. By replacing a patch of turfgrass with a vibrant, blooming garden bed, you improve your curb appeal, reduce your weekend chore list, and contribute to local biodiversity. For beginners, this approach removes the guesswork from gardening, as the plants are inherently designed to thrive in your backyard.
Planning Your Garden Bed: Measurements and Sunlight
Before purchasing any plants or soil amendments, you need a solid landscape design plan. Start by observing your yard to find a location that receives full sun, which is defined as at least six to eight hours of direct sunlight per day. Most native pollinator favorites, like coneflowers and milkweed, require abundant sunlight to produce the nectar-rich blooms that attract wildlife.
For a beginner-friendly project, avoid overwhelming yourself with a massive yard overhaul. Instead, start with a manageable 50-square-foot garden bed, such as a 5-foot by 10-foot curved border along a walkway or fence. To visualize the shape, use a garden hose to outline the bed. Once you are happy with the curve, mark the edges with landscaping spray paint.
Site Preparation Timing: The best time to prepare a new in-ground garden bed is in the early fall or early spring. To remove existing grass without harsh chemical herbicides, use the smothering method. Lay down overlapping sheets of plain brown cardboard over the grass, wet it thoroughly, and cover it with 3 to 4 inches of organic mulch or topsoil. Over 6 to 8 weeks, the grass will die and decompose, leaving you with a nutrient-rich, weed-free planting area.
Soil Preparation and Amendments
One of the most common mistakes beginners make is over-amending native garden beds. Unlike traditional vegetable gardens or exotic ornamental beds that crave rich, heavily fertilized soil, most native pollinator plants actually prefer lean, well-draining soil. Over-fertilizing can lead to excessive, floppy foliage growth at the expense of flower production.
Actionable Soil Steps:
- Test Your Soil: Purchase a mail-in soil test kit from your local university extension office (typically $15 to $25). This will tell you your soil pH and baseline nutrient levels.
- Add Organic Matter: If your soil is heavy clay, mix in 1 to 2 inches of organic compost across the top 6 inches of the bed to improve drainage. Avoid using heavy peat moss, which can retain too much moisture.
- Use a Gentle Starter Fertilizer: When planting, use an organic, microbe-rich fertilizer like Espoma Organic Bio-tone Starter Plus (approx. $12 for a 4lb bag). This promotes strong root establishment without burning the plants or causing unnatural growth spurts.
Top 5 Beginner-Friendly Native Pollinator Plants
Selecting the right plants is the cornerstone of a successful landscape design. The following five plants are widely available at local nurseries, highly drought-tolerant once established, and act as magnets for local pollinators. Note: Always ensure you are buying the straight native species or a naturally occurring cultivar, avoiding highly modified doubles that produce no nectar.
| Common Name | Botanical Name | Mature Height | Bloom Time | Sun Needs | Approx. Cost (1-Gallon) |
|---|---|---|---|---|---|
| Purple Coneflower | Echinacea purpurea | 2 to 4 feet | Mid-Summer to Fall | Full Sun | $8 - $12 |
| Black-Eyed Susan | Rudbeckia hirta | 2 to 3 feet | Summer to Early Fall | Full Sun | $6 - $10 |
| Butterfly Weed | Asclepias tuberosa | 1 to 2 feet | Early to Mid-Summer | Full Sun | $10 - $15 |
| New England Aster | Symphyotrichum novae-angliae | 3 to 5 feet | Late Summer to Fall | Full Sun | $9 - $13 |
| Bee Balm | Monarda fistulosa | 2 to 4 feet | Mid to Late Summer | Full to Part Sun | $8 - $12 |
Plant Spotlight Details
Purple Coneflower (Echinacea purpurea): A landscaping staple, this plant features daisy-like flowers with a prominent, spiky orange-brown center. It is incredibly tough, ignores deer, and its seed heads provide vital winter food for goldfinches.
Butterfly Weed (Asclepias tuberosa): This is a must-have for Monarch butterfly conservation, as it serves as a primary host plant for Monarch caterpillars. It produces brilliant clusters of orange flowers and thrives in poor, dry soils where other plants fail.
New England Aster: When most of your garden is going dormant in late autumn, the Aster bursts into vivid purple-pink blooms, providing a critical late-season nectar source for migrating butterflies and preparing bees for winter.
Planting and Spacing Guidelines
Proper planting technique ensures your new landscape investment survives its crucial first year. Plan your planting day for a cool, overcast morning in either early spring (after the last frost) or early fall (at least 6 weeks before the first hard freeze).
- Map the Spacing: Place your potted plants on the soil surface before digging. Space most native perennials 18 to 24 inches apart. This allows for mature growth and ensures good air circulation, which prevents fungal diseases like powdery mildew.
- Dig the Holes: Dig a hole that is twice as wide as the nursery pot, but no deeper. The crown of the plant (where the stems meet the roots) should sit exactly level with the surrounding soil grade.
- Plant and Water: Gently loosen the root ball, place the plant in the hole, and backfill with native soil. Water each plant immediately with 1 to 2 gallons of water to settle the soil and eliminate air pockets.
- Apply Mulch: Spread a 2-inch layer of shredded hardwood bark or leaf mold around the plants to retain moisture and suppress weeds. Keep the mulch at least 2 inches away from the base of the plant stems to prevent crown rot.
Seasonal Maintenance and Watering
The golden rule of native landscaping is that the maintenance is front-loaded. The first year is all about root establishment, while the following years are largely hands-off.
Year One Watering: During the first growing season, your plants need about 1 inch of water per week. Use a rain gauge to track natural precipitation, and supplement with a deep, slow soaking from a garden hose during dry spells. Avoid frequent, shallow sprinkling, which encourages weak surface roots.
Year Two and Beyond: Once the deep taproots are established, your native pollinator garden will be highly drought-tolerant. You will only need to water during extreme, prolonged summer droughts. Weeding will also drop dramatically as the native plants form a dense canopy that shades out opportunistic weeds.
Expert Insights: Rethinking Fall Cleanup
One of the most vital landscaping practices for a pollinator garden goes against traditional gardening norms: do not clean up your garden bed in the fall. Authoritative sources strongly advise leaving plant stems and seed heads intact throughout the winter.
'Many native bee species overwinter in the hollow stems of dead perennial plants. Additionally, leaving seed heads from plants like Echinacea and Rudbeckia provides an essential food source for overwintering birds. We recommend waiting until late spring, when temperatures consistently reach 50°F, to cut back dead stems to make way for new growth.' - Penn State Extension, Master Gardener Pollinator Pathway Guidelines
By embracing a slightly wilder, more natural aesthetic during the winter months, you transform your landscape from a simple visual feature into a year-round ecological sanctuary. Growing a native pollinator garden is a highly rewarding journey that blends beautiful curb appeal with sustainable, beginner-friendly landscaping practices.

