
Landscaping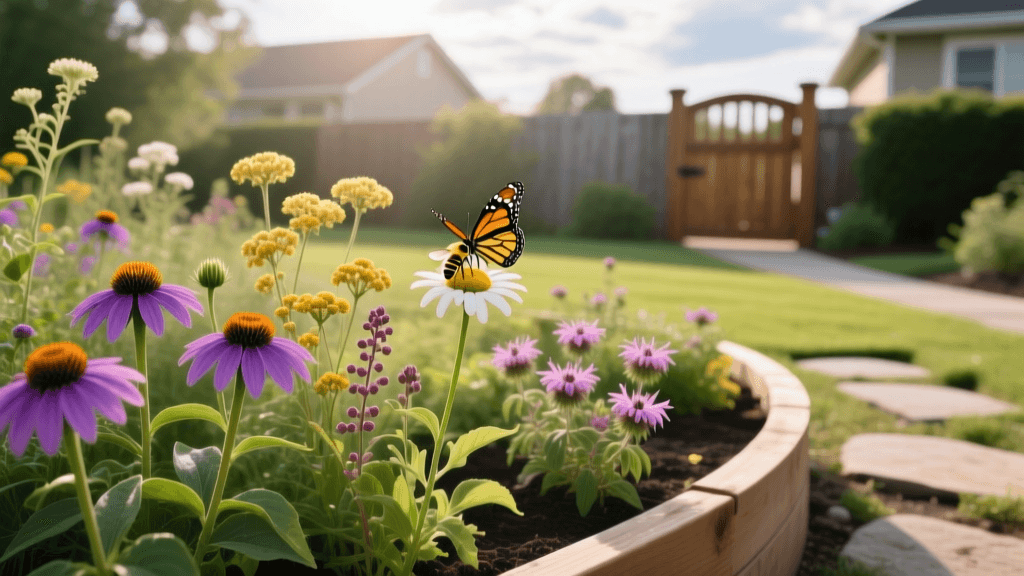
A Beginner's Guide to Planting a Pollinator Garden Bed
Why Incorporate a Pollinator Garden Bed into Your Landscape?
Landscaping is about much more than just laying fresh sod, trimming hedges, or installing a stone patio. One of the most rewarding and ecologically beneficial projects you can undertake as a homeowner is designing and planting a pollinator garden bed. Not only does a dedicated pollinator border dramatically boost your curb appeal with vibrant, seasonal colors, but it also supports local ecosystems by providing essential nectar and habitat for bees, butterflies, and hummingbirds.
For beginners, the idea of planning a garden bed from scratch can feel overwhelming. However, by focusing on native, low-maintenance perennials and following a structured landscaping approach, you can create a thriving outdoor space with minimal ongoing effort. This beginner-friendly growing guide will walk you through the exact steps to plan, prepare, plant, and maintain a stunning 4x8 foot pollinator garden bed, complete with specific product recommendations, cost estimates, and expert insights.
Step 1: Planning the Layout and Hardscape Edging
Before you purchase a single plant or bag of soil, you need to define the physical footprint of your garden bed. For beginners, a 4-foot by 8-foot rectangular or slightly curved bed is the ideal starting size. It is large enough to make a visual impact in your landscape but small enough to manage without feeling overwhelmed.
Choosing the Right Location
Pollinator plants thrive in bright conditions. Select a spot in your yard that receives at least six to eight hours of direct sunlight daily. Avoid low-lying areas where water tends to pool after heavy rain, as most native pollinator plants prefer well-draining soil and will suffer from root rot in soggy conditions.
Installing Hardscape Edging
To give your new garden bed a clean, professional look and prevent invasive turfgrass from creeping into your planting zone, install hardscape edging. We recommend using a heavy-duty steel or aluminum landscape edging, such as the Dimex EasyFlex Steel Edging. It is durable, rust-resistant, and easy to bend into gentle curves.
- Measurements: You will need approximately 24 linear feet of edging for a 4x8 foot bed.
- Installation: Dig a narrow trench about 4 inches deep along your marked perimeter. Hammer the edging into the ground using a rubber mallet, leaving about 1 inch of the edging exposed above the soil line to act as a mulch barrier.
- Estimated Cost: $40 to $60 for a quality steel edging kit.
Step 2: Soil Preparation and Amendment
The foundation of any successful landscape planting is its soil. While native plants are famously adaptable, giving them a strong start in amended soil will ensure vigorous root growth and abundant blooms in their first year.
Clearing and Tilling
Begin by removing all existing grass and weeds within your edged perimeter. You can do this manually with a flat-edged spade or by using a technique called solarization (covering the grass with clear plastic for 4-6 weeks to kill it with heat). Once cleared, use a garden fork or a small front-tine tiller to loosen the top 8 to 10 inches of soil.
Amending the Soil
According to the University of Minnesota Extension, most native perennials prefer a slightly acidic to neutral soil pH (between 6.0 and 7.0). Purchase a basic soil test kit from your local garden center to check your baseline. To improve soil structure and drainage, mix in a 2-inch layer of high-quality organic compost. A great product for this is Miracle-Gro Nature's Care Organic Garden Soil or bulk local compost. Additionally, incorporate a slow-release organic fertilizer like Espoma Plant-tone at a rate of 4 cups per 10 square feet to provide essential nutrients without burning delicate new roots.
- Estimated Cost: $30 to $50 for compost and organic amendments.
Step 3: Selecting Beginner-Friendly Pollinator Plants
Choosing the right plants is critical for a low-maintenance landscape. Native perennials are the best choice because they are adapted to your local climate, require less supplemental watering once established, and are the preferred food source for local pollinators. When designing your bed, aim for a succession of blooms so that something is always flowering from early spring through late fall.
Below is a curated list of five foolproof, beginner-friendly pollinator plants that provide excellent structure and color:
| Common Name | Botanical Name | Sunlight Needs | Bloom Time | Mature Height |
|---|---|---|---|---|
| Purple Coneflower | Echinacea purpurea | Full Sun | Mid-Summer to Fall | 2 to 4 feet |
| Black-Eyed Susan | Rudbeckia hirta | Full Sun | Summer | 2 to 3 feet |
| Butterfly Weed | Asclepias tuberosa | Full Sun | Early to Mid-Summer | 1 to 2 feet |
| Wild Bergamot (Bee Balm) | Monarda fistulosa | Full to Part Sun | Mid-Summer | 2 to 4 feet |
| New England Aster | Symphyotrichum novae-angliae | Full Sun | Late Summer to Fall | 3 to 5 feet |
Pro Landscaping Tip: Arrange your plants in odd-numbered groupings (clusters of 3 or 5) rather than straight rows. Place the taller plants, like the New England Aster and Purple Coneflower, toward the back or center of the bed, and the shorter Butterfly Weed toward the front edges. This creates a natural, layered aesthetic that mimics wild meadows.
Step 4: Planting, Mulching, and Watering Techniques
The best time to plant your pollinator garden bed is in the early spring (after the last frost date) or early fall (at least 6 weeks before the first frost). Planting during these cooler windows reduces transplant shock and allows roots to establish before the stress of peak summer heat.
Planting the Plugs and Potted Plants
For a budget-friendly start, purchase perennial "plugs" (small, deep-rooted starter plants) or 1-gallon nursery pots. Expect to spend between $50 and $150 on starter plants for a 4x8 bed.
- Dig a hole that is twice as wide as the plant's root ball but no deeper than the root ball itself.
- Gently tease out any circling roots at the bottom of the pot to encourage outward growth.
- Place the plant in the hole so the top of the root ball is level with the surrounding soil surface.
- Backfill with the native soil you removed, gently tamping it down with your hands to eliminate large air pockets.
- Water each plant deeply immediately after planting to settle the soil.
Applying Mulch
Mulch is essential for retaining soil moisture, suppressing weeds, and regulating soil temperature. Spread a 2 to 3-inch layer of natural wood mulch, such as untreated cedar or hardwood bark, over the bare soil. Keep the mulch at least 2 inches away from the base (crown) of each plant to prevent stem rot. A standard 2-cubic-foot bag of cedar mulch covers about 12 square feet at a 2-inch depth, so you will need roughly 5 to 6 bags for your bed (Estimated cost: $25 to $35).
Step 5: Seasonal Maintenance for Long-Term Success
One of the greatest advantages of a native pollinator garden is its low maintenance requirements. However, a few seasonal tasks will keep your landscape looking intentional and healthy.
Watering and Fertilizing
During the first growing season, your plants will need about 1 inch of water per week to establish deep root systems. Use a soaker hose or a watering wand to apply water directly to the soil base, avoiding the foliage to prevent fungal diseases like powdery mildew. By the second year, your native plants should be largely drought-tolerant, requiring water only during extended dry spells. Avoid heavy synthetic fertilizers in subsequent years; a light top-dressing of compost in early spring is all they need.
Winterizing and Habitat Preservation
Traditional landscaping often involves a massive fall cleanup, but a pollinator garden requires a different approach. Resist the urge to cut back your perennials in the autumn. The hollow stems of plants like Purple Coneflower and Wild Bergamot serve as crucial overwintering shelters for solitary native bees, while the seed heads provide vital winter food for foraging birds like goldfinches and chickadees.
"Leaving plant stems standing through the winter provides essential overwintering habitat for native bees and other beneficial insects. We recommend waiting until late spring, when temperatures are consistently above 50°F, to cut back dead stems to about 12 inches tall."
— The Xerces Society for Invertebrate Conservation
In late March or early April, you can trim the old, woody growth down to make way for fresh spring foliage. By following these beginner-friendly steps, your pollinator garden bed will quickly transform from a simple patch of dirt into a vibrant, buzzing cornerstone of your home's landscape, providing years of ecological benefits and natural beauty.

