
Landscaping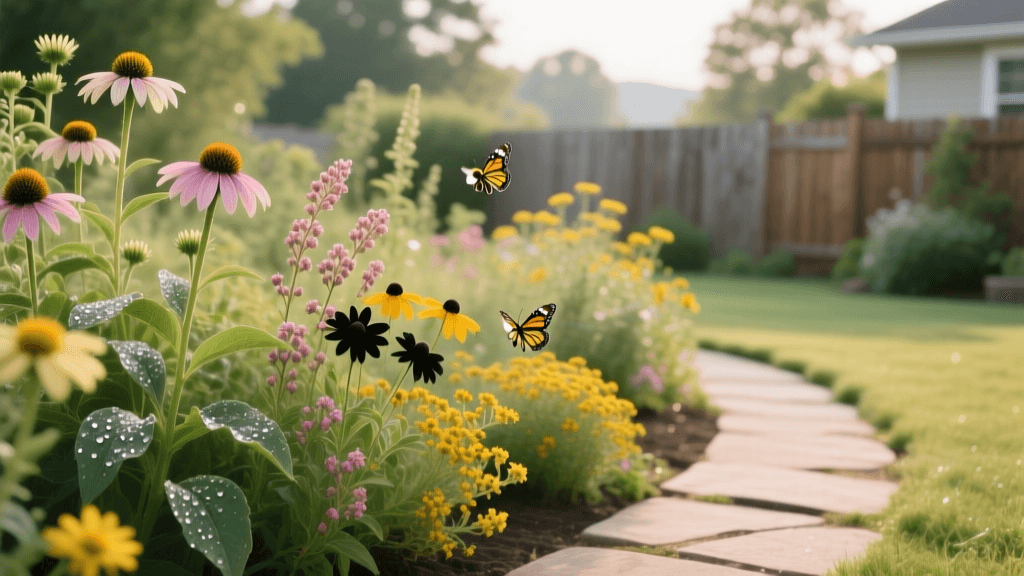
How to Grow a Beginner-Friendly Pollinator Garden Border
Introduction to Pollinator Borders in Landscaping
Creating a vibrant, ecologically beneficial landscape does not require a degree in horticulture. For beginners looking to elevate their curb appeal while supporting local ecosystems, a pollinator garden border is the perfect entry point. Unlike traditional foundation plantings that rely heavily on non-flowering shrubs, a pollinator border utilizes a dynamic mix of native perennials to provide continuous blooms, structural interest, and vital habitat for bees, butterflies, and hummingbirds. This beginner-friendly growing guide will walk you through the exact steps to plan, prepare, plant, and maintain a thriving pollinator border, complete with specific measurements, budgeting tips, and seasonal timelines.
Planning Your Garden Bed Layout
Before purchasing any plants, you must evaluate your site. Pollinators require abundant sunlight to forage effectively, and most flowering perennials need full sun to produce maximum blooms.
Mapping Sunlight and Dimensions
Track the sunlight in your chosen border area over a full day. You are looking for a location that receives at least six to eight hours of direct, unfiltered sunlight. For a standard front-yard or driveway border, a width of 3 to 4 feet is ideal. This depth allows for layered planting—placing taller species in the back and shorter, mounding plants in the front—without overwhelming the adjacent lawn or walkway. Mark the perimeter using a garden hose to visualize the curves and edges before committing to digging.
Budgeting for Your Border
A common mistake beginners make is underestimating the cost of soil amendments and mature plants. To keep costs low, purchase perennial plugs (small, young plants in 2.5-inch or 3-inch pots) rather than 1-gallon containers. Plugs typically cost between $2.50 and $4.00 each, compared to $12 to $18 for mature gallon pots. While they take one extra season to reach full size, they establish root systems faster and are significantly more budget-friendly for large borders.
Soil Preparation and Amendment
Healthy soil is the foundation of any successful landscape project. Native perennials are generally adaptable, but they require well-draining soil to prevent root rot, especially during winter dormancy.
Testing and Amending the Soil
Begin by conducting a basic soil test. You can purchase a DIY kit from a local garden center for about $15 or send a sample to your local university extension office for a comprehensive analysis (usually $20 to $30). Most pollinator-friendly perennials thrive in a slightly acidic to neutral pH range of 6.0 to 7.0.
Once you have removed the existing turf grass using a flat spade or a rented sod cutter (approx. $85 per day), loosen the top 8 to 10 inches of soil with a broadfork or garden tiller. Incorporate a 2-inch to 3-inch layer of organic compost across the entire bed. For heavy clay soils, which are notorious for poor drainage, add an additional inch of coarse builder's sand or pine bark fines. Mix these amendments thoroughly into the existing topsoil. This process improves soil structure, increases water retention, and introduces beneficial microorganisms.
Top Beginner-Friendly Pollinator Plants
Selecting the right plants is crucial for a low-maintenance landscape. The goal is to choose native or well-adapted non-invasive species that offer staggered bloom times from early spring through late fall. Below is a curated comparison chart of highly resilient, beginner-friendly perennials that serve as magnets for local pollinators.
| Common Name | Botanical Name | Sun Needs | Bloom Time | Mature Height | Est. Cost (Plug) |
|---|---|---|---|---|---|
| Purple Coneflower | Echinacea purpurea | Full Sun | Mid-Summer to Fall | 24 - 36 inches | $3.00 - $4.50 |
| Black-Eyed Susan | Rudbeckia hirta | Full Sun | Early Summer to Fall | 24 - 30 inches | $2.50 - $3.50 |
| Bee Balm | Monarda fistulosa | Full to Part Sun | Mid-Summer | 24 - 48 inches | $3.50 - $5.00 |
| Blazing Star | Liatris spicata | Full Sun | Mid to Late Summer | 24 - 36 inches | $3.00 - $4.00 |
| Asters | Symphyotrichum novae-angliae | Full Sun | Late Summer to Fall | 36 - 60 inches | $3.00 - $4.50 |
Planting Steps and Spacing Guidelines
Proper spacing ensures adequate air circulation, which is vital for preventing fungal diseases like powdery mildew—a common issue in dense garden borders.
The Planting Process
- Dig the Hole: Dig a hole that is exactly the same depth as the plug's root ball but twice as wide. This encourages lateral root growth.
- Tease the Roots: Gently squeeze the sides of the plastic pot and slide the plant out. If the roots are circling the bottom, gently tease them outward with your fingers.
- Position and Backfill: Place the plant in the hole so the crown (where the stems meet the roots) is level with the surrounding soil surface. Backfill with the native soil you removed, gently tamping it down to eliminate large air pockets.
- Water Deeply: Immediately water each plant with 1 to 2 gallons of water to settle the soil around the roots.
Spacing Rules of Thumb
For the plants listed in our chart, maintain a spacing of 18 to 24 inches between each specimen. While the border may look sparse during the first growing season, these perennials will expand significantly by year two. To suppress weeds and retain moisture while the plants fill in, apply a 2-inch layer of shredded hardwood mulch or pine straw. Keep the mulch a few inches away from the base of the stems to prevent rot.
Ongoing Maintenance and Seasonal Care
A beginner-friendly landscape is not a no-maintenance landscape; rather, it is a low-maintenance one once established. Understanding the seasonal rhythms of your pollinator border will save you time and frustration.
Year One: The Establishment Phase
The first year is all about root development. You will need to provide supplemental watering during dry spells. Aim for 1 inch of water per week, either from rainfall or manual irrigation. Water deeply at the base of the plants rather than overhead, which keeps the foliage dry and reduces disease risk. Avoid using synthetic fertilizers; native perennials generally thrive in average soils, and excess nitrogen will promote weak, leggy foliage growth at the expense of flowers.
Year Two and Beyond: Sustainable Maintenance
By the second year, your pollinator border will be largely drought-tolerant. Maintenance shifts to seasonal cleanup and division.
- Spring Cleanup: Delay cutting back dead stems until late spring when daytime temperatures consistently reach 50°F (10°C). Many native bee species overwinter in hollow plant stems, and early cleanup destroys their habitat.
- Deadheading: Pinch off spent blooms during the summer to encourage a second flush of flowers and prevent aggressive self-seeding.
- Fall Preparation: Leave the seed heads on plants like coneflowers and black-eyed Susans throughout the winter. They provide crucial food for overwintering birds, such as goldfinches, and add beautiful architectural interest to the winter landscape.
Authoritative Insights and Citations
When designing a landscape with ecological benefits, relying on science-backed guidelines is essential. According to the Xerces Society for Invertebrate Conservation, planting native species in large, contiguous clumps (at least 3 to 5 plants of the same species grouped together) makes it easier for pollinators to locate and forage from the flowers. Furthermore, the Penn State Extension emphasizes the importance of avoiding neonicotinoid pesticides when purchasing nursery stock, as these systemic insecticides can persist in plant tissues and inadvertently harm the very pollinators your garden is designed to support. Always ask your local nursery if their perennials are grown without neonicotinoids before purchasing.
By following this structured approach to planning, soil preparation, and plant selection, even novice gardeners can cultivate a stunning, resilient pollinator border that enhances their property's curb appeal while contributing positively to the local environment.

