
Landscaping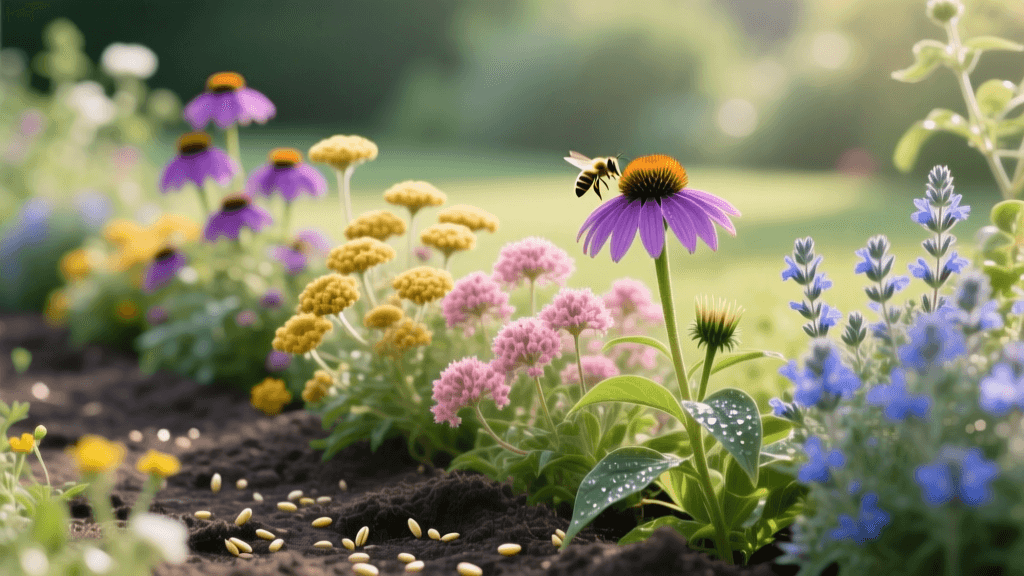
A Beginner Guide to Planting a Pollinator Perennial Border
Why Choose a Pollinator-Friendly Perennial Border?
Transforming a bare strip of lawn or a dull fence line into a vibrant, buzzing pollinator perennial border is one of the most rewarding landscaping projects a beginner can undertake. Not only does this garden bed planning strategy dramatically boost your home's curb appeal, but it also supports vital local ecosystems. According to the Xerces Society for Invertebrate Conservation, planting native and pollinator-friendly perennials can increase local bee and butterfly populations by up to 30% in suburban areas.
For beginners, perennials are the ultimate landscaping hack. Unlike annuals that require replanting every spring, perennials return year after year, expanding their root systems and producing more blooms over time. This guide will walk you through the exact steps, measurements, and costs to design, plant, and maintain a thriving pollinator border in your first season.
Step 1: Site Selection and Soil Preparation
The foundation of any successful landscape bed is its soil and sunlight exposure. Pollinator gardens thrive in full sun, which means your chosen site must receive at least six to eight hours of direct sunlight daily. South-facing or west-facing borders along fences, driveways, or the front of your home are ideal locations.
Testing and Amending the Soil
Before purchasing a single plant, you must prepare the soil. Most suburban soils are heavily compacted clay or nutrient-depleted fill dirt. You will need to amend the top 8 to 12 inches of soil to ensure proper drainage and root growth.
- Soil Testing: Purchase a basic soil test kit from your local university cooperative extension office (usually around $15 to $20) or use a home kit like the Luster Leaf Rapitest Soil Test Kit ($12). You are aiming for a pH between 6.0 and 7.0.
- Tilling and Aeration: Use a garden fork or a rented rear-tine tiller (approx. $75 per day) to break up the soil to a depth of 10 inches.
- Amendments: For a standard 4-foot by 10-foot border (40 square feet), mix in roughly 1.5 cubic yards of organic compost. Products like Coast of Maine Quoddy Blend ($35 per cubic yard) or bulk municipal compost are excellent choices. Add 4 quarts of Espoma Organic Garden-tone 3-4-4 ($15) to provide a slow-release organic fertilizer base.
Step 2: Designing Your Border Layout
A common mistake beginners make in garden bed planning is buying one of every plant and scattering them randomly. Professional landscape designers use a technique called 'drift planting' or grouping. By planting in odd-numbered clusters of three, five, or seven, you create visual impact and make it easier for passing pollinators to spot the flowers.
The Layering Principle
To create a lush, professional-looking border, arrange your plants by mature height:
- Back Row (Tall): Plants reaching 3 to 5 feet tall. These act as a backdrop and should be placed against fences or at the rear of the bed.
- Middle Row (Medium): Plants growing 1.5 to 3 feet tall. These form the bulk of your border's visual mass.
- Front Row (Short): Plants under 1.5 feet tall. These edge the bed, soften the hardscaping, and prevent the taller plants from looking stilted.
Step 3: Selecting the Right Plants
When selecting plants, prioritize native species or well-adapted non-invasive cultivars. Native plants require less water, fewer fertilizers, and provide the exact nectar and host-plant resources that local insects need. Below is a comparison chart of highly reliable, beginner-friendly perennials that guarantee continuous blooms from early summer to late fall.
| Plant Name | Mature Height | Bloom Time | Avg. Cost (1-Gallon Pot) | Primary Pollinators Attracted |
|---|---|---|---|---|
| Purple Coneflower (Echinacea purpurea) | 3 - 4 feet | June - September | $8 - $12 | Butterflies, Native Bees, Goldfinches (seeds) |
| Black-Eyed Susan (Rudbeckia fulgida) | 2 - 3 feet | July - October | $7 - $10 | Sweat Bees, Hoverflies, Butterflies |
| Bee Balm (Monarda didyma) | 3 - 4 feet | July - August | $9 - $14 | Hummingbirds, Bumblebees, Swallowtail Butterflies |
| Lavender (Lavandula angustifolia) | 1 - 2 feet | June - August | $10 - $15 | Honeybees, Mason Bees, Butterflies |
| Creeping Phlox (Phlox subulata) | 4 - 6 inches | April - May | $6 - $9 | Early-season bees, Butterflies |
Step 4: Integrating Hardscaping and Edging
A well-defined edge separates a professional landscape design from a chaotic garden bed. Edging prevents aggressive lawn grasses, like Bermuda or Kentucky Bluegrass, from invading your newly amended perennial soil. It also provides a clean visual boundary that enhances curb appeal.
Choosing the Right Edging Material
For a beginner-friendly and cost-effective hardscaping solution, consider installing steel or heavy-duty plastic landscape edging. Steel edging, such as the Colmet steel edging (approx. $6 per 8-foot strip), offers a sleek, modern look that disappears into the soil, allowing your plants to take center stage. Alternatively, natural stone or brick pavers laid flush with the soil surface create a classic, cottage-garden aesthetic while providing a convenient mowing strip for your lawnmower.
To install a trench edge without buying materials, use a half-moon edger tool ($25) to cut a 6-inch deep, V-shaped trench along the perimeter of your bed. This 'spade edge' requires annual maintenance but is completely free and highly effective at blocking grass rhizomes.
Step 5: Planting and Mulching Techniques
Timing is critical. The best time to plant your perennial border is in early spring, roughly two to three weeks after your region's last expected frost date, or in early fall, at least six weeks before the first hard freeze. Fall planting often yields stronger root systems by the following spring.
Digging and Spacing
Dig a hole that is twice as wide as the nursery pot but exactly the same depth. Planting too deeply is a primary cause of crown rot in perennials. When you remove the plant from its pot, gently tease the outer roots outward with your fingers to prevent them from circling and strangling the plant (a condition known as being 'pot-bound').
Space your plants according to their mature width, not their current size. For example, if a Coneflower grows 2 feet wide, space the centers of the plants 2 feet apart. It will look sparse the first year, but by year three, they will knit together into a seamless, weed-suppressing mat.
Applying the Right Mulch
Mulch is essential for moisture retention and weed suppression. Apply a 2 to 3-inch layer of organic mulch over the bare soil, keeping it a full inch away from the base (crown) of your plants to prevent rot. Shredded hardwood bark or pine bark nuggets are excellent, long-lasting choices that cost around $4 to $6 per 2-cubic-foot bag. Avoid dyed mulches, as the chemicals can deter sensitive soil biology and pollinators that nest in the ground.
Step 6: Ongoing Maintenance and Care
While perennials are marketed as 'low maintenance,' they do require specific care during their first growing season to establish deep root systems.
- Watering: For the first 60 days, water deeply twice a week, providing about 1 inch of water per week. Use a soaker hose (like the Dramm ColorStorm Soaker Hose, approx. $25 for 50 feet) to deliver water directly to the soil, keeping foliage dry and preventing fungal diseases like powdery mildew.
- Deadheading: To encourage continuous blooming, snip off faded flowers just above the first set of healthy leaves. However, stop deadheading in late August to allow seed heads to form, providing crucial winter food for birds like chickadees and finches.
- Fall Cleanup: Unlike traditional landscaping that demands a sterile, tidied-up yard, a pollinator border requires 'messy' fall care. The Penn State University Extension strongly advises against cutting back perennial stems in the autumn. Many native bees and butterfly larvae overwinter inside hollow stems and leaf litter. Wait until late spring, when daytime temperatures consistently stay above 50°F, to cut back dead foliage.
'Leaving perennial stems standing through the winter is one of the most impactful things a homeowner can do for local insect conservation. The stems act as natural incubators for the next generation of pollinators.' — Penn State University Extension, Master Gardener Program
Conclusion
Designing and growing a pollinator perennial border is a highly accessible landscaping project that pays dividends in beauty, biodiversity, and reduced lawn maintenance. By following these structured steps—amending the soil properly, utilizing drift planting, selecting native species, and adopting pollinator-friendly maintenance habits—you will create a vibrant outdoor living space that thrives for years to come. Grab your garden fork, select your favorite native perennials, and start transforming your landscape today.

