Landscaping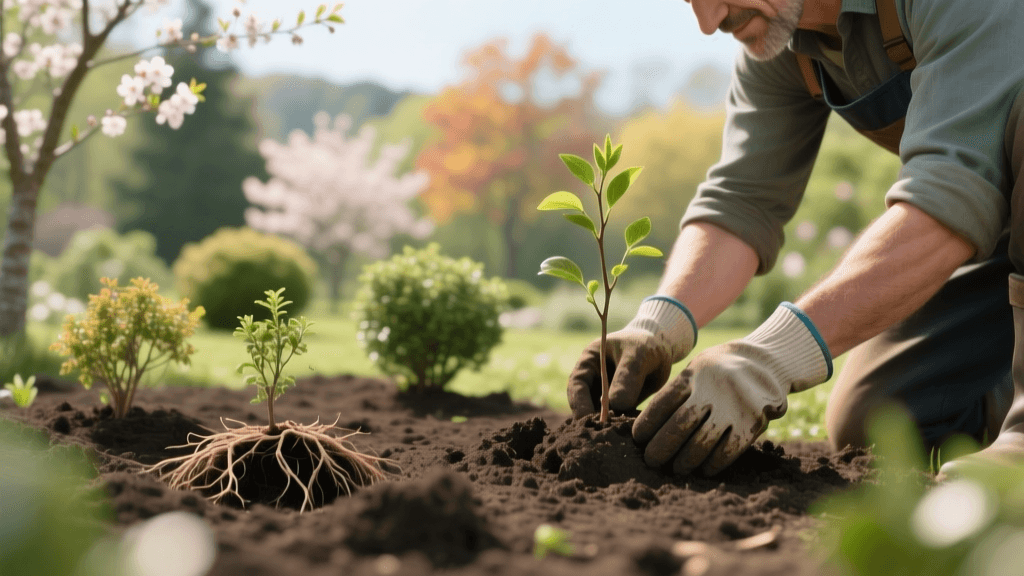
When to Plant Trees and Shrubs: Seasonal Timing Guide
The Importance of Timing in Landscape Planting
Designing a beautiful landscape is only half the battle; executing the installation at the correct time of year is what ultimately determines whether your new trees and shrubs will thrive or merely survive. When planning garden beds, privacy screens, or curb appeal enhancements, understanding the biological needs of woody plants is critical. Planting at the wrong time of year can lead to severe transplant shock, stunted root development, and increased susceptibility to pests and diseases.
Unlike annual flowers that complete their life cycle in one season, trees and shrubs are long-term investments. A 5-gallon container shrub typically costs between $35 and $80, while a 2-inch caliper balled-and-burlapped (B&B) tree can easily range from $250 to $500 or more. Protecting this financial and aesthetic investment requires strict adherence to seasonal timing guides tailored to your specific climate.
Why Timing Matters for Root Establishment
The primary goal of any newly planted tree or shrub is root establishment. According to the University of Minnesota Extension, a plant must grow enough roots into the surrounding native soil to support its canopy before it faces environmental extremes like summer drought or winter freezes.
If you plant a tree in the peak of summer, the plant will expend its energy on transpiration—pumping water to its leaves to stay cool—rather than pushing new roots into the soil. Conversely, planting too late in the fall in colder climates can result in 'frost heave,' where the freeze-thaw cycle literally pushes the unanchored root ball out of the ground, exposing the roots to freezing air.
When to Plant by USDA Hardiness Zone
The ideal planting window shifts dramatically depending on your geographic location. Below is a comprehensive timing chart to help you schedule your landscaping projects.
| USDA Hardiness Zone | Primary Planting Window | Secondary Window | Key Risks to Avoid |
|---|---|---|---|
| Zones 3 to 5 (Cold) | Early Spring (April - May) | Early Fall (September) | Late fall planting (frost heave risk) |
| Zones 6 to 8 (Moderate) | Early Fall (Sept - Oct) | Early Spring (March - April) | Mid-summer planting (heat stress) |
| Zones 9 to 11 (Warm) | Late Fall/Winter (Nov - Feb) | Early Spring (March) | Summer planting (extreme drought/heat) |
Zones 3 to 5: The Spring Advantage
In northern climates with harsh winters, early spring is the undisputed champion for planting. As soon as the ground thaws and can be dug, you should begin installing trees and shrubs. This gives the plant the entire spring and summer to establish a robust root system before the ground freezes in late autumn. If you must plant in the fall, do so at least six to eight weeks before the first expected hard frost, and apply a thick layer of mulch to insulate the soil.
Zones 6 to 8: The Fall Sweet Spot
For the middle of the country, fall is the optimal time for landscaping installations. The air temperatures are cooling down, which reduces transpiration and water loss from the leaves, but the soil is still warm from the summer sun. Warm soil encourages rapid root growth. Planting in September or October allows roots to establish deeply before the following summer's intense heat arrives.
Zones 9 to 11: Winter and Early Spring
In southern and coastal climates where the ground rarely freezes, the dormant winter months are ideal for planting. The mild temperatures and seasonal rainfall reduce the need for supplemental irrigation. Avoid planting during the sweltering, humid months of July and August, as the combination of heat stress and high evaporation rates will overwhelm a newly planted shrub's ability to take up water.
Timing Based on Plant Material Type
The type of root system your plant has also dictates the exact timing of installation:
- Bare-Root Trees and Shrubs: These must be planted in early spring while the plant is completely dormant, before any leaf buds begin to swell. They are highly susceptible to drying out and cannot be planted in fall or summer.
- Balled-and-Burlapped (B&B): Best planted in early spring or early fall. Because the heavy clay root ball can retain too much water in winter, avoid late fall planting in poorly drained soils.
- Container-Grown: These offer the most flexibility. Because the root system is intact and undisturbed, they can technically be planted any time the ground is not frozen. However, avoiding the peak heat of summer is still highly recommended to minimize transplant shock.
Step-by-Step Planting and Soil Preparation
Once you have identified the correct seasonal window, proper installation techniques are vital. The Arbor Day Foundation emphasizes that improper planting depth is the number one cause of tree failure in residential landscapes.
1. Measure and Dig the Hole
Dig a hole that is 2 to 3 times wider than the root ball, but no deeper than the root ball itself. The wider hole breaks up compacted soil, allowing lateral roots to spread easily. The trunk flare—the point where the trunk widens at the base and meets the roots—must sit 1 to 2 inches above the surrounding grade. Planting too deep suffocates the roots and invites trunk rot.
2. Amend Wisely
Resist the urge to fill the planting hole entirely with rich potting soil or peat moss. If you create a 'bathtub' of loose, rich soil surrounded by hard native clay, water will pool in the hole and drown the roots. Instead, use the native soil you dug out, mixing in no more than 10% to 20% organic compost to improve structure while ensuring the roots adapt to the native environment.
3. Backfill and Eliminate Air Pockets
Backfill the hole in stages, tamping down gently with your hands or the blunt end of a shovel. Water the hole halfway through backfilling to settle the soil and eliminate large air pockets that could dry out the roots.
Pro-Tip: Consider applying a mycorrhizal fungi inoculant directly to the root ball during planting. These beneficial fungi form a symbiotic relationship with the plant's roots, effectively extending their reach and increasing water and nutrient uptake by up to 700%.
Post-Planting Care: Mulching and Watering Schedules
The timing of your planting is only as good as the aftercare you provide. Proper mulching and a strict watering schedule will carry your new landscape through its critical first year.
The Right Way to Mulch
Apply a 2 to 3-inch layer of shredded hardwood bark mulch in a wide ring around the plant. This conserves soil moisture, regulates soil temperature, and suppresses weeds. Never pile mulch against the trunk. 'Mulch volcanoes' trap moisture against the bark, leading to fungal diseases and providing a winter haven for rodents that chew on the trunk. Keep the mulch 3 inches away from the base of the trunk.
The 1.5 Gallon Watering Rule
Newly planted trees and shrubs do not have the root mass to forage for water in the surrounding soil; they rely entirely on the moisture within their original root ball. Follow this actionable watering schedule:
- Weeks 1 and 2: Water deeply every 1 to 2 days. Apply 1.5 gallons of water per inch of trunk caliper (measured at knee height) per session.
- Weeks 3 to 12: Water deeply every 2 to 3 days. The goal is to keep the root ball moist but not waterlogged.
- Months 4 to 12: Water deeply once a week, increasing frequency during periods of high heat or drought. Use a soaker hose placed at the drip line (the outer edge of the canopy) to encourage roots to grow outward.
By aligning your landscaping projects with the natural biological rhythms of the plants and the seasonal realities of your hardiness zone, you ensure that your garden beds and privacy screens will establish quickly, resist environmental stress, and provide beauty to your property for decades to come.