
Gardening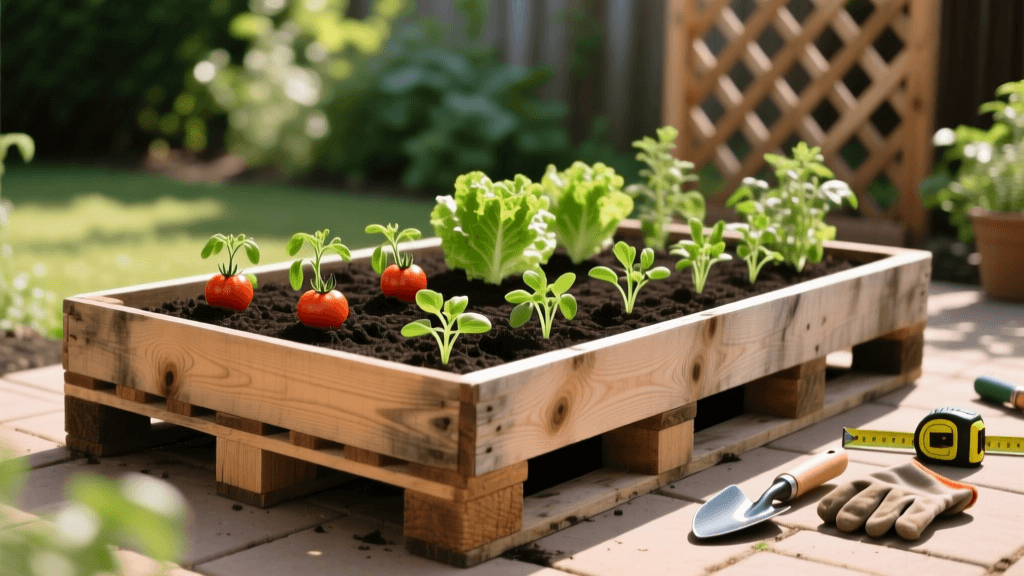
How To Build Budget-Friendly DIY Raised Garden Beds At Home
The High Cost of Traditional Raised Beds
Gardening is a deeply rewarding endeavor, but the startup costs can quickly deter beginners and budget-conscious homeowners. Raised garden beds, in particular, are notorious for draining the wallet before a single seed is even planted. Commercial cedar or composite kits often retail between $150 and $300 for a standard 4x8-foot bed. When you factor in the cost of premium soil blends, compost, hardware cloth, and fertilizers, a single garden bed can easily exceed $400 in initial setup costs. However, with a bit of ingenuity, some basic tools, and a willingness to get your hands dirty, you can construct highly productive, budget-friendly DIY raised garden beds for a fraction of the retail price.
According to the University of Minnesota Extension, raised beds offer superior drainage, warmer soil temperatures in the early spring, and significantly reduced weed pressure, making them an excellent long-term investment for your garden. This comprehensive guide will walk you through sourcing free materials, safe construction techniques, and an innovative soil-filling strategy that will save you hundreds of dollars while boosting your harvest yields.
Sourcing Free and Low-Cost Materials Safely
The most expensive component of any raised bed is the lumber. To keep your costs near zero, look for reclaimed wood, fallen logs, or discarded shipping pallets. Local hardware stores, plant nurseries, and manufacturing facilities often give away pallets for free or for a nominal fee. However, safety is absolutely paramount when using reclaimed wood in a food garden. You must avoid pallets treated with toxic chemicals that could leach into your soil.
Always look for the IPPC stamp on the wood. Pallets marked 'HT' (Heat Treated) are safe to use, as they were sterilized using heat rather than chemicals. Never use pallets marked 'MB' (Methyl Bromide), as this toxic fungicide can contaminate your food crops. Furthermore, avoid pressure-treated lumber manufactured before 2004, which often contains Chromated Copper Arsenate (CCA), a dangerous arsenic-based preservative.
For corner supports, you can use scavenged 4x4 fence posts, thick tree branches driven directly into the ground, or even rebar. By upcycling these materials, you are not only saving money but also keeping usable wood out of local landfills.
Cost Comparison: Store-Bought vs. Budget DIY
To truly understand the value of the DIY approach, let us break down the costs of building a standard 4-foot by 8-foot bed that is 12 inches deep. The table below illustrates the dramatic savings achieved through upcycling and smart sourcing.
| Item Required | Store-Bought Kit Cost | Budget DIY Cost |
|---|---|---|
| Lumber / Frame Materials | $180.00 (Cedar Kit) | $0.00 (Reclaimed Pallets) |
| Corner Braces & Screws | $35.00 | $15.00 (Exterior Deck Screws) |
| Weed & Pest Barrier | $40.00 (Hardware Cloth) | $10.00 (Scavenged Wire Mesh) |
| Soil & Compost (24 cu ft) | $120.00 (Bagged Mix) | $25.00 (Bulk Compost + Hugelkultur) |
| Total Estimated Cost | $375.00 | $50.00 |
As the data shows, sourcing your own materials and utilizing natural fill methods can reduce your overhead by nearly 85 percent.
Step-by-Step Construction Guide
Building your bed requires minimal carpentry skills. The Penn State Extension recommends choosing a location that receives at least six to eight hours of direct sunlight daily and is relatively flat to ensure even water distribution.
Tools Required
- Power drill with exterior-grade deck screws (2.5 inch and 3 inch)
- Reciprocating saw or circular saw for cutting pallets
- Pallet buster or pry bar
- Tape measure and carpenter's level
- Hammer and safety gear (gloves, safety glasses)
- Staple gun for attaching wire mesh
Assembly Instructions
Step 1: Site Preparation. Clear the area of large rocks and level the ground as much as possible. If you are placing the bed directly over grass, you can lay down overlapping layers of plain cardboard to smother the weeds naturally.
Step 2: Dismantling Pallets. Carefully dismantle your HT-stamped pallets. Use a pallet buster to separate the slats from the stringers to minimize splitting. Cut the slats to your desired length—typically 4 feet and 8 feet.
Step 3: Frame Assembly. Lay out your corner posts (scavenged 4x4s or thick branches cut to 18 inches). Drive them 6 inches into the ground at the four corners of your 4x8 footprint. Screw the pallet slats horizontally into these corner posts, stacking them two or three high to achieve a depth of 10 to 12 inches.
Step 4: Pest Protection. Staple wire mesh or scavenged hardware cloth to the bottom of the frame to prevent burrowing pests like gophers and voles from entering your garden bed from below.
The Hugelkultur Method: Filling Your Bed for Pennies
A 4x8-foot bed that is 1 foot deep requires roughly 32 cubic feet of soil. Buying bagged premium raised bed soil at $6 to $8 per bag will cost you upwards of $150. To eliminate this massive expense, we turn to the Hugelkultur method. This traditional Eastern European technique involves burying rotting wood and organic matter to create a nutrient-rich, moisture-retentive sponge that feeds your plants for years.
The Cornell Waste Management Institute highlights that incorporating carbon-rich woody materials into garden soils improves long-term soil structure, water retention, and microbial life. As the buried wood decomposes, it acts like a sponge, holding moisture during droughts and releasing vital nutrients to your plant roots.
Layering Guide for Budget Soil Filling
- Bottom Layer (40% of volume): Rotten logs, thick branches, and twigs. Avoid using black walnut or cedar, as they contain natural compounds that can inhibit plant growth.
- Middle Layer (30% of volume): Carbon-rich materials like dried leaves, grass clippings, straw, or shredded cardboard. This layer breaks down faster and bridges the gap between the wood and the soil.
- Top Layer (30% of volume): A high-quality mix of bulk topsoil and compost. You only need about 4 to 6 inches of this premium mix at the very top where the shallow roots of your seedlings will start.
By utilizing yard waste, fallen branches from your neighborhood, and a few bags of bulk compost from a local landscape supply yard, you can fill your bed for under $30. Over the next few seasons, the organic matter in the bottom layers will break down, naturally fertilizing your tomatoes, peppers, and root vegetables without the need for expensive synthetic fertilizers.
Maintaining Your Budget Raised Beds
Reclaimed wood will not last as long as premium cedar, but you can extend its lifespan significantly with a few simple tricks. Line the inside walls of your raised bed with heavy-duty landscape fabric or thick black plastic (punched with drainage holes) to prevent moist soil from resting directly against the wood. This simple barrier reduces rot and can add three to five extra years to the life of your DIY bed.
Additionally, practice crop rotation and plant cover crops like clover or winter rye during the off-season. This protects your budget-friendly soil ecosystem from erosion and naturally fixes nitrogen back into the earth. With a little creativity and hard work, your budget-friendly DIY raised garden beds will outperform expensive commercial kits, proving that a thriving garden relies on knowledge and effort, not a massive financial investment.

