
Gardening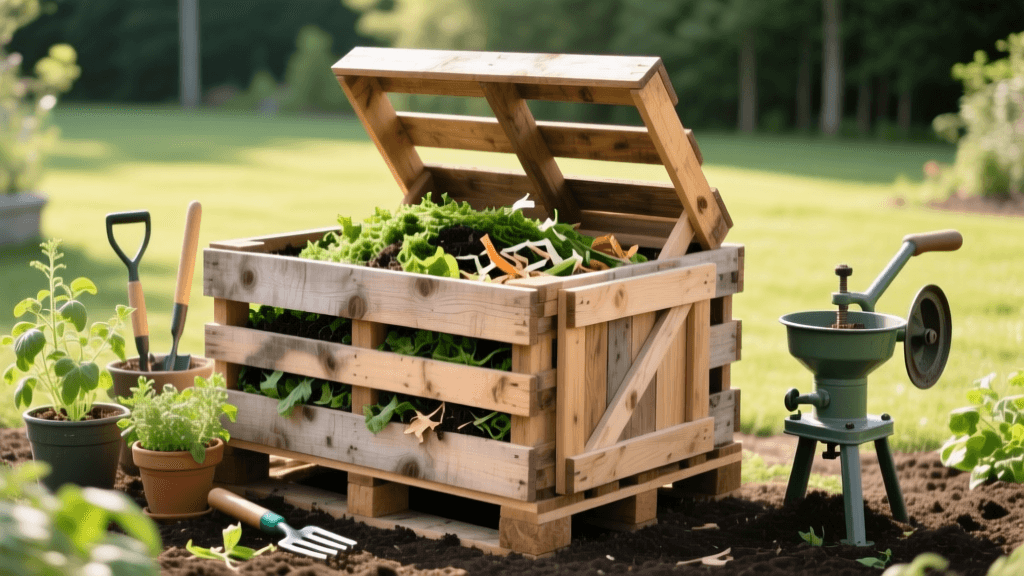
How to Build a Budget-Friendly DIY Pallet Compost Bin
Introduction to Budget-Friendly Composting
Creating rich, dark, and crumbly compost is one of the most rewarding aspects of maintaining a home garden. However, when you are trying to keep your gardening expenses low, dropping a hundred dollars or more on a commercial plastic tumbler or a custom-built cedar bin can feel counterproductive. Fortunately, some of the best gardening solutions are found in upcycling and repurposing materials that would otherwise end up in a landfill. Building a budget-friendly DIY pallet compost bin is an excellent weekend project that costs almost nothing, reduces household waste, and provides your vegetable and flower beds with premium organic matter. In this comprehensive guide, we will walk you through exactly how to source safe materials, construct a sturdy single-bay system, and manage your compost pile for optimal results without spending a fortune on commercial accelerators or fancy tools.
Why Choose Wooden Pallets for Your Compost Bin?
Wooden shipping pallets are the unsung heroes of the DIY gardening world. They are structurally sound, designed to hold immense weight, and feature built-in gaps that provide essential airflow to your decomposing organic matter. Proper aeration is critical for aerobic decomposition, the process that breaks down materials quickly and without foul odors. Furthermore, pallets are modular. You can easily stack them to create a single-bay bin for small urban gardens, or wire multiple pallets together to create a multi-stage composting system that allows you to cure one batch while actively building another. According to the University of Minnesota Extension, maintaining proper airflow and volume is key to generating the internal heat necessary to kill weed seeds and pathogens, and the natural slats of a standard pallet facilitate this perfectly.
Sourcing Safe, Free Pallets
Before you head to a local hardware store or warehouse to ask for free pallets, you must understand pallet safety stamps. Pallets used for international shipping are treated to prevent the spread of invasive insects. You need to look for the IPPC (International Plant Protection Convention) logo stamped on the wood.
Safe Pallets: Look for the letters HT (Heat Treated) or KD (Kiln Dried). These pallets have been heated to a specific temperature to kill pests and are completely safe for use in organic gardening.
Unsafe Pallets: Avoid any pallet stamped with MB (Methyl Bromide), a highly toxic pesticide that can leach into your soil and contaminate your food crops. Also, avoid pallets that are visibly stained with oil, chemicals, or unknown spills, as these can harbor heavy metals or harmful bacteria.
Tools and Materials Needed
To keep this project strictly budget-friendly, we are utilizing basic tools you likely already have in your garage. If you need to purchase anything, the total cost should remain under twenty dollars.
- 4 to 5 Heat-Treated (HT) Wooden Pallets: Free from local businesses or recycling centers.
- Heavy-Duty Zip Ties or Galvanized Wire: 10-15 pieces for securing corners (Approx. $5).
- Work Gloves and Safety Glasses: Essential for protecting against splinters and flying debris.
- Crowbar or Hammer: For removing protruding nails or adjusting slats.
- Wire Cutters: If using galvanized wire to bind the pallets.
- Landscaping Fabric or Cardboard (Optional): To line the bottom if you want to suppress aggressive weeds underneath the bin.
Step-by-Step Construction Guide
Step 1: Prepare the Site
Choose a level, well-draining area in your yard that receives partial shade. Direct, scorching sunlight can dry out your compost pile too quickly, while deep shade might keep it too wet and cold. Clear the ground of large rocks and debris. If you are dealing with aggressive grass or weeds, lay down a thick layer of plain brown corrugated cardboard to smother the vegetation before setting your pallets down.
Step 2: Arrange the Back and Sides
Stand one pallet upright on its long edge to serve as the back wall of your compost bin. Take two more pallets and stand them up perpendicular to the back pallet to form the left and right side walls. Ensure the corners are flush. Using your heavy-duty zip ties or galvanized wire, tightly bind the corners together where the pallets meet. Thread the wire or zip ties through the thick corner blocks of the pallets for maximum structural integrity. Pull them tight and trim any excess.
Step 3: Secure the Front Panels
For the front of the bin, you have two budget-friendly options. The easiest method is to use a fourth pallet as a front gate, securing it with wire hinges at the bottom and a simple latch at the top. However, an even more accessible method for turning the compost is to stack individual pallet boards or use a removable front pallet that simply slides into place or is held by a single piece of wire at the top. This allows you to completely remove the front when you need to turn the pile with a pitchfork, saving you from awkward reaching and straining your back.
The Science of Composting: Greens vs. Browns
Once your budget bin is built, the real magic begins. The Environmental Protection Agency (EPA) emphasizes that successful composting requires a careful balance of 'greens' (nitrogen-rich materials) and 'browns' (carbon-rich materials). A general rule of thumb for home gardeners is to aim for a ratio of roughly 2 to 3 parts browns to 1 part greens by volume. This balance fuels the microorganisms responsible for breaking down the organic matter while preventing the pile from becoming a slimy, foul-smelling mess.
| Material Type | Examples | Role in Compost |
|---|---|---|
| Greens (Nitrogen) | Vegetable scraps, coffee grounds, fresh grass clippings, plant trimmings | Provides protein and moisture for microbial growth; heats up the pile. |
| Browns (Carbon) | Dry autumn leaves, shredded cardboard, straw, wood chips, sawdust | Provides energy for microbes; adds bulk, structure, and essential airflow. |
| Avoid | Meat, dairy, oils, pet waste, diseased plants, treated wood | Attracts pests, creates foul odors, and can introduce harmful pathogens. |
Maintenance and Troubleshooting on a Budget
You do not need to buy expensive commercial compost starters or activators to get your pile going. A simple shovel-full of native garden soil or finished compost from a friend introduces all the necessary bacteria and fungi.
Moisture Management: Your compost should feel like a wrung-out sponge. If it is too dry, decomposition will stall. Give it a gentle watering with your garden hose or add more wet greens. If it is too wet and smells like ammonia or sulfur, it lacks oxygen. Use a pitchfork to turn the pile, mixing in dry browns like shredded newspaper or dry leaves to absorb the excess moisture and restore airflow.
Turning the Pile: Turning your compost every one to two weeks speeds up the process significantly by moving the cooler outer materials into the hot center. Because of the generous volume of a standard pallet bin (roughly 3x3x3 feet), your pile will retain heat much better than a small plastic tumbler, allowing you to harvest finished compost in as little as three to six months during the active summer season.
Conclusion
Building a DIY pallet compost bin is one of the highest-return investments you can make for your garden, precisely because the financial investment is practically zero. By upcycling heat-treated shipping pallets, you are keeping useful wood out of the landfill while creating a highly functional, well-aerated system for processing your yard and kitchen waste. With a little patience, regular turning, and a mindful balance of greens and browns, your new budget-friendly bin will produce wheelbarrow after wheelbarrow of black gold, ensuring your vegetables and flowers thrive for seasons to come.

