
Tree Care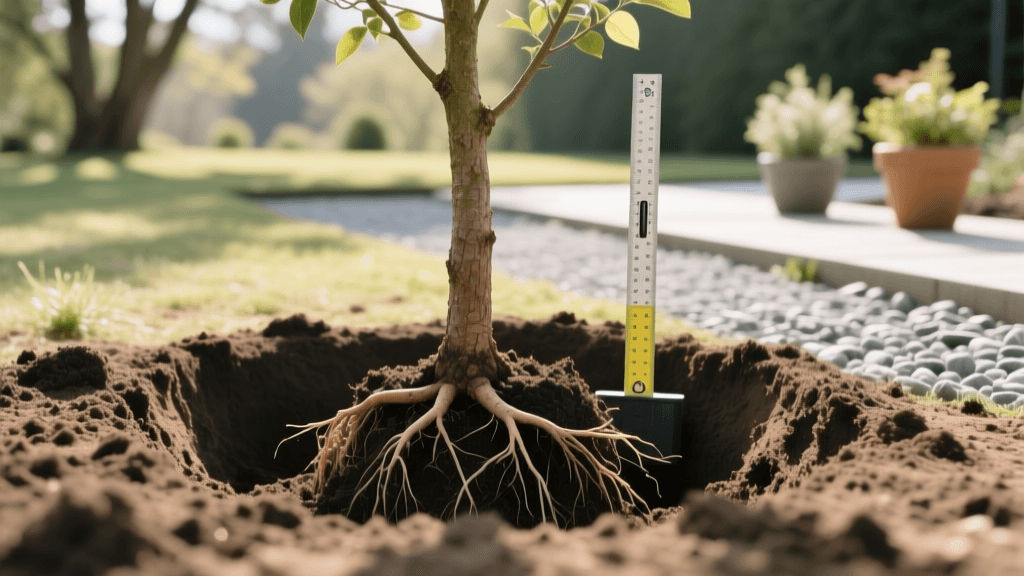
2026 Root Flare Guide: Hole Width & Depth for Potted Trees
The Critical Role of the Root Flare in 2026
As we navigate the 2026 planting season, arborists and horticulturists continue to emphasize one unbreakable rule of tree care: never bury the root flare. The root flare (or trunk flare) is the vital transition zone where the tree's trunk widens and transitions into the primary lateral roots. This area is designed to be exposed to the air and surface environment. When buried, the tree is deprived of essential oxygen exchange, leading to a cascade of health issues including root rot, girdling roots, and eventual structural failure. For home gardeners and landscaping professionals alike, understanding the precise hole width and depth guidelines is the difference between a thriving legacy tree and a costly, dead sapling.
The Container Gardening Dilemma: Hidden Flares
Container and pot gardening has evolved significantly, with many homeowners starting their trees in nursery pots or transitioning them into large, permanent decorative planters. However, container-grown trees present a unique challenge. In commercial nurseries, mechanical potting machines and top-dressing practices frequently bury the root flare under two to four inches of excess potting mix. If you take a tree directly from a 15-gallon nursery pot and dig a hole based on the total depth of that pot, you are almost guaranteed to plant the tree too deep. According to The Morton Arboretum, planting too deep is the leading cause of transplant mortality in modern landscaping.
Step 1: Excavating the Flare Before Measuring
Before you even pick up a shovel to dig your planting hole, you must locate the root flare while the tree is still in its container or immediately upon removal.
- Remove the Top Soil: Gently brush away the top layer of soil from the root ball using your hands or a specialized tool like a Hori Hori soil knife.
- Locate the Trunk Flare: Look for the point where the trunk begins to widen and the first major lateral roots branch outward.
- Remove Excess Media: Carefully shave away any soil sitting above this flare. The surface of the root ball must be perfectly level with the top of the root flare before you take any measurements for your hole.
Step 2: Calculating the Perfect Hole Depth
Once the root flare is exposed, you can accurately measure the root ball. The depth of your planting hole must be exactly equal to the distance from the bottom of the root ball to the newly exposed root flare. Never dig the hole deeper than the root ball itself.
If you dig a hole that is even one inch too deep, the tree will settle into the loose backfill over the first few months, dragging the root flare below the soil grade. The base of the hole should remain undisturbed, compacted native soil to act as a solid pedestal. This prevents the heavy root ball from sinking post-planting. The Clemson University Home & Garden Information Center strongly advises against loosening the soil directly beneath the root ball for this exact reason.
Step 3: Sizing the Hole Width for Lateral Growth
While depth is strictly limited by the root ball's dimensions, width is where you should be generous. Tree roots grow laterally, not vertically. In 2026, the industry standard dictates that the planting hole should be two to three times wider than the diameter of the container or root ball.
If you are planting a tree from a 15-inch wide container, your hole should be 30 to 45 inches across. This wide, shallow bowl shape allows the tender new lateral roots to easily penetrate the surrounding soil, establishing a robust anchor and nutrient-gathering network. Furthermore, roughening the sides of the hole with a garden fork prevents "glazing" (smooth, compacted walls created by a shovel), which can trap roots and cause them to circle and girdle.
Container Size to Hole Dimension Chart
Use the following reference table to estimate your digging dimensions based on standard nursery container sizes. Remember, depth is always dictated by your specific root flare measurement, but these averages provide a baseline for planning.
| Container Size | Avg. Root Ball Width | Ideal Hole Width | Est. Soil Volume Removed |
|---|---|---|---|
| 5 Gallon | 10 - 12 inches | 24 - 36 inches | 1.5 - 2.5 cubic ft. |
| 10 Gallon | 14 - 16 inches | 32 - 48 inches | 3.0 - 5.0 cubic ft. |
| 15 Gallon | 18 - 21 inches | 42 - 60 inches | 5.5 - 8.0 cubic ft. |
| 25 Gallon | 24 - 28 inches | 54 - 72 inches | 9.0 - 14.0 cubic ft. |
The Permanent Planter Scenario: Potting a Tree into a Large Container
What if your container gardening project involves planting a smaller tree into a massive, 100-gallon decorative ceramic or fiberglass patio pot? The rules of the root flare still strictly apply, but the mechanics change. Large planters are often much deeper than a tree's root ball. A common and fatal mistake is filling the bottom of the deep pot with soil and burying the tree to make it fit.
Creating a Structural False Bottom
To maintain the correct root flare depth in a deep permanent container, you must elevate the root ball. In 2026, best practices dictate using a structural false bottom rather than just dumping in extra dirt. You can achieve this by:
- Inverted Nursery Pots: Place empty, heavy-duty plastic nursery pots upside down at the bottom of the large planter to take up dead space.
- Gravel and Geotextile Matrix: Use a layer of coarse drainage rock, covered by a permeable geotextile fabric, to separate the drainage zone from the soil zone. This prevents a "perched water table" that will drown the roots.
- Custom Soil Mounding: Build a firm mound of your high-quality container mix in the center of the pot. Set the tree on this mound so the root flare sits exactly one to two inches above the final soil line of the planter, allowing for settling and mulch.
Step 4: Proper Placement and Backfilling
Whether planting in the ground or a large patio container, never lift or carry the tree by its trunk. This can snap the delicate roots away from the trunk base. Always lift by the root ball or the container itself.
Once the tree is placed in the center of the hole or planter, step back and check the grade. The root flare should be slightly proud (elevated) above the surrounding native soil grade by about one inch. When backfilling, use the native soil you removed from the hole. Amending the backfill with heavy compost or rich potting soil creates a "bathtub effect," where water pools in the loose amended soil rather than draining into the native earth, drowning the roots. Break up large clods of dirt and tamp the soil gently with your hands or the butt of a shovel to remove massive air pockets, but avoid heavy compaction.
Post-Planting Care: Watering and Mulching Rules
After backfilling, build a shallow berm of soil around the outer edge of the planting hole to create a watering basin. This ensures that when you water, the moisture is directed down into the root zone rather than running off the surface. Water the tree deeply immediately after planting to settle the soil.
The Anti-Volcano Mulching Mandate
Mulch is excellent for retaining moisture and regulating soil temperature, but it must never touch the trunk. Piling mulch against the bark (volcano mulching) keeps the trunk constantly wet, inviting fungal pathogens and rot, while also encouraging secondary roots to grow into the mulch and eventually girdle the tree. Apply a 2 to 3-inch layer of organic wood chip mulch over the root zone, but keep it completely clear of the root flare, leaving a 3-inch bare gap around the base of the trunk. Think of it like a donut, not a volcano.
Conclusion
Transitioning a container-grown tree into the landscape or a permanent patio planter requires precision, patience, and a respect for the tree's natural anatomy. By taking the time to expose the root flare, measuring your hole depth strictly from the flare to the base, and digging wide enough to encourage lateral expansion, you set your tree up for decades of structural integrity and vibrant health. Follow these 2026 guidelines, and your container-grown trees will thrive beautifully in their new forever homes.

