Tree Care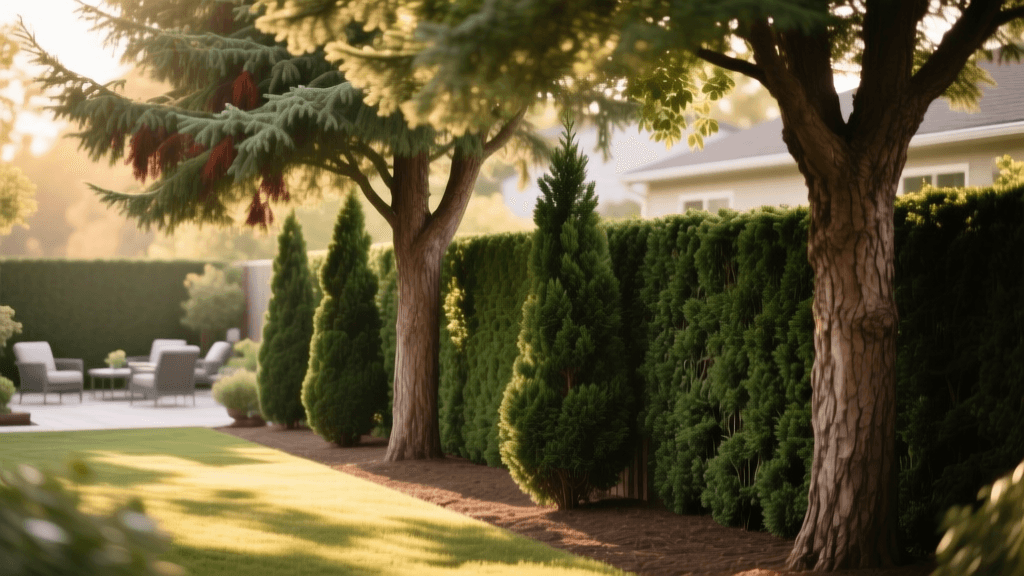
How to Design and Plant a Backyard Tree Privacy Screen
Introduction to Living Privacy Screens
Replacing a traditional wooden or vinyl fence with a living privacy screen is one of the most rewarding landscape design projects you can undertake. Not only do trees provide year-round seclusion, but they also act as natural windbreaks, reduce noise pollution, and increase your property value. However, designing a functional and aesthetically pleasing tree privacy screen requires careful planning, precise spacing, and a deep understanding of species selection. In this comprehensive planning guide, we will walk you through the exact steps to design, budget, and plant a thriving evergreen screen that will protect your backyard oasis for decades to come.
Assessing Your Property Lines and Sunlight
The first step in planning your tree privacy screen is accurately assessing your physical space. Before digging any holes or purchasing nursery stock, you must identify your exact property lines and local setback requirements. Many municipalities require plantings to be set back at least 3 to 5 feet from the property line to prevent future disputes with neighbors over encroaching branches or root systems. Additionally, you must call your local utility locating service (such as 811 in the United States) at least a few days before planting to ensure you will not sever underground gas, water, or electrical lines.
Next, map the sunlight exposure along your proposed planting line. Most fast-growing evergreens require full sun (at least 6 to 8 hours of direct sunlight per day) to maintain dense foliage from the ground up. If your fence line is heavily shaded by existing structures or larger deciduous trees, you will need to select shade-tolerant species like the Canadian Hemlock or Nellie Stevens Holly, though these will generally grow at a slower rate than sun-loving arborvitae.
Choosing the Right Evergreen Trees for Your Zone
Selecting the correct species is the most critical decision in your design process. You must choose trees that are hardy in your specific USDA Hardiness Zone and resistant to local pests and diseases. According to the University of Minnesota Extension, planting a diverse mix of species rather than a monoculture is highly recommended to prevent a single pest or disease from wiping out your entire privacy screen. Below is a comparison chart of the most popular privacy trees, their growth rates, and estimated costs for a 5-foot tall specimen.
| Tree Species | Mature Height | Growth Rate | Recommended Spacing | Est. Cost (5ft Tree) |
|---|---|---|---|---|
| Thuja 'Green Giant' | 40 - 60 ft | Fast (3 - 5 ft/yr) | 5 - 6 ft | $50 - $80 |
| Leyland Cypress | 60 - 70 ft | Fast (3 - 4 ft/yr) | 6 - 8 ft | $60 - $90 |
| Nellie Stevens Holly | 15 - 25 ft | Moderate (1 - 2 ft/yr) | 4 - 5 ft | $70 - $110 |
| Eastern Redcedar | 40 - 50 ft | Moderate (1 - 2 ft/yr) | 6 - 8 ft | $40 - $70 |
| Skip Laurel | 10 - 18 ft | Fast (2 - 3 ft/yr) | 4 - 6 ft | $45 - $75 |
For rapid results in zones 5 through 8, the Thuja 'Green Giant' is widely considered the gold standard due to its disease resistance and impressive vertical growth. For smaller urban yards where massive height is undesirable, the Nellie Stevens Holly provides a dense, lower-profile screen with the added bonus of winter berries.
Design Layouts: Single Row vs. Staggered Planting
When designing the layout of your privacy screen, you generally have two options: a single straight row or a staggered (zig-zag) double row. A single row is the most space-efficient and budget-friendly option, ideal for narrow side yards or tight property lines. However, if a single tree dies in a straight row, it leaves a highly visible gap in your fence.
If you have the space (at least 8 to 12 feet of width), a staggered double row is the superior design choice. By planting two offset rows, you create a much denser, sound-absorbing barrier that completely masks the loss of a single tree. In a staggered design, you can space the trees slightly further apart within each row, as the overlapping canopy from the second row will fill in the gaps. This geometric approach mimics natural forest edges and provides excellent habitat for local bird populations.
Soil Preparation and Step-by-Step Planting
Proper planting technique dictates the long-term survival of your privacy screen. The Arbor Day Foundation's Tree Planting Guide emphasizes the importance of identifying the root flare and avoiding planting trees too deeply. Follow these actionable steps for planting your evergreen screen:
- Digging the Hole: Dig a hole that is 2 to 3 times wider than the root ball, but no deeper. The root flare (where the trunk expands at the base) must sit slightly above the surrounding soil grade to prevent root rot.
- Soil Amendment: Avoid heavily amending the backfill soil with rich compost, which can create a 'bathtub effect' where water pools in the loose soil. Instead, mix native soil with a slow-release organic fertilizer like Espoma Bio-tone Starter Plus to encourage mycorrhizal fungi development.
- Positioning: Carefully remove the burlap and wire cage (if balled-and-burlapped) or the plastic pot. Tease out any circling roots with a hand cultivator before placing the tree in the hole.
- Backfilling: Fill the hole with your native soil mixture, tamping down gently with your hands to remove large air pockets. Water thoroughly as you backfill to settle the soil.
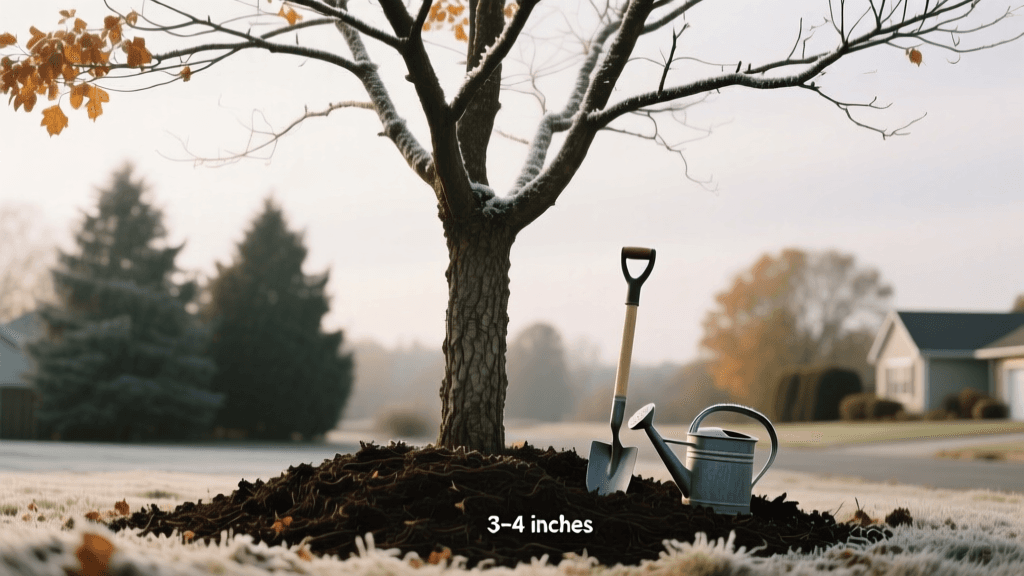
The Importance of Proper Mulching and Watering
After planting, applying the correct mulch layer is vital for moisture retention and temperature regulation. The Morton Arboretum strongly advises against 'volcano mulching,' which involves piling mulch against the tree trunk. Instead, apply a 2 to 4-inch layer of shredded hardwood bark in a wide donut shape, keeping the mulch at least 3 inches away from the base of the trunk. This prevents bark decay and deters rodent damage during the winter months.
Watering is the most demanding aspect of the first two years. Newly planted evergreens require roughly 10 to 15 gallons of water per week during the growing season. Utilizing a soaker hose or a drip irrigation system laid along the root zone is the most efficient way to deliver deep, consistent moisture without wetting the foliage, which can lead to fungal diseases like Seiridium canker or Cercospora needle blight.
Budgeting Your Living Fence Project
Planning the financial aspect of your privacy screen requires looking beyond the initial cost of the trees. For a standard 50-foot linear privacy screen using Thuja 'Green Giants' spaced 5 feet apart, you will need 10 trees. At an average of $65 per 5-foot tree, the plant material will cost approximately $650. Add $100 for organic soil amendments and starter fertilizers, $60 for bulk hardwood mulch, and $150 for a basic drip irrigation kit. Your total DIY material cost will hover around $960. By comparison, a 50-foot cedar wood fence installed by a professional contractor typically costs between $2,500 and $4,000, making the living screen a highly cost-effective alternative that builds equity in your landscape over time.
Long-Term Maintenance and Pruning
Once established, evergreen privacy screens require minimal but strategic maintenance. Avoid heavy shearing with electric hedge trimmers, which creates a dense outer shell of foliage that blocks sunlight from reaching the interior branches, eventually causing the inside of the tree to turn brown and die back. Instead, use hand pruners to selectively thin out competing leaders and crossed branches in late winter or early spring. This selective pruning allows light and air to penetrate the canopy, promoting dense, healthy growth all the way to the ground. Fertilize your privacy screen annually in early spring with a balanced, slow-release evergreen fertilizer (such as a 12-6-4 NPK ratio) to sustain vigorous growth and maintain deep green foliage throughout the year.