Lawn Care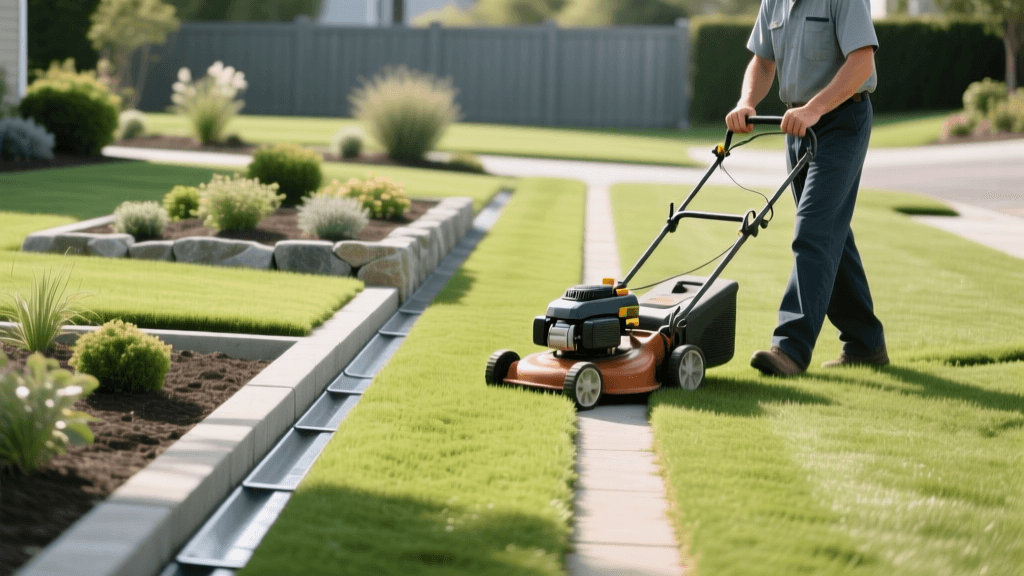
Designing Lawn Borders and Mowing Strips for Easy Maintenance
When planning a landscape, homeowners often focus on plant selection, irrigation systems, and hardscape patios—then forget about the spaces where turfgrass meets garden beds. But from a lawn care standpoint, how you handle those edges makes a real difference. A well-placed border doesn’t just look clean—it saves time and effort every time you mow.
This guide covers how to plan, choose, and install lawn borders and mowing strips that actually work. Whether you’re starting fresh or updating an older yard, getting the edges right changes how much trimming you’ll need down the road.
The Strategic Value of Hardscape Edging in Lawn Care
The biggest headache in lawn maintenance is the “string trimmer dance”—going around fences, garden beds, and tree rings with a weed whacker. Over time, that routine can scrape bark off young trees, kick mulch onto the grass, and leave ragged edges where weeds sneak in.
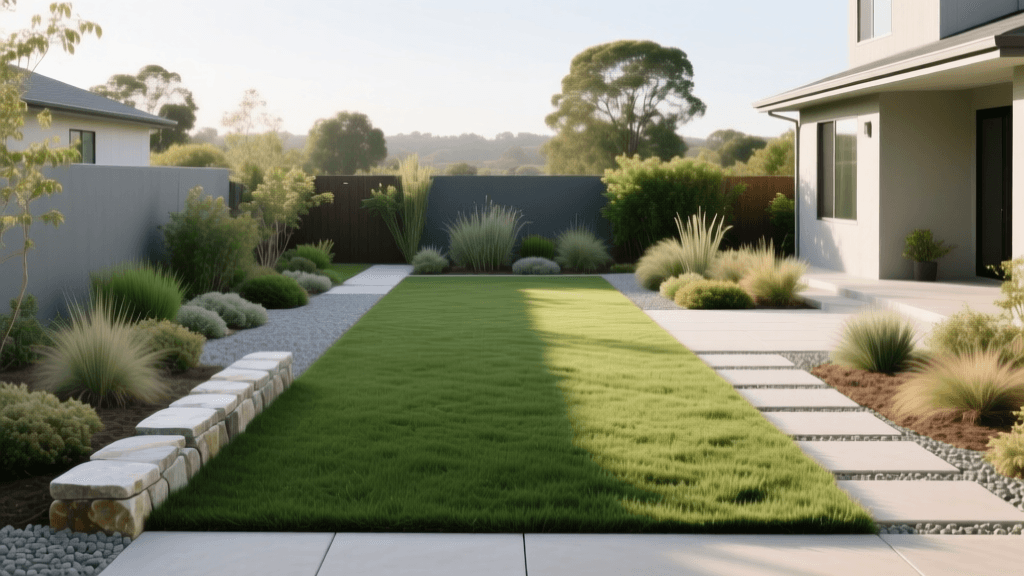
Adding mowing strips (flush hardscape borders) and vertical edging gives you a physical line that does several jobs at once:
- Eliminates Trimming: With a flush mowing strip, one wheel rides on the hardscape while the mower deck cuts right up to the edge—no trimmer needed.
- Prevents Turf Encroachment: Grasses like Bermuda and Zoysia spread fast underground. Deep vertical edging blocks their roots and runners from pushing into mulched beds.
- Protects Hardscapes: Keeps soil and grass from spilling over walkways and patios, so you’re not constantly scraping or pulling it back.
- Helps Hold Mulch and Water: Raised borders keep mulch and irrigation water where they belong—in the bed—not washing onto the lawn during heavy watering.
Designing Curves and Angles for Mower Efficiency
How your borders curve—or corner—affects how smoothly your mower moves. Tight turns, narrow paths, and sharp angles force you to stop and trim by hand.
The Rule of the Mower Deck Radius
For curved borders, make sure the curve is wider than your mower’s turning radius. A 42-inch zero-turn mower needs broad, gentle arcs. A 21-inch push mower handles tighter curves—but still needs room. Try laying out the edge with a garden hose first, then walk your (off) mower along it to see if it flows without stopping or pivoting.
Avoiding Acute Angles and 'Doglegs'
Corners sharper than 90 degrees are tough for most rotary mowers. Grass builds up there and stays uncut unless you trim it manually. Go for rounded corners instead. Where two beds meet near a walkway, leave at least 6 inches more turf width than your mower deck—so the wheels don’t sink into mulch on either side.
Material Comparison: Choosing the Right Edging
Edging materials vary in price, lifespan, and how hard they are to install. Here’s how common options stack up:
| Material Type | Avg. Cost (Per Linear Ft.) | Durability | Installation Effort | Best Application |
|---|---|---|---|---|
| Flush Paver / Stone Strip | $4.00 - $12.00 | Very High | High (Trenching & Base Prep) | Perimeter of beds, tree rings, patio transitions |
| Steel Edging (e.g., EverEdge) | $5.00 - $9.00 | Extremely High | Medium (Requires trenching) | Long sweeping curves, modern landscapes |
| Aluminum Edging | $6.00 - $10.00 | High (Rust-proof) | Medium | Coastal areas, high-moisture garden beds |
| Plastic / Poly Edging | $1.50 - $3.50 | Low to Medium | Low (No-dig or shallow trench) | Budget projects, temporary beds, gentle curves |
| Poured Concrete Curbing | $8.00 - $15.00 | Very High | Very High (Professional form/pour) | Permanent, high-end residential landscapes |
Step-by-Step Guide to Installing a Flush Mowing Strip
A flush mowing strip—made from concrete pavers, brick, or natural flagstone—is one of the most practical upgrades for low-maintenance lawns. It sits level with the soil surface. Here’s how to install one using products like Belgard Holland Stone Pavers or Pavestone concrete bricks.
1. Determine the Width and Timing
Aim for at least 12 inches wide—18 inches works better if you use larger mowers. The best times to install are early spring or late fall, when the soil is moist and easy to work, and the grass isn’t stressed.
2. Trenching and Base Preparation
Dig a trench along your planned border with a flat spade or bed edger. Make it 4 to 6 inches deep and slightly wider than your pavers. Fill the bottom 2 inches with crushed gravel or paver base, then add 1 inch of coarse leveling sand. Tap it down with a hand tamper so the base stays firm and even.
3. Laying the Pavers
Set the pavers snugly in the trench. Tap them gently with a rubber mallet until they’re exactly level with the surrounding soil. If they stick up even half an inch, your mower will scalp the grass next to them—and leave a brown stripe.
4. Securing the Edge
Sweep polymeric sand into the joints between pavers, then mist with water to set it. On the garden bed side, backfill with soil and mulch, keeping the mulch about 2 inches below the top of the pavers—so rain doesn’t wash it onto the hardscape.
Expert Guidelines on Turf and Bed Separation
How turf and ornamental plants meet matters for both looks and plant health. The University of Florida IFAS Extension, which studies turfgrass and sustainable landscaping, recommends physically separating turf from garden beds as part of their 'Florida-Friendly Landscaping' approach.
'Maintain a 3-to-6-foot ring of mulch around trees and separate turf from garden beds using edging. This prevents competition for water and nutrients, reduces damage from string trimmers, and creates a defined boundary that limits the spread of invasive turf rhizomes into ornamental areas.' - UF/IFAS Extension Guidelines on Landscape Maintenance and Turf Separation
This isn’t just about appearance. Wide mulch rings edged with steel or pavers protect tree trunks from mower and trimmer damage—something that can girdle and kill mature trees over time.
Budgeting Your Edging Project
Landscape updates need realistic numbers. For lawn edging, budget for both materials and labor. If you hire a contractor, expect $6–$15 per linear foot for steel edging or paver strips—including trenching, base prep, and cleanup.
For a DIY job, edging a 100-square-foot bed (about 40 linear feet) with plastic or aluminum no-dig edging costs under $100. Going with flush paver strips for high-use zones runs $300–$500 in materials for the same length. The higher upfront cost pays off quickly: less time mowing, less trimmer line used, and less wear on your equipment.
Conclusion: Planning for the Future of Your Lawn
Good lawn borders start with smart planning—not after the grass is laid or the plants are in. Sweeping curves, durable materials like steel or flush pavers, and clear separation between turf and beds all add up to easier mowing week after week. Sketch your edges before planting, and you’ll notice the difference every time you push the mower.