Pest Control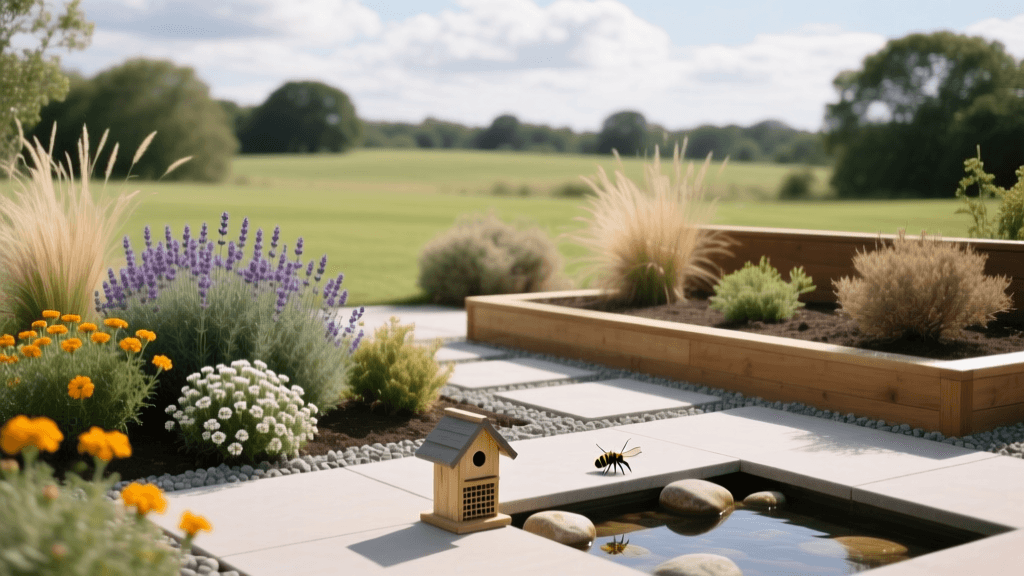
Designing a Pest-Resistant Landscape Layout Plan
The Blueprint for a Pest-Resistant Landscape
When most homeowners think of pest control, they picture spraying chemicals or setting traps after an infestation has already taken root. However, as a senior landscape planner, I can tell you that the most effective pest management strategy begins long before the first seed is sown or the first shrub is planted. Designing a pest-resistant landscape layout is a proactive approach rooted in Integrated Pest Management (IPM). By strategically planning your hardscaping, plant placement, and garden zones, you can create an environment that is inherently hostile to destructive pests while welcoming beneficial predators.
This comprehensive planning guide will walk you through the essential design phases to naturally deter common lawn and garden pests, saving you time, money, and frustration.
Phase 1: Site Analysis and Hydrozoning
Pests thrive in stressed environments. Overwatered lawns attract fungus gnats, grubs, and mosquitoes, while drought-stressed shrubs become prime targets for spider mites and aphids. The first step in your landscape design is implementing hydrozoning—the practice of grouping plants with similar water and sunlight requirements together.
By mapping your yard's microclimates, you can prevent the overwatering of drought-tolerant plants, which eliminates the damp soil conditions that fungus gnats and root rot fungi require. Furthermore, proper grading is essential. Ensure your landscape has a minimum 2% slope away from your home's foundation to prevent standing water. For low-lying areas where water naturally pools, design a rain garden or install a French drain using 4-inch perforated PVC pipe surrounded by 3/4-inch washed gravel. Eliminating standing water is your first line of defense against mosquito breeding, reducing the need for chemical larvicides like Bacillus thuringiensis israelensis (Bti).
Phase 1.5: Soil Preparation and Amendment Planning
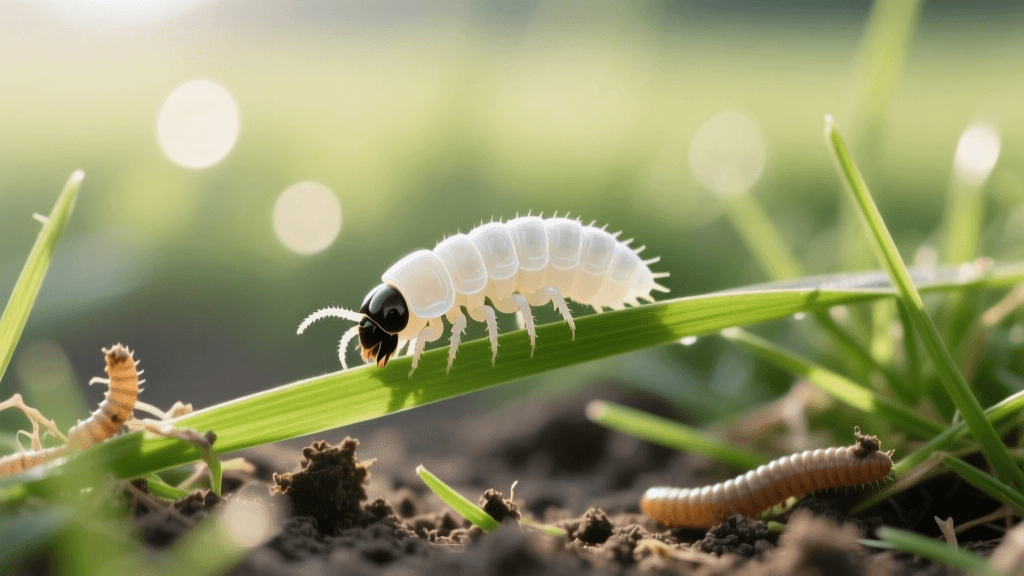
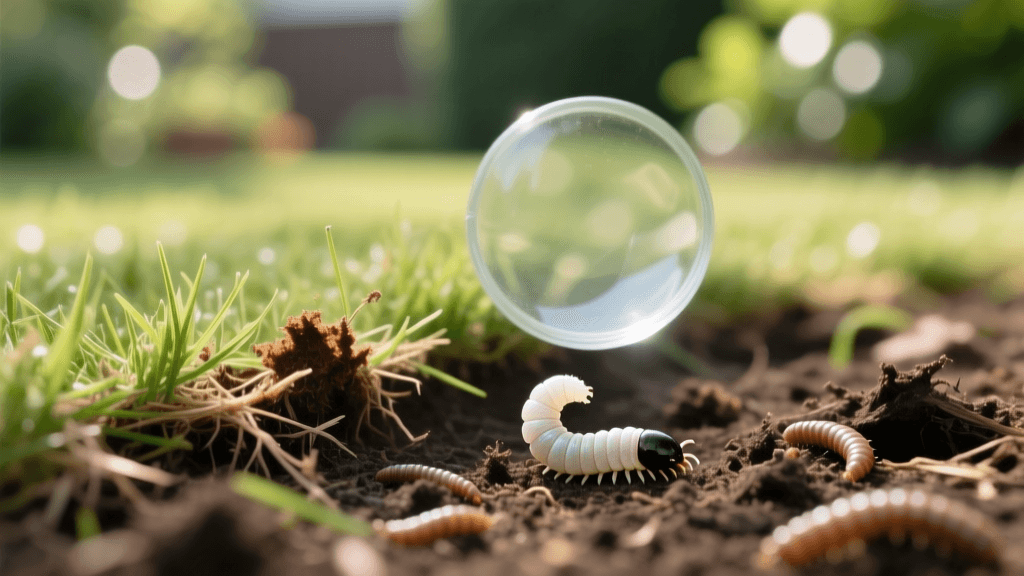
Before finalizing your plant placement, a comprehensive soil test is non-negotiable. Soil that is deficient in essential micronutrients will produce weak plant tissue, making it highly susceptible to piercing-sucking insects like aphids and whiteflies. Plan to amend your soil based on local university extension soil test results. Incorporating organic compost at a rate of 2 to 3 inches tilled into the top 6 inches of soil improves drainage and introduces beneficial nematodes. These microscopic worms naturally hunt and destroy soil-dwelling pests such as fungus gnat larvae and Japanese beetle grubs. Products like Arbico Organics Beneficial Nematodes can be applied during the early planning stages of bed preparation, costing roughly $30 per million nematodes, enough to treat 2,000 square feet.
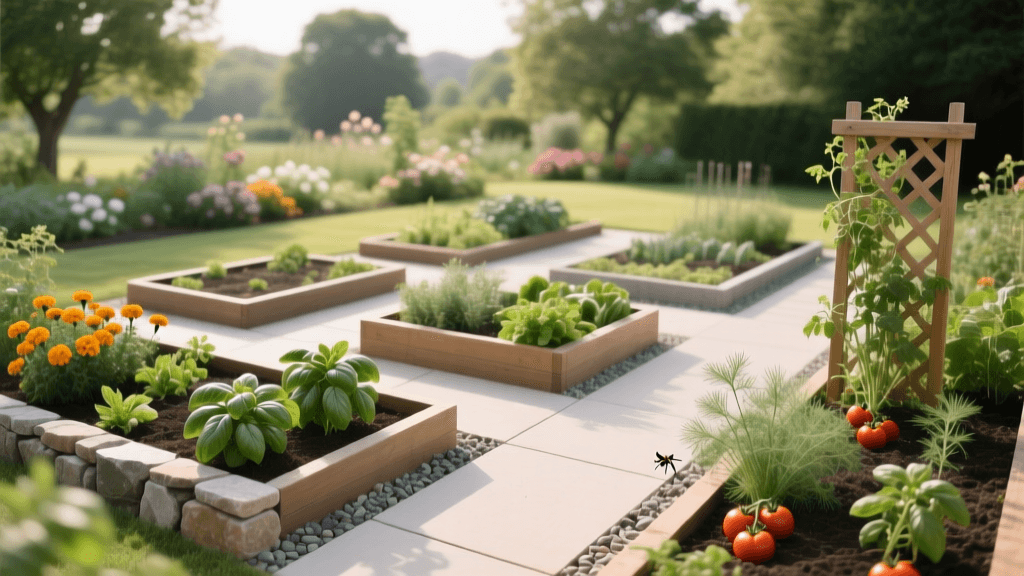
Phase 2: Hardscaping as a Physical Pest Barrier
Hardscaping is not just for aesthetics; it is a critical component of physical pest control. Softwood mulches and dense groundcovers can harbor slugs, snails, and pillbugs. When designing your garden beds, incorporate hardscape elements that deter these soft-bodied pests.
Gravel Borders and Copper Flashing
Design a 12-inch wide border of 3/4-inch crushed angular gravel around vulnerable plant beds. Unlike rounded river rock, angular gravel has sharp edges that are uncomfortable for slugs and snails to cross. For raised beds, which are highly susceptible to slug damage, integrate a 2-inch wide strip of copper tape or copper flashing along the top perimeter. When a slug's slime reacts with the copper, it creates a mild electrical charge that repels them. Expect to spend around $15 to $25 per 50-foot roll of copper tape, a one-time investment that lasts for years.
Subterranean Rodent Exclusion
If you are planning raised vegetable beds or installing new sod in an area prone to gophers and voles, subterranean exclusion must be part of your blueprint. Line the bottom of all raised beds with 1/2-inch galvanized hardware cloth, overlapping the seams by at least 4 inches and securing them with heavy-duty zip ties or galvanized staples. This physical barrier costs approximately $30 per 10-foot roll but prevents devastating root loss from burrowing rodents, completely eliminating the need for toxic bait stations.
Phase 3: Companion Planting and Strategic Zoning
Companion planting is the art of placing specific plants in close proximity to deter pests, enhance growth, or attract beneficial insects. When drafting your planting plan, use the following matrix to strategically zone your garden beds.
| Target Crop | Common Pest Threat | Companion Plant | Design Spacing & Placement |
|---|---|---|---|
| Tomatoes | Hornworms, Aphids | Marigolds, Basil | Interplant basil 12 inches away; border beds with marigolds. |
| Roses | Aphids, Japanese Beetles | Alliums, Garlic | Plant allium bulbs 8 inches from rose base in a circular pattern. |
| Brassicas (Cabbage) | Cabbage Loopers | Thyme, Sage | Plant aromatic herbs along the windward edge of the bed to mask scents. |
| Squash | Squash Vine Borers | Nasturtiums, Radishes | Use nasturtiums as a trap crop 3 feet away from main squash mounds. |
Using trap crops, like nasturtiums, is a brilliant design strategy. You intentionally plant them slightly away from your main crops to draw aphids and beetles away from your prized vegetables. Once the trap crop is heavily infested, you simply pull it up and dispose of it, removing the pest population without a single drop of pesticide.
Phase 4: Designing Beneficial Insect Habitats
A truly resilient landscape design does not aim to kill all insects; it aims to balance the ecosystem. You must design specific zones to attract predatory insects like ladybugs, lacewings, and parasitic wasps, which will naturally manage your pest populations.
Beetle Banks and Pollinator Strips
Plan a 'beetle bank' at the perimeter of your property or between large lawn sections. A beetle bank is a raised berm of soil, roughly 12 inches wide and 6 inches high, planted with native bunchgrasses like fescue or blue grama. These grasses provide overwintering habitat for ground beetles, which are voracious predators of slugs, snail eggs, and cutworms. Additionally, incorporate a 3-foot wide pollinator strip featuring yarrow, dill, and alyssum. These plants feature tiny, umbrella-shaped flower clusters (umbels) that provide essential nectar for adult parasitic wasps, whose larvae will consume garden caterpillars from the inside out.
Phase 5: Landscape Lighting and Evening Pest Control
Often overlooked in pest management planning is landscape lighting. Standard mercury vapor or cool-white LED bulbs emit high levels of ultraviolet (UV) and blue light, which attract massive swarms of moths, beetles, and mosquitoes. These insects, in turn, attract bats and nocturnal rodents to your immediate living spaces.
When designing your outdoor lighting plan, specify warm-colored LEDs with a color temperature of 2700K or lower. These bulbs emit a yellowish hue that is significantly less attractive to nocturnal insects. Furthermore, use directional path lights that cast illumination downward onto the hardscape rather than omnidirectional fixtures that scatter light into the garden canopy. This simple design choice drastically reduces the localized insect population around your patio and entryways.
Expert Insights and Long-Term Planning
'The goal of IPM in landscape design is not the total eradication of pests, but rather keeping their populations below economically and aesthetically damaging levels through ecological manipulation.' - University of California Agriculture and Natural Resources (UC ANR) IPM Guidelines.
Planning a pest-resistant landscape requires an upfront investment of time and strategic thinking, but the long-term dividends are immense. By integrating proper hydrozoning, physical hardscape barriers, companion planting matrices, and beneficial insect habitats into your initial blueprint, you drastically reduce your reliance on synthetic chemicals. You create a living, breathing ecosystem that defends itself, ensuring your lawn and garden remain vibrant, healthy, and beautifully balanced for years to come.
Remember to document your landscape plan on graph paper or using CAD software, noting the exact spacing, hardscape materials, and irrigation zones. A well-documented plan ensures that as your garden matures, you can easily identify which design elements are successfully suppressing pests and which areas may require seasonal adjustments. Embrace the design process, and let nature do the heavy lifting of pest control for you.