Pest Control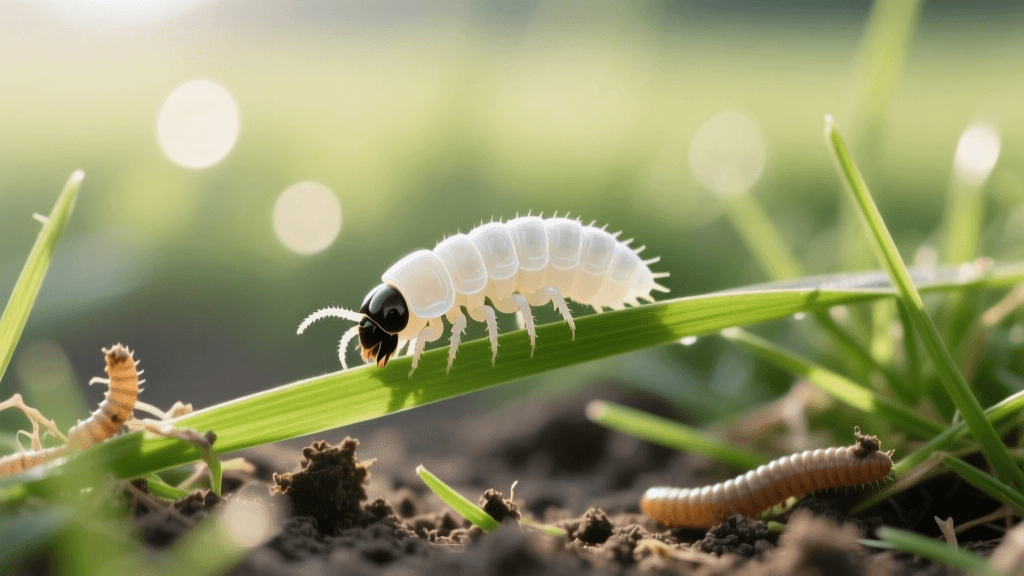
How to Identify and Treat White Grubs in Home Lawns
The Hidden Threat Beneath Your Turf
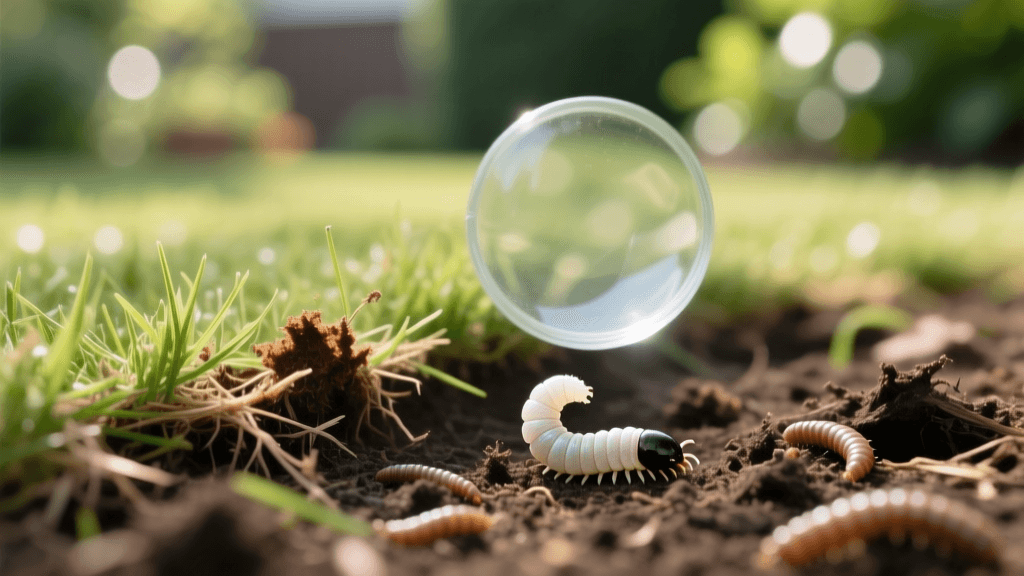
White grubs are the larval stage of various scarab beetles, including Japanese beetles, June bugs, and European chafers. These C-shaped, cream-colored larvae live just beneath the soil surface, feeding aggressively on grassroots. If left unchecked, a severe grub infestation can destroy an otherwise healthy lawn in a matter of weeks, leaving behind large, irregular patches of dead, brown turf that can be rolled back like a carpet. For homeowners seeking a pristine lawn, understanding how to identify, treat, and prevent grubs is an essential skill in integrated pest management (IPM).
How to Confirm a Grub Infestation
Before spending money on treatments, it is crucial to confirm that grubs are actually the culprit behind your lawn damage. Drought stress, fungal diseases, and dog urine can all cause similar brown patches. To verify a grub problem, you need to perform a physical inspection of the soil and root zone.
The Tug Test and Soil Sampling
Walk to the edge of a damaged brown patch where it meets the green, healthy grass. Grab a handful of the turf and pull upward gently. If the grass lifts easily like a loose carpet and you see severed roots, grubs are likely at work. Use a flat-edged shovel to cut a one-foot by one-foot square of sod, about two to three inches deep, and peel it back. Count the number of grubs you find in the soil and on the roots. Finding fewer than five grubs per square foot is generally considered normal and requires no treatment. However, if you count eight to ten or more grubs per square foot, treatment is highly recommended to prevent severe turf loss.
Signs of Animal Damage
Secondary indicators of a grub infestation include increased wildlife activity. Birds, skunks, raccoons, and moles will actively tear up your lawn to feed on the protein-rich grubs hiding beneath the surface. If you notice irregular digging marks, torn-up sod, or small mounds of dirt, check the soil immediately for larvae.
Understanding the Grub Life Cycle
Timing your treatment correctly requires a basic understanding of the scarab beetle life cycle. Adult beetles emerge from the soil in early summer (June and July) to mate and lay eggs in the turf. These eggs hatch in late July and August, releasing tiny, first-instar grubs. These young grubs feed voraciously near the surface during late summer and early fall, causing the most significant damage. As soil temperatures drop in November, they burrow deep below the frost line to overwinter. They return to the surface in spring to feed briefly before pupating into adults. Because they are most vulnerable when young and close to the surface, late summer is the prime window for curative treatments, while early summer is best for preventatives.
Curative vs. Preventative Grub Control
Choosing the right product depends on the time of year and the current size of the grubs. Preventative treatments target newly hatched larvae, while curative treatments are designed to kill larger, actively feeding grubs that are already causing damage.
| Treatment Type | Active Ingredient / Organism | Application Timing | Target Stage | Est. Cost per 1,000 sq ft |
|---|---|---|---|---|
| Preventative Chemical | Chlorantraniliprole (e.g., Scotts GrubEx) | April to June | Early instar larvae | $15 - $25 |
| Preventative Chemical | Imidacloprid (e.g., Bayer Advanced) | May to July | Early instar larvae | $12 - $20 |
| Curative Chemical | Trichlorfon (e.g., Dylox 6.2) | August to October | Late instar larvae | $20 - $35 |
| Biological Control | Heterorhabditis bacteriophora (Nematodes) | Late August to September | All larval stages | $30 - $50 |
| Long-term Biological | Paenibacillus popilliae (Milky Spore) | Anytime soil is workable | Japanese beetle grubs only | $40 - $60 |
Step-by-Step Guide to Applying Chemical Grub Control
If you have confirmed an active infestation in late summer or early fall, a curative chemical application is often the fastest way to save your lawn. Follow these steps for maximum efficacy.
Step 1: Mow and Clear the Lawn
Mow your lawn to a height of about two inches. This reduces the amount of thatch and tall grass that could intercept the granular insecticide before it reaches the soil. Rake away any heavy layers of dead leaves or debris to ensure the product makes direct contact with the soil surface.
Step 2: Calibrate and Apply the Treatment
For curative control, products containing Trichlorfon (such as Bayer Advanced 24 Hour Grub Killer Plus or Dylox) are highly effective. Set your broadcast spreader according to the manufacturer's instructions on the bag. Typically, you will apply between 2 to 4 pounds of product per 1,000 square feet. Walk at a steady pace, overlapping your wheel tracks slightly to ensure even coverage and avoid striping. Always wear gloves, long pants, and closed-toe shoes during application.
Step 3: Water Deeply and Immediately
Grub control granules must be washed off the grass blades and into the top two inches of soil where the grubs are feeding. Immediately after application, turn on your sprinklers or use a hose-end sprayer to deliver at least 0.5 inches of water across the treated area. You can measure this by placing an empty tuna can on the lawn and running the sprinkler until the can is half full. Without this crucial watering step, the active ingredient will remain on the surface, degrading in the sun and failing to reach the pests.
Organic and Biological Control Methods
For homeowners who prefer to avoid synthetic chemicals, biological controls offer a highly effective, eco-friendly alternative. These methods require precise timing and environmental conditions but are excellent for long-term IPM strategies.
- Beneficial Nematodes: Microscopic worms, specifically the Heterorhabditis bacteriophora species, actively hunt and infect grubs with a lethal bacteria. You must purchase them live from a reputable supplier, keep them refrigerated until use, and apply them in the late afternoon or on a cloudy day to protect them from UV light. The soil must be kept consistently moist for at least two weeks after application to allow the nematodes to move through the soil profile and locate their hosts.
- Milky Spore Disease: This naturally occurring bacterium (Paenibacillus popilliae) specifically targets Japanese beetle grubs. It is applied in a grid pattern across the lawn using a specialized dispenser tube. While it takes two to three years to build up in the soil and become fully effective, a single application can provide control for up to 15 years. Note that Milky Spore is ineffective against other grub species like European chafers or June bugs.
Cost Breakdown: DIY vs. Professional Treatment
Treating a standard 5,000-square-foot lawn yourself will typically cost between $60 and $150, depending on whether you choose preventative or curative chemicals, and whether you invest in a quality broadcast spreader. Renting a commercial spreader from a local hardware store usually costs around $25 per day. Hiring a licensed lawn care professional to apply commercial-grade grub control will generally cost between $150 and $300 for the same area. Professionals often bundle grub control with broader seasonal fertilization and broadleaf weed management programs, which can offer better overall value for comprehensive lawn health.
Expert Insights and Authoritative Guidelines
Expert Insight: According to the Penn State Extension, 'Grub control is most effective when timed correctly with the life cycle of the insect. Preventative applications should be made before eggs hatch, while curative treatments are necessary when grubs are large and actively feeding in late summer or early fall. Always irrigate immediately after applying granular insecticides to move the active ingredient into the root zone where grubs reside. Furthermore, maintaining a healthy, vigorously growing turf through proper mowing and fertilization can help the grass outgrow minor grub feeding damage.'
Lawn Recovery and Aftercare
Killing the grubs is only half the battle; you must also repair the damage they left behind. Once the pests are eradicated, focus on turf recovery. Use a garden rake to remove dead grass and loosen the top layer of soil in the damaged patches. Apply a high-quality grass seed blend that matches your existing lawn, and cover it lightly with peat moss or straw to retain moisture. Water the repaired areas daily for the first two weeks to encourage rapid germination. Finally, apply a starter fertilizer to give the new grass the nutrients it needs to establish a deep, resilient root system before winter arrives. By combining targeted pest control with proactive lawn care, you can restore your turf and prevent future infestations.