
Gardening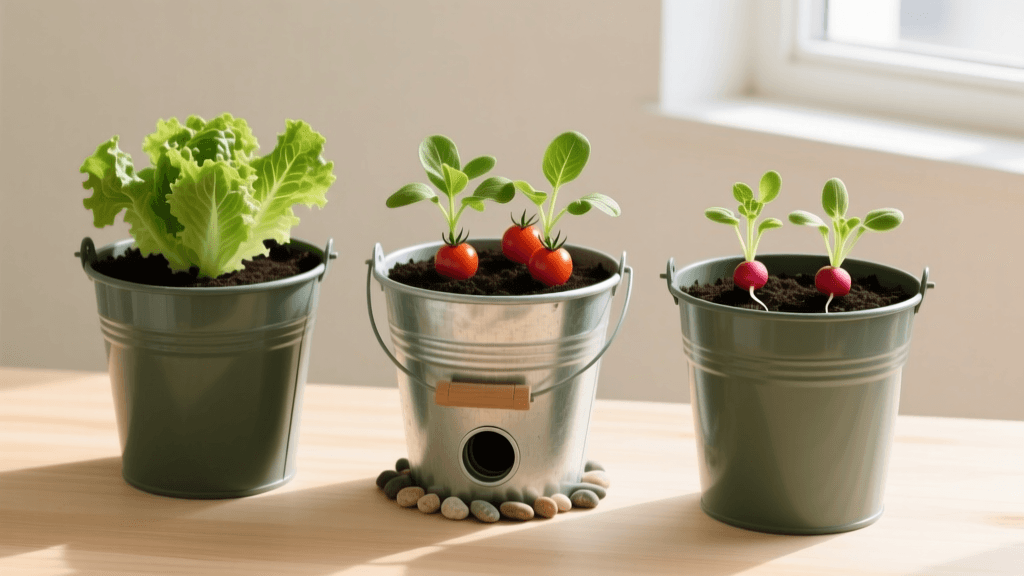
DIY 5-Gallon Bucket Garden: Budget Vegetable Growing
The Economics of Upcycled Container Gardening
Container gardening is an incredible way to grow fresh vegetables, herbs, and flowers, especially for those with limited yard space, poor native soil, or rented properties. However, the initial investment can be staggering. A single high-quality 14-inch terracotta or glazed ceramic pot can easily cost between $25 and $50 at local garden centers. If you want to grow a diverse array of summer vegetables, outfitting a patio with traditional pots could set you back hundreds of dollars before you even buy a single seed.
Enter the ultimate budget-friendly DIY solution: the humble 5-gallon bucket. Standard 5-gallon buckets typically cost between $3 and $5 each at hardware stores, and can often be sourced for free from local restaurants or bakeries. By upcycling these sturdy, weather-resistant containers, you can build a highly productive, mobile, and virtually indestructible vegetable garden for a fraction of the cost. A standard 5-gallon bucket holds approximately 0.67 cubic feet of soil, providing ample depth and volume for deep-rooting crops like tomatoes, peppers, and even dwarf fruit trees.
Sourcing Safe, Food-Grade Buckets
Not all plastic buckets are created equal. When growing edible crops, it is critical to ensure your containers are made from food-grade plastic to prevent harmful chemicals from leaching into your soil and, subsequently, your food. According to the University of Minnesota Extension, avoiding containers that previously held toxic chemicals, pesticides, or industrial solvents is paramount for edible gardening.
Look for the recycling symbol on the bottom of the bucket. You want to find the number '2' inside the triangle, which stands for High-Density Polyethylene (HDPE). HDPE is highly stable, UV-resistant, and the industry standard for food storage. Many local delis, bakeries, and ice cream shops receive their ingredients in food-grade HDPE buckets and will often give them away for free or sell them for a dollar or two. Always wash them thoroughly with a mild bleach solution (one tablespoon of bleach per gallon of water) and rinse well before use.
Tools and Materials Needed
To build a single bucket garden station, you will need the following low-cost materials:
- 1 Food-Grade 5-Gallon Bucket (with or without a lid) - Cost: $0 to $5
- Power Drill with a 1/2-inch Spade Bit - Cost: Already owned or $10 for a bit
- Landscape Fabric or Coffee Filters - Cost: $0 to $5
- DIY Potting Soil Mix (Recipe below) - Cost: $4 to $8 per bucket
- Bricks or Wooden Blocks (for elevation) - Cost: $0 to $2
Total estimated cost per fully planted bucket: $5 to $15, compared to $40 to $75 for a traditional potted setup.
Step-by-Step Bucket Preparation
Proper drainage is the single most important factor in container gardening. Without it, water pools at the bottom of the bucket, leading to anaerobic soil conditions and fatal root rot. Follow these steps to prep your buckets:
1. Drill the Drainage Holes
Turn the bucket upside down. Using your 1/2-inch spade bit, drill six to eight holes evenly spaced across the bottom. Additionally, drill two holes on the lower sides of the bucket, about one inch up from the base. These side holes act as a secondary drainage mechanism and allow for crucial air circulation at the root zone.
2. Prevent Soil Washout
Place a piece of landscape fabric, a fine mesh screen, or even a standard paper coffee filter over the holes on the inside of the bucket. This allows water to escape freely while preventing your expensive potting soil from washing out onto your patio during heavy rains.
3. Elevate the Bucket
Never place a planted bucket directly flat on the ground or a wooden deck. This blocks the drainage holes and traps moisture. Place two or three bricks, or specialized 'pot feet,' under the bucket to elevate it at least two inches off the ground. This also deters ground-dwelling pests like slugs and sowbugs from climbing inside.
The Ultimate Budget-Friendly Potting Mix
Never use topsoil or garden soil from your yard in a container. The NC State Extension warns that native garden soil is too dense for containers; it compacts easily, restricts root growth, and harbors soil-borne diseases and weed seeds. Instead, you need a lightweight, well-draining potting mix.
Commercial potting soils can cost $15 to $20 per bag. To keep your DIY garden budget-friendly, mix your own high-performance soil using the 'Modified Mel's Mix' ratio:
- 1 Part Coco Coir or Peat Moss: Provides moisture retention and structure. Coco coir is highly recommended as it is a sustainable byproduct of the coconut industry and re-wets easier than peat.
- 1 Part Coarse Compost: Provides a slow-release, organic nutrient base and introduces beneficial microbes. Sift it to remove large debris.
- 1 Part Perlite or Pumice: Ensures aeration and prevents the soil from compacting over the growing season.
Mix these ingredients in a wheelbarrow or large tarp. Moisten the mix slightly before filling your buckets, as dry coco coir and peat moss can become hydrophobic and resist initial watering. Fill the bucket to about two inches below the rim to allow space for watering and mulching.
Best Vegetables for 5-Gallon Buckets
While you can grow almost anything in a bucket, some crops offer a much higher return on investment and thrive in the 14-inch depth a 5-gallon bucket provides. The Old Farmer's Almanac recommends selecting bush or dwarf varieties for container gardening to maximize yields without requiring massive trellising systems.
| Vegetable Crop | Plants Per Bucket | Recommended Variety Type | Days to Harvest | Estimated Yield |
|---|---|---|---|---|
| Tomatoes | 1 | Determinate or Patio Bush | 60 - 80 | 10 - 15 lbs |
| Bell Peppers | 1 or 2 | Compact Sweet or Hot | 65 - 85 | 3 - 5 lbs |
| Bush Cucumbers | 1 | Bush Crop or Spacemaster | 50 - 70 | 5 - 10 fruits |
| Carrots | 10 - 15 | Nantes or Chantenay (Short) | 65 - 75 | 10 - 15 roots |
| Bush Beans | 4 - 6 | Provider or Contender | 50 - 60 | 1 - 2 lbs |
| Zucchini | 1 | Patio Star or Bush Baby | 45 - 55 | 3 - 6 lbs |
Watering, Feeding, and Maintenance
Containers dry out significantly faster than in-ground garden beds. During the peak of summer, a fully grown tomato plant in a 5-gallon bucket may require watering twice a day. To combat this, apply a two-inch layer of organic mulch—such as straw, shredded leaves, or grass clippings—over the soil surface. This drastically reduces evaporation and keeps the root zone cool.
Because frequent watering leaches nutrients out of the drainage holes, container plants require regular feeding. Supplement your compost-heavy soil mix with a liquid organic fertilizer, such as fish emulsion or kelp meal, every two weeks during the active growing season. For heavy feeders like tomatoes and peppers, side-dress the top of the soil with a handful of worm castings or granular organic tomato fertilizer mid-season to prevent blossom end rot and ensure robust fruit production.
Conclusion
Building a DIY 5-gallon bucket garden is one of the most accessible, economical, and rewarding projects a home gardener can undertake. By sourcing food-grade plastics, drilling proper drainage, and mixing a custom, lightweight soil blend, you can cultivate a thriving, high-yield vegetable garden on any balcony, driveway, or sunny patio. Not only does this upcycling approach save you hundreds of dollars in overhead costs, but it also keeps usable plastics out of landfills while putting fresh, organic produce directly on your dinner table.

