
Landscaping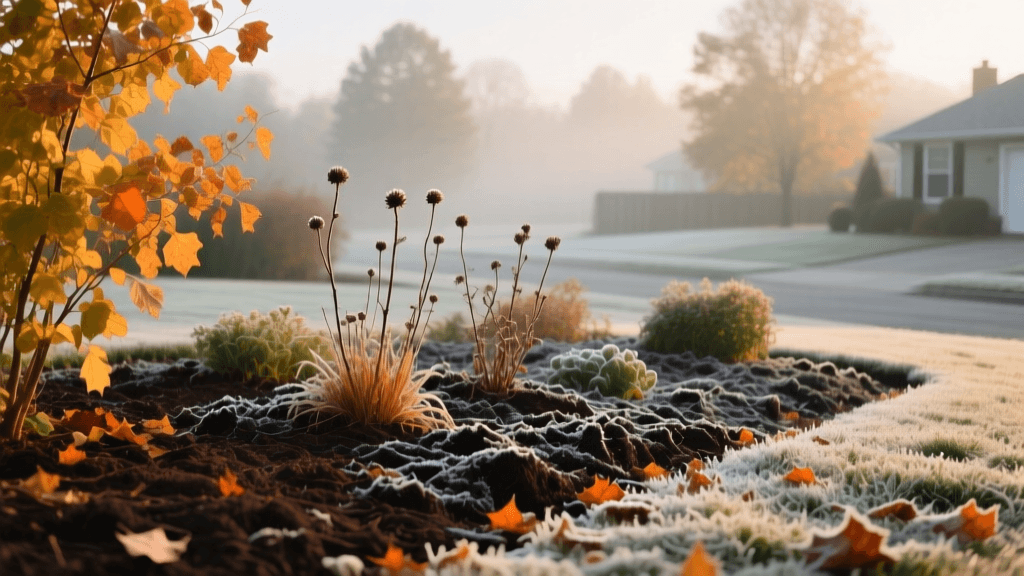
Fall Landscape Bed Prep: Winterizing Plants and Soil
Why Fall Landscape Maintenance Dictates Spring Health
As temperatures drop and daylight hours shorten, many homeowners mistakenly believe their landscaping duties have ended. However, autumn is arguably the most critical season for landscape bed health. While the top growth of perennials and shrubs may be entering dormancy, root systems are actively expanding and storing carbohydrates for the following spring. Neglecting seasonal maintenance in the fall leaves your garden beds vulnerable to frost heave, desiccation, soil compaction, and overwintering pests. Proper fall landscape bed preparation bridges the gap between winter survival and explosive spring vitality.
Step 1: Soil Testing and Targeted Amendment
Healthy landscape beds begin beneath the surface. Fall is the ideal time to test your soil because it allows amendments like lime or sulfur months to break down and alter the soil chemistry before spring planting. Aim for a soil pH between 6.0 and 6.8 for most ornamental landscape beds, which maximizes nutrient availability.
Collect soil samples from various depths (around 4 to 6 inches) across your garden beds and send them to a local university extension or a certified agronomic lab. Based on the results, apply targeted amendments:
- Garden Lime: Apply if pH is below 6.0. Use pelletized lime for easier application at a rate of roughly 5 to 10 lbs per 100 square feet, depending on your soil type (clay requires more).
- Elemental Sulfur: Apply if pH is above 7.0, particularly for acid-loving shrubs like azaleas, rhododendrons, and hydrangeas.
- Organic Compost: Top-dress beds with a half-inch layer of high-quality organic compost. This improves soil structure, increases water retention, and feeds the soil microbiome without the risk of burning dormant roots associated with synthetic nitrogen fertilizers.
According to the Cornell University Cooperative Extension, applying organic matter and pH adjusters in the fall allows the freeze-thaw cycles of winter to naturally incorporate these amendments into the soil profile, reducing the need for aggressive spring tilling which can damage established root networks and bring dormant weed seeds to the surface.
Step 2: Strategic Pruning and Perennial Cleanup
Knowing what to cut back and what to leave standing is a hallmark of advanced landscape management. The goal is to remove disease vectors while preserving winter habitat and structural interest.
What to Cut Back
Herbaceous perennials that are prone to fungal diseases or harbor pests should be cut down to the ground once their foliage has yellowed or died back. Hostas, daylilies, peonies, and bee balm are prime candidates for autumn removal. Cut the stems to within 2 inches of the soil line and dispose of the debris in your municipal compost or green waste bin—never compost diseased foliage in your home pile, as most backyard compost bins do not reach the 140°F required to kill fungal spores.
What to Leave Standing
Ornamental grasses, coneflowers (Echinacea), black-eyed Susans (Rudbeckia), and sedum should be left intact until early spring. Their seed heads provide vital winter forage for native birds, while their hollow stems offer overwintering habitat for beneficial solitary bees. Additionally, the standing foliage helps trap blowing snow, which acts as a natural insulating blanket for the plant's crown.
Step 3: Fall Mulching Techniques and Material Selection
Mulch is your landscape bed's primary defense against extreme temperature fluctuations. However, improper mulching can be just as damaging as no mulch at all. The most common error is the 'mulch volcano'—piling mulch high against the trunks of trees and the crowns of shrubs. This traps moisture against the bark, inviting rot, rodent damage, and fungal cankers.
Maintain a consistent mulch layer of 2 to 3 inches across the bed, keeping it at least 3 inches away from woody stems and tree trunks. Below is a comparison of common mulch materials to help you choose the right product for your specific landscape needs.
| Mulch Type | Est. Cost (per Cu. Ft.) | Decomposition Rate | Best Use Case |
|---|---|---|---|
| Shredded Hardwood | $4.00 - $6.00 | 1 - 2 Years | General beds, slopes (mats together well) |
| Pine Bark Nuggets | $5.00 - $7.00 | 2 - 3 Years | Flat beds, acid-loving plants, pathways |
| Shredded Leaves | Free | 6 - 9 Months | Vegetable gardens, woodland beds, soil building |
| Dyed Hardwood | $5.50 - $8.00 | 1 - 2 Years | High-visibility curb appeal beds (color fades) |
| Arborist Woodchips | Free - $2.00 | 1 - 3 Years | Large areas, tree rings, informal landscapes |
Step 4: Hydration and Anti-Desiccant Protection
Winter desiccation (drying out) is a leading cause of shrub and tree mortality, particularly for broadleaf evergreens like boxwoods, hollies, and rhododendrons. These plants continue to lose moisture through their leaves during winter winds, but cannot replace it if the ground is frozen.
Deep Watering: Continue to water your landscape beds deeply until the ground freezes solid. A slow, deep soaking with a soaker hose for 2 to 3 hours once a week in late autumn ensures the root zone is fully hydrated.
Anti-Desiccant Sprays: For vulnerable evergreens, apply an anti-transpirant spray (such as Wilt Stop or Bonide Anti-Transpirant) in late November or early December. These organic, pine-oil-based coatings seal the stomata on the leaves, reducing moisture loss by up to 70%. Expect to spend around $25 to $35 per gallon of concentrate, which treats dozens of average-sized shrubs. Apply on a dry day when temperatures are above 40°F to allow the emulsion to dry properly.
Step 5: Hardscape and Drainage Winterization
Landscape beds do not exist in a vacuum; they interact directly with adjacent hardscapes and drainage systems. Frost heave can shift retaining walls and stone edging if water is allowed to pool and freeze in the base materials.
- Clear French Drains and Channel Drains: Remove autumn leaves and sediment from all trench drains and catch basins bordering your garden beds. A blocked drain will force water into your beds, leading to waterlogged soil and root asphyxiation.
- Inspect Edging: Check steel or plastic landscape edging for any sections that have heaved upward. Hammer them back into place before the ground freezes to prevent trip hazards and mowing issues in the spring.
- Seal Natural Stone: If your beds are bordered by natural sandstone or limestone, apply a breathable, siloxane-based masonry sealer to prevent water intrusion and subsequent spalling (flaking) caused by freeze-thaw cycles.
The Seasonal Maintenance Timeline
To stay organized, break your fall landscape prep into a phased approach:
- Early Fall (September): Conduct soil tests, plant spring-blooming bulbs, divide overgrown perennials, and apply fall compost top-dressing.
- Mid Fall (October): Rake leaves out of garden beds (or shred them in place), cut back disease-prone perennials, clear drainage systems, and plant bare-root shrubs.
- Late Fall (November - Early December): Apply winter mulch after the first hard frost, hydrate evergreens deeply, apply anti-desiccant sprays, and wrap vulnerable tree trunks to prevent sunscald and rodent damage.
Conclusion
Investing time and resources into fall landscape bed preparation pays exponential dividends when spring arrives. By focusing on soil chemistry, strategic pruning, intelligent mulching, and moisture management, you create a resilient outdoor environment capable of withstanding the harshest winter conditions. A well-winterized landscape bed requires less emergency triage in the spring, allowing you to focus on creative design and new plantings rather than replacing casualties of winter neglect.

