
Landscaping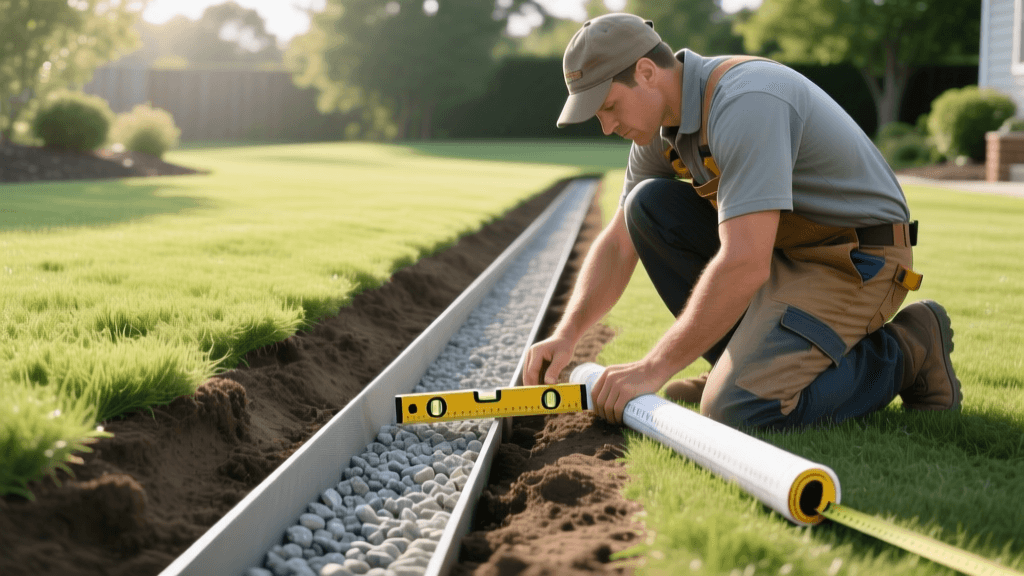
Expert Guide: French Drain Installation Best Practices
Water management is the cornerstone of any successful landscaping project. When surface runoff and subsurface hydrostatic pressure threaten your foundation, drown your turf, or erode your garden beds, a properly installed French drain is the ultimate solution. However, a French drain is only as effective as its execution. Many homeowners and amateur landscapers treat this critical hardscaping project as a simple ditch-filling exercise, leading to clogged pipes, collapsed trenches, and worsened drainage issues. In this comprehensive guide, we will explore the expert tips and best practices for French drain installation, ensuring your yard remains dry, functional, and structurally sound for decades.
The Science of Subsurface Drainage
A French drain is not merely a trench filled with rocks; it is a carefully engineered gravity-fed system designed to intercept and redirect groundwater and surface runoff. According to the Penn State Extension, improper subsurface drainage is a leading cause of soil saturation, which deprives plant roots of oxygen and compromises the structural integrity of nearby hardscapes and foundations. The goal is to create a path of least resistance for water, utilizing a perforated pipe surrounded by porous aggregate and protected by a geotextile filter.
Planning and Trenching: The Foundation of Success
The most common point of failure in French drain installation is inadequate slope. Water will not move through a pipe without a consistent downward gradient. Expert landscapers adhere to a strict minimum slope rule: 1/8 inch of drop per linear foot (approximately a 1% grade). While a 1/4 inch per foot slope is ideal for rapid drainage, 1/8 inch is the absolute minimum to prevent water from pooling inside the pipe.
Before breaking ground, always call 811 to have underground utilities marked. Once clear, map your route. The trench should ideally be 12 to 18 inches wide and 18 to 24 inches deep. This depth ensures the pipe sits below the frost line in many climates and deep enough to intercept subsurface water before it reaches the surface. Use a laser level or a string line with a line level to verify your slope continuously as you dig. Never rely on the eyeball test.
Material Selection: Pipe, Gravel, and Fabric
Choosing the right materials separates a drain that lasts fifty years from one that fails in three seasons. The three critical components are the pipe, the aggregate, and the filter fabric.
Corrugated vs. Rigid PVC Pipe
The debate between flexible corrugated pipe and rigid Schedule 40 PVC is common. While corrugated pipe is cheaper and easier to maneuver around curves, its ribbed interior creates friction that slows water flow and traps sediment. Rigid PVC with drilled holes is the professional standard for long-term reliability.
| Feature | Corrugated Slotted Pipe | Schedule 40 PVC (Perforated) |
|---|---|---|
| Cost per Linear Foot | $0.75 - $1.50 | $3.00 - $5.00 |
| Interior Surface | Ribbed (high friction) | Smooth (low friction) |
| Crush Resistance | Moderate (can deform) | Extremely High |
| Clog Vulnerability | High (narrow slots) | Low (larger drilled holes) |
| Best Application | Shallow, temporary, or budget DIY | Deep, heavy load, permanent solutions |
The Importance of Washed Stone
Never use pea gravel or unwashed crushed stone in a French drain. Pea gravel is too smooth and shifts easily, while unwashed stone contains fine dust and clay particles that will wash into the pipe and clog it. You must use 3/4-inch washed crushed stone (often called washed drain rock). The angular edges lock together to prevent shifting, and the washing process ensures no fine sediments are present to compromise the system.
Geotextile Filter Fabric
Filter fabric is non-negotiable. It prevents soil and root intrusion while allowing water to pass through. Experts strictly recommend non-woven geotextile fabric (typically 4 oz to 6 oz weight). Woven fabrics, often used for weed control, do not have the correct permeability and will blind over with silt, effectively sealing your drain and causing it to overflow.
Step-by-Step Installation Best Practices
- Line the Trench: Drape the non-woven geotextile fabric across the trench, leaving at least 12 inches of excess on either side. Do not staple it to the walls yet; let the weight of the gravel hold it in place.
- Add a Base Layer: Pour 2 to 3 inches of washed stone at the bottom of the trench. This creates a stable, permeable bed for the pipe.
- Position the Pipe: Lay the perforated pipe on the base layer. If using PVC with drilled holes, ensure the holes are facing downward. This counterintuitive placement forces water to rise through the gravel bed before entering the pipe, filtering out heavy sediments that settle at the trench bottom.
- Cover and Fill: Shovel the washed stone over the pipe until you have at least 3 to 4 inches of coverage above the crown of the pipe.
- Wrap the Envelope: Fold the excess geotextile fabric over the top of the gravel, overlapping the edges to create a continuous envelope. This ensures no soil from the backfill can migrate into the gravel matrix.
- Backfill and Restore: Cover the wrapped drain with 2 to 3 inches of coarse sand or topsoil, then finish with sod or decorative river rock to blend seamlessly into your landscape design.
Managing the Outlet: Where Does the Water Go?
A French drain is useless if it has nowhere to discharge the collected water. The outlet must be lower than the highest point of the drain. Daylighting the pipe—allowing it to exit naturally on a lower slope—is the most reliable method. If daylighting is impossible, you must terminate the pipe into a properly sized dry well or a subterranean drainage cistern. For lawn terminations, install a pop-up emitter valve, which remains flush with the turf but opens under hydrostatic pressure to release water during heavy rain events.
"Subsurface drainage systems must be designed with the final outlet in mind before a single shovel hits the dirt. Trapping water in a blind trench merely relocates the saturation problem and can accelerate foundation settlement." — Adapted from guidelines by the Penn State Extension Department of Agricultural and Biological Engineering.
Cost and Timing Expectations
Understanding the investment required helps in planning your landscaping budget. For a professional installation, expect to pay between $50 and $80 per linear foot, which includes labor, heavy equipment trenching, and premium materials. A typical 100-foot residential system will cost between $5,000 and $8,000.
For the dedicated DIY landscaper, material costs range from $15 to $25 per linear foot. However, factor in the cost of renting a mini-excavator or trencher (approximately $250 to $400 per day) and the physical toll of moving several tons of washed stone. A weekend team of three able-bodied individuals can typically excavate, lay, and backfill a 50-foot trench in two full days, provided the soil is free of heavy clay and large rocks.
Final Expert Takeaways
Landscaping is as much about what happens below the soil surface as it is about the visual appeal above it. By prioritizing a precise 1/8-inch slope, investing in rigid PVC and washed stone, and meticulously wrapping your system in non-woven geotextile fabric, you transform a vulnerable yard into a resilient, well-drained landscape. Follow these best practices, and your French drain will operate silently and effectively, protecting your hardscaping investments and turf health for generations.

