Pest Control
Beginner's Guide to Controlling Fungus Gnats on Seedlings
Starting seeds indoors is a rite of passage for home gardeners, but nothing devastates a beginner's morale quite like a sudden swarm of tiny black flies hovering over delicate seedlings. These pests are fungus gnats (Bradysia species), and while the adults are mostly a nuisance, their larvae can wreak havoc on the fragile root systems of new plants. As part of our beginner-friendly growing guides, this comprehensive pest control manual will teach you how to identify, treat, and prevent fungus gnats using Integrated Pest Management (IPM) principles.
Identifying Fungus Gnats: Know Your Enemy
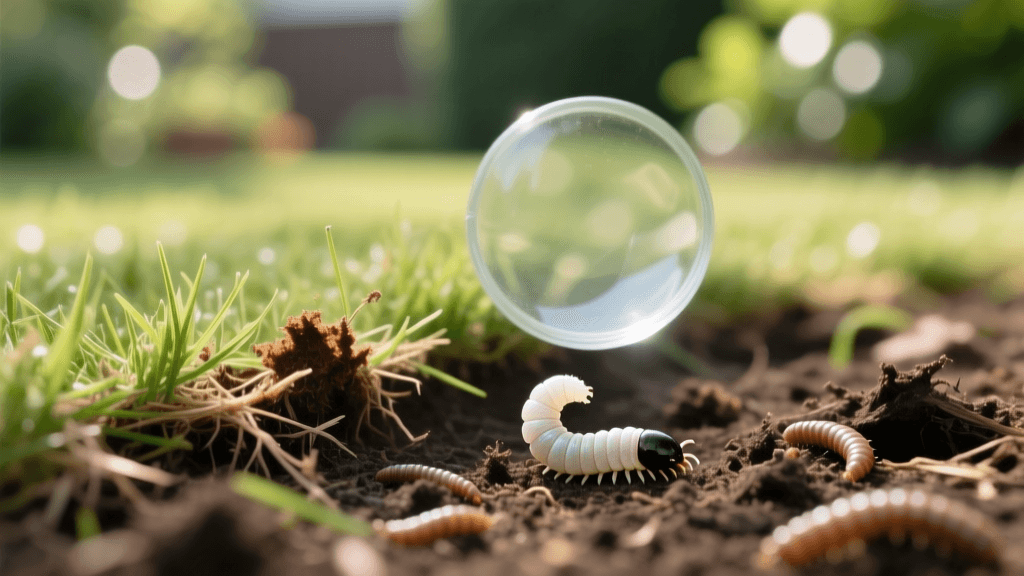
Before reaching for a chemical spray, accurate identification is crucial. Beginner gardeners often confuse fungus gnats with fruit flies, leading to ineffective treatment strategies. Fungus gnats are small, delicate, dark-colored flies that measure about 1/8 inch in length. They have long legs, long antennae, and a distinct Y-shaped vein on their wings. Unlike fruit flies, which are attracted to fermenting fruit and kitchen scraps, fungus gnats are drawn to the moisture and organic matter in potting soil.
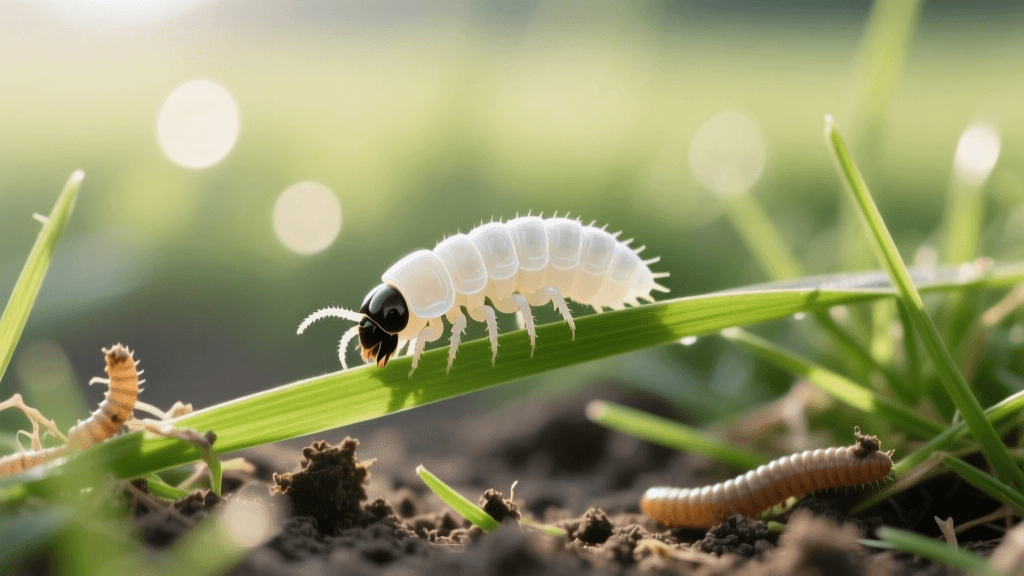
The life cycle of a fungus gnat spans roughly three to four weeks, depending on the ambient temperature of your growing space. A single female can lay up to 200 eggs in the damp top layer of your seed starting mix. These eggs hatch into translucent, legless larvae with shiny black heads. It is this larval stage that poses the true threat to your garden.
The Damage: Why Seedlings Are Vulnerable
Healthy, established plants can usually tolerate a minor fungus gnat infestation. However, tender seedlings are highly susceptible. The larvae feed primarily on fungi and decaying organic matter, but when populations explode, they turn to chewing on the fine root hairs and tender stems of young plants. This root damage restricts the seedling's ability to take up water and nutrients, leading to stunted growth, wilting, and yellowing leaves.
Furthermore, the feeding wounds created by the larvae provide an entry point for soil-borne pathogens. According to Penn State Extension, fungus gnat larvae are known vectors for diseases like Pythium and Fusarium, which cause the dreaded 'damping off'—a condition where seedlings suddenly collapse and die at the soil line.
Step-by-Step Organic Treatment Plan
When dealing with pests on edible seedlings or tender sprouts, organic and low-toxicity methods are paramount. Follow this targeted IPM approach to eradicate an active infestation without harming your plants or your indoor environment.
Step 1: Alter the Watering Routine
Fungus gnats require constantly moist soil to reproduce. The most effective first step costs absolutely nothing: allow the top 1 to 2 inches of your seed starting mix to dry out completely between waterings. Larvae cannot survive in dry soil, and adult females will not lay eggs in dry environments. For seedlings that require consistent moisture, switch to bottom-watering. Place your seed trays in a shallow basin of water for 15 to 20 minutes, allowing the soil to wick moisture upward while the top layer remains dry and inhospitable to pests.
Step 2: Deploy Yellow Sticky Traps
To control the adult population and monitor the severity of the infestation, insert yellow sticky traps into your seed trays. Fungus gnats are highly attracted to the color yellow. Products like DynaTrap Flylight or standard Gardener's Supply Company Yellow Sticky Traps (costing roughly $8 for a pack of 10) will capture adults before they can mate and lay more eggs. Cut the traps into smaller squares and place them just above the soil surface. Check and replace them weekly.
Step 3: Apply Bti (Bacillus thuringiensis israelensis)
To target the destructive larvae in the soil, use Bti, a naturally occurring soil bacterium that is toxic only to the larvae of gnats, mosquitoes, and black flies. It is completely safe for plants, pets, and humans. The most popular product for home gardeners is Summit Mosquito Bits.
- Application Rate: Steep 4 tablespoons of Mosquito Bits in 1 gallon of water for 30 minutes to create a 'Bti tea'.
- Timing: Strain the liquid and use it to water your seedlings. Repeat this process every 7 to 10 days for three consecutive cycles to break the breeding timeline.
- Cost: Approximately $15 for a 30-ounce container, which will last a beginner gardener multiple seasons.
Step 4: Introduce Beneficial Nematodes
For severe infestations, beneficial nematodes (Steinernema feltiae) act as microscopic assassins. These living organisms hunt down and infect fungus gnat larvae, releasing bacteria that kill the pest within 48 hours. Products like Scanmask or Arbico Organics Nematodes can be purchased online for about $30. Mix the nematode powder with water according to package instructions and apply as a soil drench. Keep the soil slightly moist and out of direct, harsh sunlight for a few days to allow the nematodes to establish.
Alternative Step: Hydrogen Peroxide Soil Drench
If Bti or nematodes are unavailable, a hydrogen peroxide drench can provide immediate knockdown of larvae. Mix one part 3% hydrogen peroxide with four parts water. Water your seedlings with this solution. The peroxide will fizz upon contact with the soil, killing larvae on contact while simultaneously releasing oxygen into the root zone, which can actually benefit seedling growth. However, this method does not provide residual control, meaning it must be repeated every few days until the life cycle is broken. It is best used as a rapid-response measure while waiting for biological controls to arrive in the mail.
Fungus Gnat Treatment Comparison Chart
| Treatment Method | Target Life Stage | Estimated Cost | Ease of Use | Time to See Results |
|---|---|---|---|---|
| Drying Topsoil / Bottom Watering | Eggs & Larvae | Free | Easy | 1 - 2 Weeks |
| Yellow Sticky Traps | Adults | $8 - $12 | Very Easy | Immediate (Adults) |
| Bti (Mosquito Bits Tea) | Larvae | $15 | Moderate | 1 - 2 Weeks |
| Beneficial Nematodes (S. feltiae) | Larvae & Pupae | $25 - $35 | Moderate | 3 - 7 Days |
| Hydrogen Peroxide Drench (1:4 ratio) | Larvae | $5 | Easy | Immediate |
Prevention Strategies for Future Seed Starting
As the old gardening adage goes, an ounce of prevention is worth a pound of cure. Implementing strict sanitation and environmental controls will ensure your next batch of seedlings remains pest-free.
- Use Sterile Seed Starting Mix: Never use garden soil or reused potting soil for starting seeds. These mediums often harbor fungus gnat eggs and fungal spores. Always purchase a fresh, sterile, peat-based or coco-coir seed starting mix.
- Provide Adequate Airflow: Stagnant, humid air creates the perfect microclimate for fungal growth, which feeds the gnats. Place an oscillating fan on a low setting near your seed trays to strengthen seedling stems and dry the soil surface.
- Sanitize Your Trays: Before planting new seeds, wash your plastic seed trays and domes with a 10% bleach solution to eliminate lingering pathogens and pest eggs from previous seasons.
- Store Soil Properly: Keep unused bags of potting mix sealed tightly in a dry, cool location. If a bag is left open in a damp garage, it will quickly become a breeding ground for gnats.
Expert Insights on Integrated Pest Management
'Cultural controls are the first line of defense against fungus gnats. By managing irrigation and using well-drained, sterile media, growers can eliminate the primary food source and breeding habitat for these pests, significantly reducing the need for biological or chemical interventions.' — University of California Agriculture and Natural Resources (UC ANR) Pest Management Guidelines.
Conclusion
Fungus gnats are a common hurdle in the journey of indoor seed starting, but they do not have to spell disaster for your garden. By understanding their life cycle and employing a combination of environmental adjustments, physical traps, and biological controls like Bti, even the most novice gardener can successfully protect their seedlings. Remember to monitor your plants daily, adjust your watering habits, and rely on targeted, organic treatments to maintain a thriving, pest-free growing environment.