
Gardening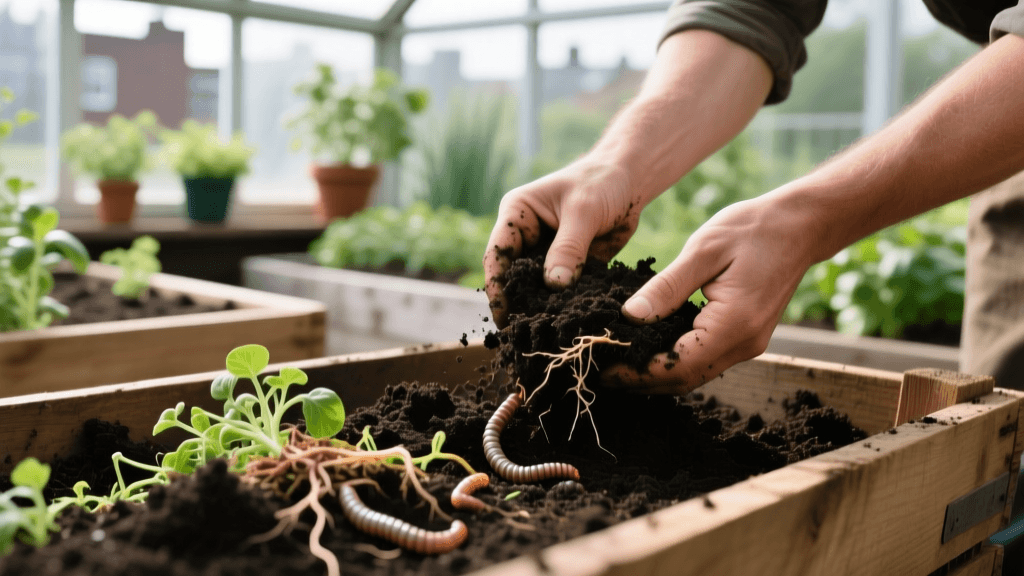
Gardening Myths Busted: Soil And Composting Fact Vs Fiction
Introduction: The Danger of Old Wives' Tales in the Garden
Every gardener, from the weekend container enthusiast to the seasoned homesteader, has received unsolicited advice from well-meaning friends, family members, or social media influencers. The world of horticulture is steeped in folklore, old wives' tales, and generational hand-me-downs that sound incredibly logical but are scientifically flawed. While some of these myths are harmless, others can actively damage your soil structure, stunt plant growth, and destroy the delicate microbial ecosystems beneath the surface.
As a science-based gardening resource, we believe that understanding the 'why' behind plant care is just as important as the 'how'. By separating gardening fact from fiction, you can save time, reduce unnecessary expenses on gimmicky products, and cultivate a vastly superior landscape. Today, we are diving deep into the soil and the compost bin to debunk three of the most pervasive gardening myths, providing you with actionable, data-backed strategies to ensure your garden thrives.
Myth 1: Adding Gravel to Pots Improves Drainage
The Fiction: You should always place a layer of gravel, pebbles, or broken pottery shards at the bottom of a planting container before adding soil to prevent root rot and improve drainage.
The Fact: Adding gravel to the bottom of a pot actually creates a 'perched water table,' making drainage significantly worse and increasing the likelihood of root rot.
This is perhaps the most stubborn myth in container gardening. The physics of soil moisture dictate that water does not easily move from a fine-textured material (like potting soil) into a coarse-textured material (like gravel) until the fine material is completely saturated. When you place a layer of gravel at the bottom of a pot, you effectively shorten the depth of the soil column. Gravity pulls water downward, but the water will 'perch' or pool in the soil layer just above the gravel boundary. Because the soil column is now shorter, this saturated, oxygen-deprived zone sits much closer to your plant's root system.
Actionable Advice for Container Drainage
- Ditch the Gravel: Fill your containers entirely with a high-quality, well-draining potting mix. Look for mixes containing 20% to 30% perlite or pumice, such as FoxFarm Ocean Forest or Pro-Mix BX.
- Ensure Proper Holes: The only thing that needs to be at the bottom of your pot is a drainage hole. If you are upcycling a decorative container without holes, use a masonry or diamond-tipped drill bit to create at least three to four half-inch holes.
- Elevate the Pot: If water is pooling at the base and blocking the drainage holes, elevate the container using terracotta pot feet or wooden risers to allow gravity to pull the excess moisture away from the soil.
For a deeper dive into the physics of container drainage, the Washington State University Extension provides extensive, peer-reviewed research debunking this exact landscaping myth, confirming that uniform soil texture is paramount for healthy root zones.
Myth 2: You Must Turn Your Compost Pile Every Day
The Fiction: To make compost quickly and prevent it from smelling, you need to vigorously turn and aerate the pile every single day.
The Fact: Turning a compost pile daily disrupts fungal networks, releases vital heat, and can actually slow down the decomposition process.
Composting is a biological process driven by a succession of microorganisms. Initially, mesophilic bacteria break down easily digestible sugars and proteins, generating heat. As the pile reaches 110°F to 160°F, thermophilic bacteria take over. Later in the process, fungi and actinomycetes move in to break down tough, woody materials like lignin and cellulose. Fungi rely on vast, delicate networks of mycelium to decompose organic matter. Turning the pile daily literally tears these networks apart and releases the thermal energy the pile needs to break down complex carbon structures and kill weed seeds.
Actionable Advice for Compost Management
- Follow a Schedule: Turn your hot compost pile only when the internal temperature drops below 110°F, or roughly every 10 to 14 days. This reintroduces oxygen without destroying the microbial ecosystem.
- Use the Right Tools: Instead of a shovel, use a winged compost aerator crank or a compost fork. These tools lift and fluff the material from the inside out, creating air channels without requiring you to move the entire pile to a new location.
- Monitor Moisture: The Environmental Protection Agency (EPA) notes that a compost pile should feel like a wrung-out sponge. If it is too dry, decomposition halts; if it is too wet, it goes anaerobic and smells. Aim for a 40% to 60% moisture content by adding dry brown leaves or cardboard if it is too wet, or watering it lightly if it is too dry.
Myth 3: Wood Ash is a Safe, Universal Fertilizer
The Fiction: Spreading fireplace or fire pit wood ash directly onto garden beds is a great, free way to fertilize plants and enrich the soil.
The Fact: Wood ash is highly alkaline and contains zero nitrogen. Applying it blindly can cause severe nutrient lockout and kill acid-loving plants.
While wood ash does contain valuable trace minerals, potassium, and calcium carbonate, its pH typically ranges from 9.0 to 11.0, making it incredibly alkaline. Most vegetable garden plants and ornamental flowers thrive in slightly acidic to neutral soil (pH 6.0 to 7.0). When you broadcast wood ash across your garden beds without testing the soil first, you rapidly raise the pH. In highly alkaline soils, essential micronutrients like iron, manganese, and zinc become chemically bound and unavailable to plant roots, resulting in severe interveinal chlorosis (yellowing leaves) and stunted growth.
Actionable Advice for Using Wood Ash
- Test Before You Apply: Never add wood ash without first testing your soil pH using a reliable kit like the Luster Leaf 1601 Rapitest, or by sending a sample to your local university extension office.
- Apply Sparingly and Selectively: Only apply wood ash if your soil pH is below 6.0. Limit applications to no more than 15 to 20 pounds per 1,000 square feet annually. According to Penn State Extension, it should be worked thoroughly into the top six inches of soil in the fall or early spring.
- Know What to Avoid: Never use wood ash around acid-loving plants such as blueberries, azaleas, rhododendrons, or potatoes (high pH soil promotes potato scab disease). It is often safer to add small amounts of ash to your compost pile rather than directly to the garden bed, as the composting process helps buffer the pH.
Myth vs. Fact: Quick Reference Chart
Keep this structured comparison chart handy the next time you are preparing your garden beds or managing your backyard compost system.
| Gardening Practice | The Myth (Fiction) | The Science (Fact) |
|---|---|---|
| Container Drainage | Gravel at the bottom prevents root rot. | Gravel creates a perched water table, pushing saturated soil closer to roots. |
| Compost Aeration | Daily turning speeds up decomposition. | Daily turning cools the pile and destroys fungal mycelium networks. |
| Soil Amendments | Wood ash is a universal, free fertilizer. | Wood ash is highly alkaline (pH 9-11) and causes nutrient lockout in neutral soils. |
| Planting Depth | Planting trees deep protects roots from drought. | Deep planting suffocates roots and causes girdling; the root flare must be at grade. |
| Wound Care | Pruning sealants protect trees from disease. | Sealants trap moisture and decay; trees compartmentalize wounds naturally. |
Conclusion: Trust Science Over Folklore
The transition from folklore-based gardening to science-based gardening is one of the most rewarding shifts a horticulturist can make. By abandoning the gravel-in-pots myth, respecting the biological timelines of your compost pile, and treating wood ash as a specialized amendment rather than a universal fertilizer, you set the stage for vigorous plant growth and abundant harvests. Always rely on peer-reviewed data and university extension resources to guide your soil preparation and planting strategies. Your soil, your plants, and your back will thank you for it.

