Tree Care
How to Plant and Grow Dwarf Apple Trees for Beginners
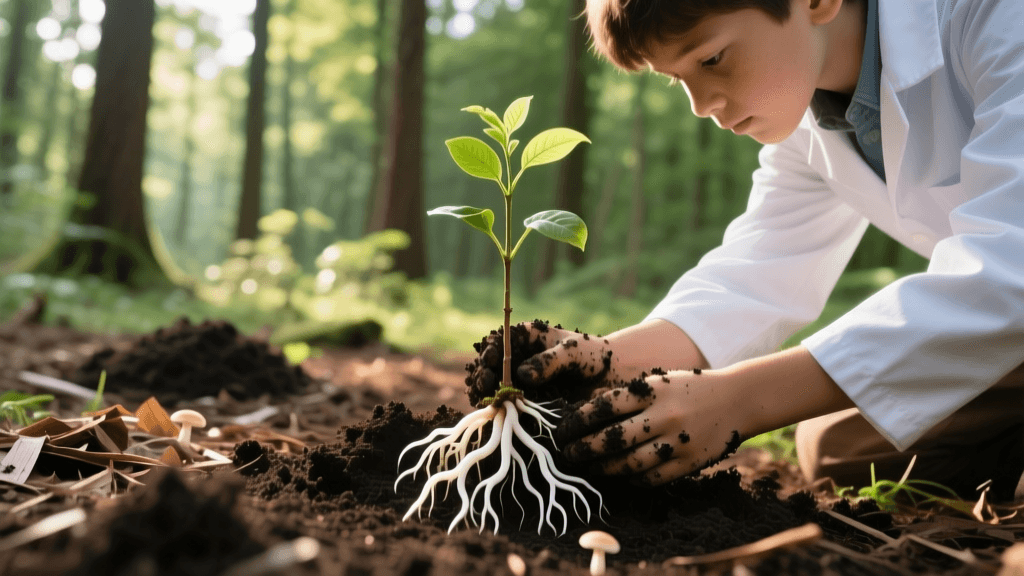
Introduction to Dwarf Apple Trees
Growing your own fruit is one of the most rewarding experiences for any home gardener, but traditional apple trees can grow up to 25 feet tall, requiring massive amounts of space, heavy ladders for harvesting, and complex pruning routines. For beginners and those with smaller suburban yards, dwarf apple trees are the ultimate solution. Grafted onto specialized dwarfing rootstocks like Malling 9 (M.9) or Budagovsky 9 (B.9), these trees typically max out at 8 to 10 feet in height. They begin bearing fruit in just two to three years, compared to the five to seven years required by standard-sized trees.
In this comprehensive, beginner-friendly guide, we will walk you through everything you need to know to successfully plant, nurture, and harvest from your very own dwarf apple trees. From selecting the right variety to understanding soil amendments, watering schedules, and basic pest management, you will find actionable advice tailored for first-time fruit growers.
Why Choose Dwarf Apple Trees?
The primary advantage of dwarf apple trees is their compact footprint. You can plant them in small backyard corners, along fences, or even in large half-barrel containers on a patio. Because of their manageable size, pruning, spraying, and harvesting can be done with your feet firmly on the ground. This accessibility makes routine maintenance much less intimidating for beginners.
From a financial perspective, starting your own mini-orchard is highly cost-effective. Bare-root dwarf apple trees generally cost between $25 and $40 when ordered from online nurseries in early spring. Potted nursery trees from local garden centers typically range from $50 to $90. Considering that a mature dwarf tree can produce up to 45 pounds of fruit annually, the return on investment is substantial, often paying for the initial tree cost within the first two harvests.
Best Dwarf Apple Varieties for Beginners
When selecting a tree, it is crucial to consider your local climate, specifically the "chill hours" required. Chill hours refer to the number of hours the temperature drops between 32°F and 45°F during the winter. According to the University of Minnesota Extension, matching your tree's chill hour requirement to your local climate is the most critical step in ensuring a successful harvest.
Below is a comparison chart of some of the most beginner-friendly dwarf apple varieties:
| Variety | Chill Hours | Flavor Profile | Mature Height | Harvest Time |
|---|---|---|---|---|
| Honeycrisp | 800 - 1,000 | Sweet, tart, explosive crunch | 8 - 10 ft | September - October |
| Fuji | 200 - 400 | Very sweet, crisp, low acid | 8 - 10 ft | October - November |
| Gala | 500 - 600 | Mild, sweet, aromatic | 8 - 10 ft | August - September |
| Granny Smith | 400 - 600 | Tart, firm, excellent for baking | 8 - 10 ft | October - November |
Note: Most apple trees are not self-fertile. You will need to plant at least two different varieties that bloom at the same time to ensure cross-pollination, or rely on a neighbor's crabapple tree to do the job.
Step-by-Step Planting Guide
1. Timing Your Planting
The best time to plant bare-root dwarf apple trees is in early spring, just as the ground thaws and before the buds begin to break. If you are purchasing a potted tree from a local nursery, you have a wider window and can plant in early spring or early fall. Avoid planting during the peak heat of summer, as transplant shock can severely stunt the tree's first-year growth.
2. Site Selection and Preparation
Apple trees require full sun, which means a minimum of six to eight hours of direct, unfiltered sunlight daily. Avoid low-lying areas where cold air settles, as this increases the risk of late spring frosts damaging the delicate blossoms. Test your soil drainage by digging a 12-inch hole and filling it with water; if it does not drain within 24 hours, you may need to plant in a raised mound or choose a different location. Apple trees prefer a slightly acidic soil pH between 6.0 and 6.5.
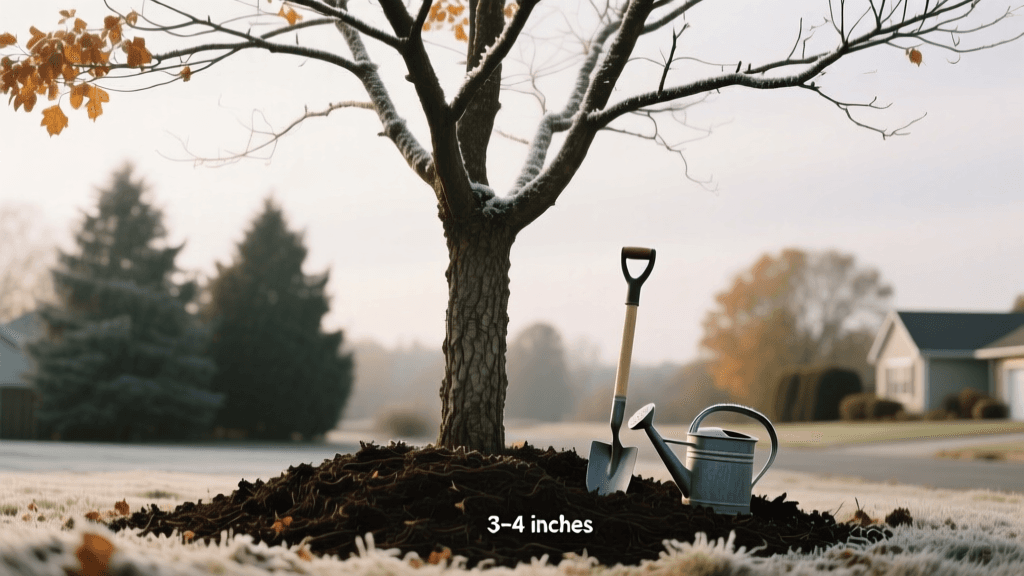
3. Digging the Hole and Soil Amendments
Dig a hole that is twice as wide as the root ball or root spread, but no deeper. The most critical rule for planting grafted apple trees is to keep the graft union—the visible bulge or scar near the base of the trunk—at least 2 to 3 inches above the soil line. If the graft union is buried, the scion (the fruiting variety) will develop its own root system, completely bypassing the dwarfing rootstock and resulting in a massive, standard-sized tree.
When backfilling, use the native soil you dug out. Avoid heavy soil amendments in the planting hole, as this can create a "bathtub effect" where water pools. However, incorporating a mycorrhizal fertilizer like Espoma Bio-tone Starter Plus (approximately $15 for a 4 lb bag) into the backfill can significantly reduce transplant shock and encourage rapid root establishment.
Essential Care and Maintenance
Watering Schedule
Newly planted dwarf apple trees have shallow, developing root systems and require consistent moisture. Provide at least 1 inch of water per week, either from rainfall or supplemental irrigation. During hot, dry summer spells, increase this to 2 inches. Use a soaker hose or drip irrigation system to deliver water directly to the root zone, which is far more efficient than overhead spraying and reduces the risk of fungal foliar diseases.
Mulching Techniques
Apply a 2 to 3-inch layer of organic mulch, such as arborist wood chips or shredded bark, in a 3-foot radius around the base of the tree. Mulch regulates soil temperature, retains moisture, and suppresses weeds. However, you must keep the mulch at least 3 inches away from the actual trunk. "Volcano mulching" traps moisture against the bark, leading to crown rot and inviting pests like voles to chew on the tender bark during winter.
Fertilizing
Dwarf apple trees are heavy feeders, but over-fertilizing can lead to excessive vegetative growth at the expense of fruit production. In the spring, just before bud break, apply a balanced, slow-release organic fertilizer (like a 5-5-5 fruit tree blend). Follow the package instructions based on the tree's trunk caliper. Avoid applying high-nitrogen fertilizers after July, as this promotes tender new growth that will not harden off before winter freezes.
Pruning and Pest Management
Basic Pruning Strategies
Pruning is essential to maintain the structural integrity of the tree and allow sunlight to penetrate the canopy. For dwarf trees, the "central leader" system is highly recommended. This involves maintaining one main vertical trunk with horizontal branches spaced evenly around it. According to pruning guidelines published by Cornell University Home Gardening, you should prune during the late winter dormant season. Remove any branches that cross, rub against each other, or grow inward toward the center of the tree. Use sharp, sterilized bypass pruners to make clean cuts just outside the branch collar.
Organic Pest and Disease Control
Beginners often feel overwhelmed by the prospect of orchard pests. Fortunately, small-scale growers can manage most issues organically. In late winter, apply a dormant horticultural oil spray to smother overwintering aphid and mite eggs. In the spring, as the flower buds show pink but before they open, apply a copper-based fungicide to prevent apple scab and fire blight. During the growing season, use Neem oil or insecticidal soap to manage active aphid or caterpillar infestations. Always apply sprays in the early evening to avoid harming foraging bees.
Harvesting Your First Apples
Dwarf apple trees typically begin producing a small crop in their second or third year. Knowing exactly when to harvest is a common point of confusion for beginners. Do not rely solely on the red blush of the skin, as many varieties turn red weeks before they are actually ripe. Instead, look at the "background color" of the apple—the part not exposed to direct sun. When the background color shifts from bright green to a dull yellow-green, the apple is nearing maturity.
To test for ripeness, gently lift the apple and twist. If it separates easily from the spur without requiring a hard yank, it is ready to be picked. Once harvested, store your apples in a cool, dark, and humid environment, such as the crisper drawer of your refrigerator, to maximize their shelf life.
Pro Tip for Beginners: In your tree's first fruiting year, practice "fruit thinning." When the apples are the size of marbles, pluck off excess fruit so that the remaining apples are spaced about 6 inches apart on the branch. This prevents the heavy crop from breaking your dwarf tree's delicate branches and ensures the remaining apples grow to a large, sweet, and healthy size.
Conclusion
Planting a dwarf apple tree is an investment in your landscape, your health, and your gardening skills. While they require a bit of upfront attention regarding soil preparation, watering, and basic pruning, the reward of stepping into your backyard to pluck a crisp, sun-warmed Honeycrisp or Fuji apple is unparalleled. As highlighted by the Arbor Day Foundation, planting trees not only enhances local biodiversity and soil health but also fosters a deeper connection to the natural rhythms of the seasons. By following this beginner-friendly guide, you are well on your way to cultivating a thriving, fruitful mini-orchard right in your own backyard.