Landscaping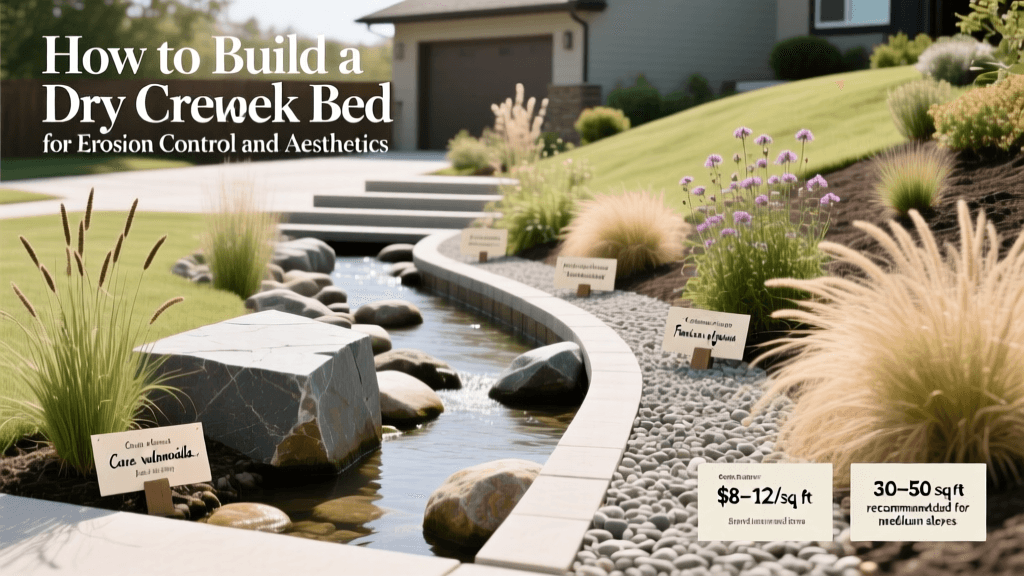
How To Build Dry Creek Bed For Erosion Control And Aesthetics
Understanding Dry Creek Beds as Functional Landscape Elements
Dry creek beds—also known as dry streambeds or faux waterways—are intentional hardscape features designed to mimic natural ephemeral streams. They serve dual purposes: managing surface water runoff and preventing soil erosion while enhancing visual rhythm and spatial definition in residential and institutional landscapes. Unlike decorative gravel paths, dry creek beds integrate hydrologic function with aesthetic intentionality, aligning with ASLA’s 2021 *Sustainable Sites Initiative* (SITES) guidelines that prioritize on-site stormwater retention and infiltration (American Society of Landscape Architects, 2021). Their effectiveness stems from mimicking the meandering geometry and sediment stratification found in natural drainage corridors—a principle rooted in fluvial geomorphology and widely applied at sites like the University of California, Berkeley’s Clark Kerr Campus restoration project.
Site Assessment and Layout Planning
Before excavation begins, conduct a thorough topographic survey. Identify existing grade changes, observe natural flow paths during rainfall events, and locate downspouts or impervious surfaces contributing runoff. A minimum slope of 1% (1 inch drop per 8 feet) is required for effective sheet-flow conveyance without scouring; slopes exceeding 5% require stepped stone weirs or embedded boulders to slow velocity. Use string lines and stakes to mark the centerline, ensuring curves follow gentle radii—ideally no tighter than 36 inches in residential applications—to maintain hydraulic efficiency and visual continuity.
Measuring and Sizing Guidelines
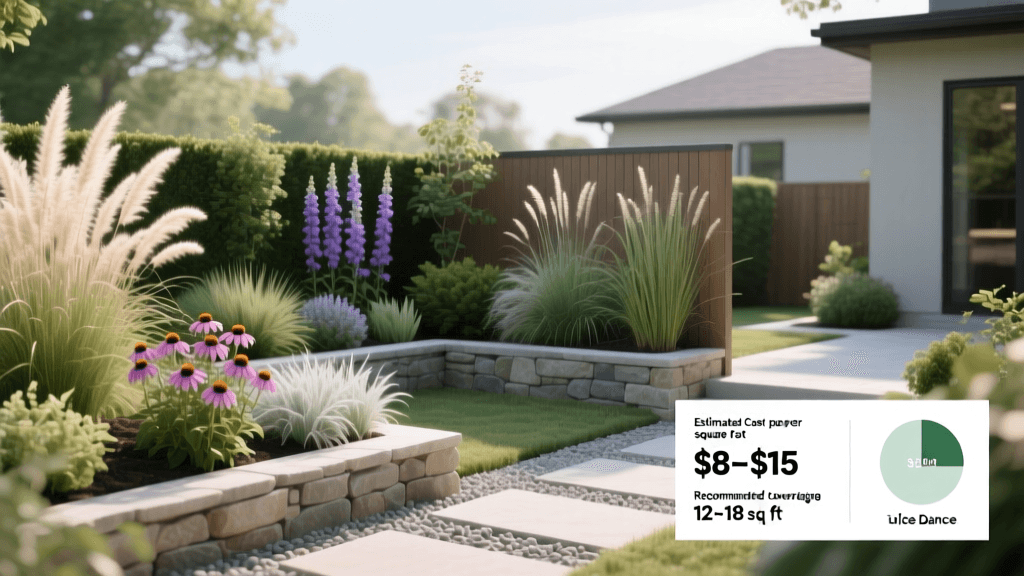
For most single-family lots, a functional dry creek bed spans 12–24 linear feet in length and 2–4 feet in width. Depth should range from 12 to 18 inches, with deeper sections (up to 24 inches) reserved for high-velocity zones near downspout discharge points. The bed’s cross-section must be trapezoidal—not V-shaped—to maximize infiltration and reduce edge collapse. At the U.S. National Arboretum in Washington, D.C., dry creek installations average 3.5 feet wide and 16 inches deep, accommodating peak 10-year storm event volumes while supporting native understory planting.
Material Selection and Installation Sequence
Begin with subgrade preparation: remove topsoil to expose mineral soil, then compact native material to 95% Standard Proctor density. Install 4–6 inches of crushed limestone base (¾-inch minus aggregate) for structural stability and drainage. Over this, lay a non-woven geotextile fabric—such as Mirafi® 140X—to separate fines from aggregate while permitting water passage. Then place river rock in three graduated sizes: 2–4 inch cobbles at the channel bottom (minimum 6 inches deep), 1–2 inch pea gravel along side slopes, and ½–1 inch gravel as a top dressing over planted margins.
- Crushed limestone base: $45–$65 per ton (delivered)
- River rock (2–4 inch): $85–$120 per cubic yard
- Geotextile fabric: $0.75–$1.20 per square foot
- Native plant installation (per plant): $8–$22 depending on species and caliper
- Labor cost (professional installation): $18–$28 per square foot installed
Plant Integration Strategies
Plant selection follows ecological layering principles: use deep-rooted perennials and shrubs along banks to anchor soil, and avoid shallow-rooted annuals that destabilize edges. All plants must tolerate periodic saturation followed by extended dry periods. Recommended species include:
- Eutrochium fistulosum (Joe-Pye weed)—tolerates 48-hour inundation, height: 4–7 ft
- Asclepias tuberosa (butterfly milkweed)—drought-tolerant once established, root depth: 12–18 inches
- Carex vulpinoidea (fox sedge)—forms dense rhizomatous mats, spreads 12–24 inches per year
- Amorpha fruticosa (false indigo)—nitrogen-fixing shrub, mature spread: 6–10 ft
- Iris versicolor (blue flag iris)—thrives in saturated clay loam, USDA Zones 3–9
Maintenance Protocols and Long-Term Performance
Annual maintenance includes removing debris after heavy rains, replenishing 1–2 inches of top-gravel every 2–3 years due to settling, and pruning woody perennials in late winter. Avoid using leaf blowers directly on gravel—high-velocity air displaces fine aggregate and exposes geotextile. Monitor for invasive species such as Polygonum cuspidatum (Japanese knotweed), which has been documented undermining dry creek integrity at the Chicago Botanic Garden’s Skokie River Corridor.
Performance benchmarks indicate that properly constructed dry creek beds reduce sheet erosion by 72% compared to bare soil slopes, based on field trials conducted by the University of Florida IFAS Extension (2020). This figure assumes correct sizing, appropriate plant establishment, and adherence to ASLA-recommended setbacks—minimum 3 feet from foundations and 5 feet from septic drainfields.
Cost Analysis and Square-Footage Benchmarks
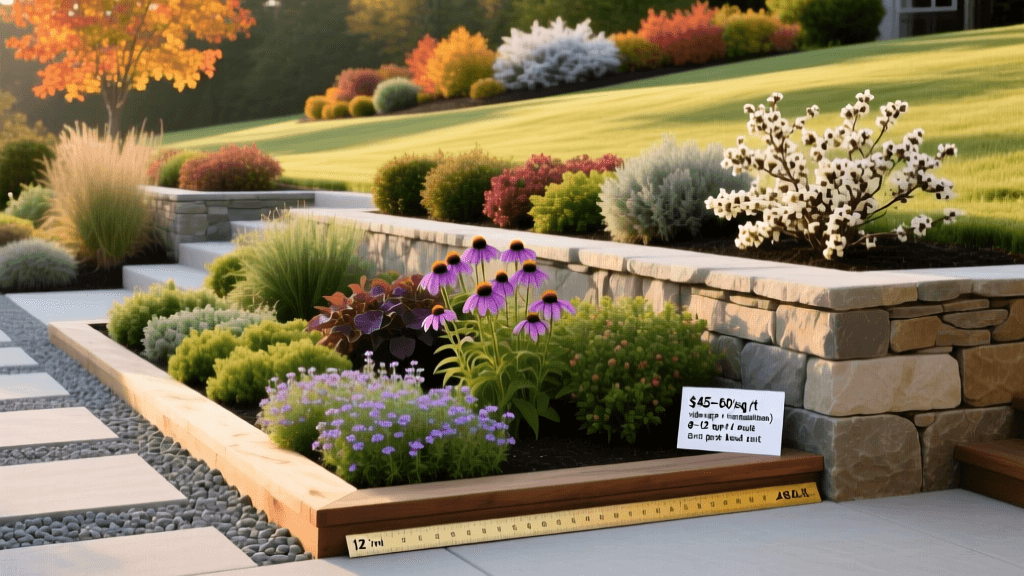
Total installed cost varies significantly by region and complexity. For a standard 20-foot-long, 3-foot-wide bed (60 sq ft), material and labor expenses typically range $1,450–$2,900. Breakdowns show:
| Component | Quantity | Cost Range |
|---|---|---|
| Base aggregate | 1.2 tons | $54–$78 |
| River rock (bottom layer) | 1.8 cu yd | $153–$216 |
| Geotextile fabric | 120 sq ft | $90–$144 |
| Native plants (12 specimens) | 12 plants | $144–$264 |
| Professional labor | 2 days | $1,000–$1,800 |
DIY installation reduces costs by 35–45%, though landscape architects advise professional consultation when slopes exceed 8% or when integrating with existing rain gardens or bioswales. At the Brooklyn Botanic Garden, staff report that dry creek beds installed in their Native Flora Garden reduced sediment load in adjacent retention ponds by 63% over five growing seasons.
Design Principles Anchored in Professional Practice
Effective dry creek beds adhere to core landscape architecture tenets: unity through repetition of stone size and plant form; scale proportionality—rock diameter should not exceed one-third of the bed’s width; and transition via gradual grading from turf to gravel to planted bank. These align with the ASLA’s *Landscape Architecture Foundation’s Climate Action Plan*, which emphasizes “low-impact development features that perform ecologically while reinforcing human-scale experience” (Landscape Architecture Foundation, 2022). Avoid straight-line geometries; instead, employ sinuous curves that echo regional watershed patterns—evident in the Santa Barbara Botanic Garden’s Mediterranean-climate dry washes.
Gravel color selection also influences thermal performance: light-hued quartzite reflects solar radiation better than dark basalt, reducing surface temperatures by up to 12°F in summer—critical for microclimate regulation near patios or seating areas. When sourcing materials, verify quarry certifications for low-sodium content (<100 ppm) to prevent long-term plant toxicity, especially for sensitive species like Solidago rugosa (wrinkleleaf goldenrod).
Unlike traditional swales, dry creek beds require no subsurface piping or underdrains if soils infiltrate at ≥0.5 inches/hour. Percolation testing is mandatory: dig a 12-inch-deep hole, fill with water twice, and time the second drainage event. Infiltration rates below 0.25 inches/hour necessitate amended soil blends—typically 60% sand, 20% compost, 20% native loam—or integration with perforated pipe systems.
At the Missouri Botanical Garden’s Shaw Nature Reserve, dry creek beds were retrofitted into historic prairie restoration zones using locally quarried chert fragments and Andropogon gerardii (big bluestem) plugs spaced at 18-inch intervals. Monitoring over seven years confirmed zero measurable bank sloughing and 92% native plant survival—demonstrating how calibrated design supports both ecological resilience and enduring aesthetics.
Remember: a dry creek bed is not static infrastructure but a living system. Its success hinges on matching plant maturity timelines with hydrologic cycles—establishment phase (Years 1–2) demands supplemental irrigation; stabilization phase (Years 3–5) relies on deep-root proliferation; and maturation phase (Year 6+) delivers full erosion control and habitat value. This phased functionality underscores why landscape architects treat such features as dynamic infrastructure rather than ornamental add-ons.
“Dry creek beds succeed when they disappear into the landscape—not as an object, but as evidence of intelligent water literacy.” — Dr. Elena Torres, Senior Landscape Architect, Oregon State University Landscape Architecture Program, 2019
Final verification requires post-installation observation during at least three significant rainfall events. Document flow paths, sediment deposition zones, and plant stress indicators. Adjustments—like adding larger anchor stones at curve apexes or increasing mulch depth beneath shrubs—should occur before Year 2 to preempt failure modes identified in ASLA’s *Stormwater Management Case Study Compendium* (2023).