
Landscaping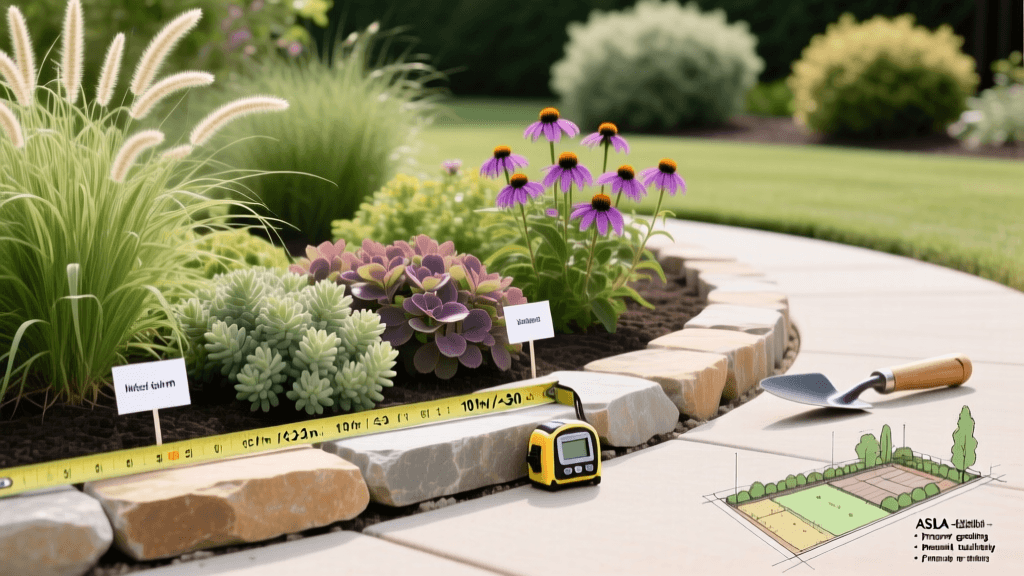
How To Install Landscape Edging Around Flower Beds
Getting Started with Landscape Edging
A clean, defined border between a flower bed and the surrounding lawn makes a yard look more put-together. Landscape edging helps keep grass from spreading into planting areas, cuts down on hand-trimming, and holds mulch where it belongs. Whether you're edging a small 50-square-foot bed or a larger 400-square-foot mixed border, the basic steps are the same ones professionals use.
The American Society of Landscape Architects (ASLA) notes that clear edges are a standard part of residential landscape design — they help separate different parts of the yard visually, like lawn, path, and planting area. Before buying any edging, take a close look at your site: soil type, sun exposure, what plants you’re using, and how much upkeep you want to do long-term. That saves time and avoids mistakes later.
Choosing the Right Edging Material
You’ll find several edging materials on the market, each with its own pros and cons for looks, cost, and durability. Your choice depends on your home’s style, the plants you’re growing, and how much maintenance you’re comfortable with.
Steel and aluminum edging are popular with pros because they hold up well and give a crisp line. A standard 16-gauge steel strip costs about $1.50 to $2.50 per linear foot. Aluminum is lighter and won’t rust, but runs $2.00 to $3.50 per linear foot. For a typical 20-foot by 8-foot oval bed with roughly 56 linear feet of perimeter, metal edging alone will run $84 to $196 before installation.
Plastic edging is the cheapest option at $0.30 to $0.80 per linear foot, but it can pop up in cold climates where the ground freezes and thaws — especially in USDA Hardiness Zones 4 through 6. Natural stone and brick cost more — $5.00 to $15.00 per linear foot installed — but they last decades and suit formal or traditional garden styles.
| Material | Cost per Linear Foot | Lifespan | Best For |
|---|---|---|---|
| Steel | $1.50 – $2.50 | 20+ years | Modern, clean-line designs |
| Aluminum | $2.00 – $3.50 | 20+ years | Curved beds, coastal climates |
| Plastic | $0.30 – $0.80 | 3–7 years | Budget projects, mild climates |
| Natural Stone | $5.00 – $15.00 | Indefinite | Formal, cottage, or rustic styles |
| Brick | $4.00 – $10.00 | 25+ years | Traditional and colonial designs |
Planning Your Flower Bed Layout
Start by planning the shape and size of your bed. Gardens at places like the Chicago Botanic Garden and Longwood Gardens often use soft, flowing lines that follow the natural slope or shape of the land — not stiff, rigid shapes.
Lay out your bed with a garden hose or rope first. Walk around it from different spots, and check how it looks from inside your house — through windows or from the patio. Something that looks balanced from the deck might feel too tight when viewed from the kitchen. As a general guide, aim for a bed width that’s at least one-third of its length. So a 15-foot-long bed should be at least 5 feet wide to fit layers of plants without crowding.
Marking the Edge Line
Once you like the shape, mark it for good using spray paint or a line of sand. For straight sections, stretch a string tightly between two stakes. For curves, the hose works fine, but then add small flags or stakes every 12 to 18 inches along the line so it stays visible while you dig.
Measure the full perimeter carefully. Add 10 percent to your total to cover overlap at joints and small adjustments during installation. If your bed measures 48 linear feet, buy at least 53 linear feet of edging.
Accounting for Plant Root Zones
Think about how wide your plants will get over time. Fountain grass (Pennisetum alopecuroides) spreads 3 to 4 feet, and black-eyed Susan (Rudbeckia fulgida) spreads 18 to 24 inches. If you set the edging right next to these plants now, grass and roots will push against it within a couple of seasons. Leave at least 6 inches between the edging and the outer edge of mature plants.
Step-by-Step Installation Process
With your layout marked and materials ready, you can usually finish installation in one afternoon for beds up to 200 square feet. Bigger or trickier jobs may take a full day or weekend.
- Cut the edge trench. Use a flat spade or edging tool to cut a clean, vertical trench along your marked line. Go 4 to 6 inches deep for most metal and plastic edging. Tilt the spade slightly toward the lawn side — this gives the edging something to grip against.
- Remove soil and debris. Scoop out loose dirt, roots, and rocks from the trench. A clean trench helps the edging sit evenly and stay in place.
- Set the edging in place. Press the edging into the trench so the top sits about 1 inch above the soil on the lawn side. That keeps grass from growing over it but stays low enough to mow over safely.
- Secure with stakes. Hammer stakes through the edging and into the soil every 24 to 36 inches. On curves, space them closer — every 12 to 18 inches — to hold the shape.
- Connect sections. Use the connectors that came with your edging, or overlap sections by at least 6 inches. Even a 2-inch gap lets aggressive grasses like Bermuda grass (Cynodon dactylon) sneak in.
- Backfill and tamp. Push soil back against both sides of the edging and press it down firmly with your foot. A light watering helps settle everything in.
Working Around Existing Plants
When adding edging near established plants, work in short segments to avoid damaging roots. For shallow-rooted perennials like coral bells (Heuchera spp.) or bugleweed (Ajuga reptans), keep the trench at least 8 inches from the plant’s crown. Deeper-rooted shrubs like Japanese spirea (Spiraea japonica) handle nearby digging better, but still try to stay outside the drip line if possible.
Finishing and Mulching the Bed
Edging sets the boundary, but mulch finishes the job — and helps your plants. The University of Minnesota Extension suggests using 2 to 3 inches of organic mulch like shredded hardwood or wood chips to cut down on weeds, hold moisture, and smooth out soil temperature swings.
For a 100-square-foot bed mulched 3 inches deep, you’ll need about 0.93 cubic yards — usually sold in 2-cubic-foot bags, so plan on 13 to 14 bags. Buying mulch in bulk (3 cubic yards or more) drops the price per yard from around $8 to $12 per bag-equivalent to $30 to $55 per cubic yard delivered.
Keep mulch 2 to 3 inches away from plant stems and crowns to avoid rot, especially with moisture-sensitive perennials. The edging helps keep mulch in place, so you won’t need to top it off as often as in unedged beds.
Maintenance and Long-Term Care
Even well-installed edging needs some attention over time. Steel may get surface rust — it doesn’t hurt performance, but a quick wire-brush scrub and rust-inhibiting paint can keep it looking sharp. Plastic edging tends to lift in spring after freeze-thaw cycles; check it early and re-stake any sections that have moved.
Trimming the soil edge once or twice a season keeps the bed looking neat. Use a half-moon edger or flat spade to shave off soil that’s crept over the edging from the bed side. It takes 10 to 15 minutes on a typical residential bed and makes a real difference in appearance.
- Check edging stakes each spring and re-drive any that have loosened.
- Trim grass that grows over the top of the edging with a string trimmer held low.
- Add 1 inch of fresh mulch each year to replace what’s broken down.
- After heavy rain, check connectors and overlaps — wet soil can shift edging.
- For steel edging, rub on a thin coat of linseed oil every three to five years to slow rust.
According to the National Gardening Association (2023), homeowners with defined bed edges spend about 30 percent less time trimming the lawn-to-bed line over a growing season than those without edging. That adds up over time, making proper edging one of the smarter moves you can make for your yard.
"The edge is where the garden speaks most clearly. It is the line between intention and wildness, and how you manage it reveals how you think about the landscape as a whole." — Adapted from landscape design principles outlined in the ASLA's Landscape Architecture Body of Knowledge (2021)
Gardens like those at the Missouri Botanical Garden in St. Louis show how consistent edging lifts an entire planting scheme. Their large display beds — some over 2,000 square feet — use steel edging where lawns meet beds and stone or brick where beds meet walkways. You can do the same at home: pick durable metal where you’ll mow, and switch to something more decorative where the bed meets a patio or path.
Installing landscape edging is one of the quickest ways to improve a flower bed. For under $50 in materials and a few hours of work, you get cleaner lines, less trimming, healthier plants, and a yard that feels more finished.

