Home & Garden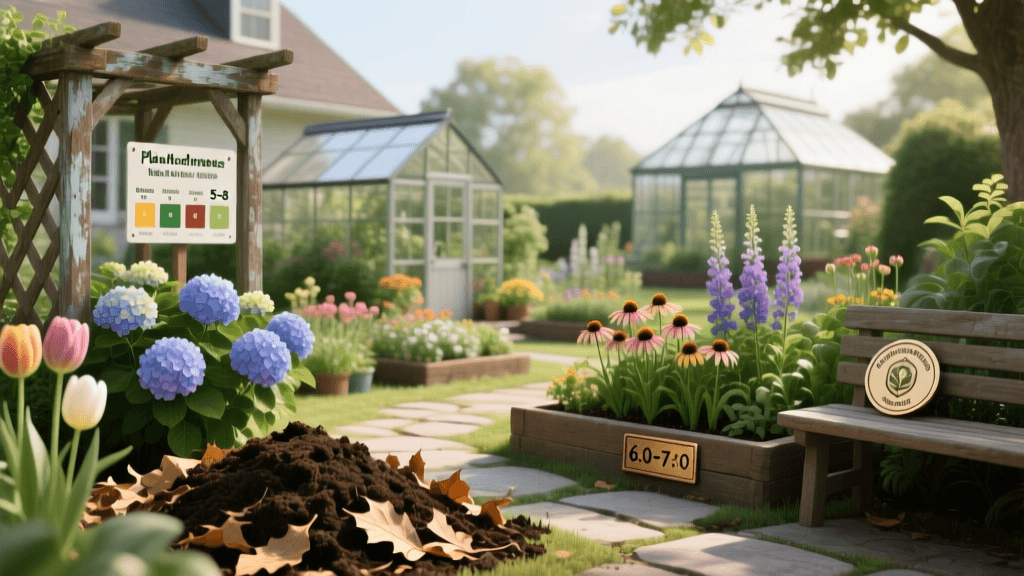
How To Make Leaf Mold Compost For Free
What Leaf Mold Compost Actually Is
Leaf mold is one of the simplest soil amendments a gardener can make, and it often works better than many store-bought products for improving soil structure and holding moisture. Unlike hot compost—which needs nitrogen-rich materials and regular turning to reach 130–160°F (54–71°C)—leaf mold forms through cold fungal decomposition. Fungi break down cellulose and lignin in fallen leaves over 12 to 24 months, turning them into a dark, crumbly, earthy-smelling material that looks and feels like forest floor humus.
It’s not especially rich in nutrients—usually less than 0.5% nitrogen by dry weight—but that’s not what it’s for. Its main job is physical: it helps clay soils drain better and helps sandy soils hold onto water. It also creates a loose, open soil texture that roots, earthworms, and beneficial microbes like.
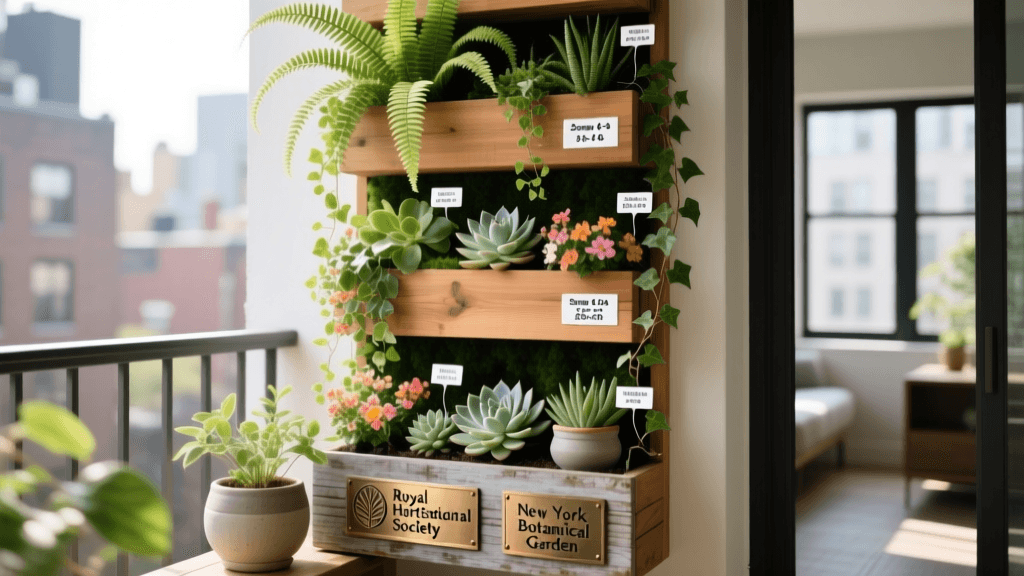
The Royal Horticultural Society (RHS, 2022) calls leaf mold “one of the best soil conditioners available to gardeners” because of these structural benefits.
Collecting and Choosing the Right Leaves
Some leaves break down faster and more evenly than others. Thin, soft leaves from deciduous trees are easiest to work with. Oak (Quercus spp.), beech (Fagus sylvatica), and hornbeam (Carpinus betulus) leaves are good choices—they’re common, decompose reliably, and end up fine-textured. Maple (Acer spp.) and cherry (Prunus spp.) leaves also work well.
Avoid thick, waxy leaves from evergreens like holly (Ilex aquifolium) or laurel (Prunus laurocerasus). They take three years or more to break down and often leave a coarse, uneven product. Walnut leaves (Juglans spp.) contain juglone, a compound toxic to tomatoes, peppers, and plants like blueberries and rhododendrons, so skip those entirely.
When and How to Collect
Autumn is the usual time to gather leaves—October through December in USDA Hardiness Zones 4–7, before the first hard frost. In warmer zones (8–10), leaf fall may stretch into January. Rake leaves off your lawn fairly soon after they drop—a thick, wet mat left for more than a week can smother grass and encourage fungal disease.
Running a lawn mower over collected leaves before adding them to your pile helps a lot. Shredded leaves expose more surface area to fungi, speeding things up. The Brooklyn Botanic Garden says shredding can cut decomposition time in half—from around 18 months down to 9–12 months.
Sourcing Beyond Your Own Garden
If your yard doesn’t have many trees, you don’t need to rely only on your own leaves. Many towns bag leaves for curbside pickup—call your local public works department to see if you can pick up bags before collection day. Neighbors are often glad to have someone take their leaves. Some parks departments, like the Chicago Botanic Garden in Glencoe, Illinois, make leaf material available to the public or use it in their own composting programs—you can ask directly.
- Rake leaves into a central pile before bagging or binning
- Shred with a mower or leaf blower set to vacuum mode
- Moisten dry leaves before adding to the pile—they should feel like a wrung-out sponge
- Avoid leaves from roadsides where vehicle exhaust may have left heavy metal residues
- Don’t include leaves with obvious fungal diseases like tar spot or powdery mildew
Building Your Leaf Mold Enclosure
A simple enclosure keeps the pile neat, holds in moisture, and helps it break down more evenly. You don’t need anything fancy—even basic materials most gardeners already have will do.
The easiest option is a wire cage made from a 10-foot (3-meter) length of chicken wire or hardware cloth, bent into a circle and held together with a few wire ties. Make it at least 3 feet (90 cm) across—smaller piles dry out too fast and don’t hold enough warmth for steady fungal activity. A 4-foot (1.2-meter) diameter cage holding about 30–40 cubic feet of leaves works well for most home gardens.
Pallet Bins and Wooden Frames
Wooden pallets make solid, free enclosures. Wire four pallets together at the corners to form a square bin roughly 4 × 4 feet (1.2 × 1.2 meters). Leave the front pallet loose or attach it with removable hooks so you can get at the finished material at the bottom. If space allows, build two bins side by side—one to fill while the other finishes.
Avoid pressure-treated lumber for bins meant to hold soil amendments for edible gardens—older versions contained arsenic. Newer ACQ (alkaline copper quaternary) treated wood is safer, but untreated cedar or pine lasts long enough for this purpose and avoids any chemical concerns altogether.
Managing Moisture and Aeration
The most common reason leaf mold takes longer than expected is dryness. Dry leaves repel water instead of soaking it up. Once your bin is full, water it thoroughly until moisture drips from the base, then cover the top with cardboard or an old carpet scrap to hold in humidity. Check the pile once a month—the leaves should feel damp, not soggy.
You don’t need to turn leaf mold as often as hot compost. Fungi tolerate lower oxygen levels, so aeration isn’t urgent. But giving the pile one good mix in spring—about six months after filling—brings drier outer material toward the center and adds some fresh air. That single turn usually makes a noticeable difference.
"Leaf mold improves soil structure more effectively than almost any other amendment, and it costs nothing but time. A two-year-old pile of oak and beech leaves produces material indistinguishable from the forest floor humus that supports some of the most productive plant communities on earth." — Dr. Linda Chalker-Scott, Extension Horticulturist, Washington State University (2021)
Using Leaf Mold in the Garden
Finished leaf mold is dark brown to black, crumbles easily, and smells like damp woods. If you can still tell which leaves were used, it’s not ready yet. Once it is, here’s how to use it.
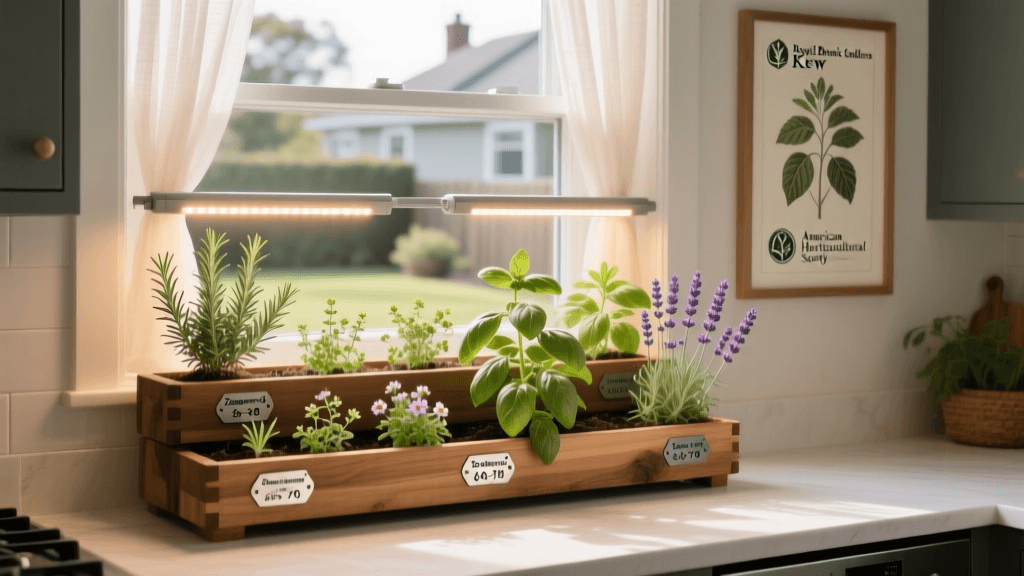
As a soil amendment, mix 2–3 inches (5–7.5 cm) into the top 6–8 inches (15–20 cm) of planting beds before setting out new plants. This works especially well for shade-loving ornamentals like hostas (Hosta spp.), astilbes (Astilbe spp.), and ferns, which naturally grow in humus-rich woodland soils with a pH of 5.5–6.5. The American Horticultural Society (AHS, 2020) notes that adding organic matter at this rate can boost water-holding capacity by 20% or more in sandy soils.
As a mulch, spread leaf mold 2–3 inches deep around shrubs and perennials, keeping it a few inches away from stems to avoid rot. It suppresses weeds and breaks down slowly, lasting all season. Unlike wood chip mulch, it won’t pull nitrogen from the soil as it breaks down.
For containers, blend 1 part leaf mold with 3 parts potting mix. This helps retain moisture without making the mix too heavy. It’s especially helpful for woodland plants in pots—trilliums (Trillium spp.), bleeding hearts (Lamprocapnos spectabilis), and native gingers (Asarum spp.)—which bloom in spring (March–May in Zones 4–6) and prefer consistently moist, humus-rich soil.
- Test your soil pH before amending—leaf mold is slightly acidic (pH 5.5–6.5) and suits most ornamentals, but may lower pH further in already-acidic soils
- Apply as a 2–3 inch mulch layer in autumn to protect perennial roots over winter
- Incorporate into planting holes for new shrubs and trees at a ratio of 25–30% leaf mold to native soil
- Use as a seed-starting medium by sifting finely finished leaf mold and mixing half-and-half with sharp sand
- Top-dress established lawns with a thin layer (no more than ¼ inch / 6 mm) in autumn to support soil life without smothering grass
Matching Leaf Mold to Specific Ornamental Plants
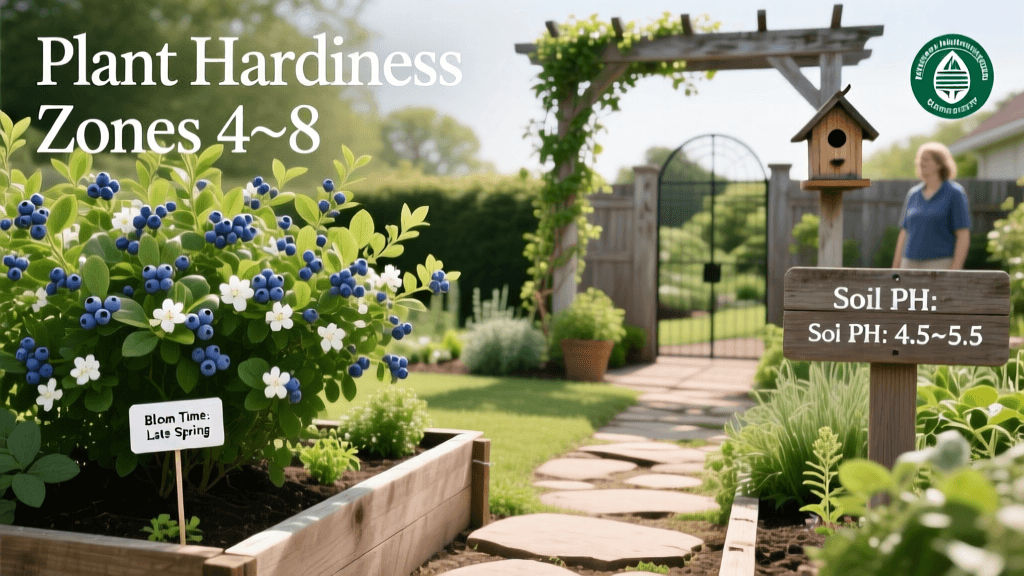
Some plants benefit more than others, so it helps to know where to focus a limited supply. Acid-loving ornamentals are top candidates. Rhododendrons and azaleas (Rhododendron spp.) thrive in soils with a pH of 4.5–6.0 and respond well to a 3-inch leaf mold mulch that keeps acidity and moisture around their shallow, fibrous roots. These plants bloom from March through June depending on variety and zone, and poor soil structure often shows up as bud failure or yellowing leaves.
Hydrangeas (Hydrangea spp.) are another good match. Bigleaf hydrangeas (H. macrophylla), which bloom July–September in Zones 5–9, are sensitive to shifts in soil moisture. A generous leaf mold mulch applied in late spring helps keep moisture steady through summer heat and reduces wilting—so gardeners are less likely to overwater and cause root rot.
| Plant | Preferred Soil pH | Bloom Time (Zone 6) | Leaf Mold Application |
|---|---|---|---|
| Rhododendron (Rhododendron spp.) | 4.5–6.0 | April–June | 3-inch mulch; amend planting hole |
| Hosta (Hosta spp.) | 6.0–7.5 | July–August (foliage spring–fall) | 2-inch mulch; soil incorporation |
| Astilbe (Astilbe spp.) | 6.0–8.0 | June–August | 2-inch mulch; annual top-dress |
| Bleeding Heart (Lamprocapnos spectabilis) | 6.0–7.0 | April–May | Soil incorporation; container mix |
| Bigleaf Hydrangea (H. macrophylla) | 5.5–6.5 | July–September | 3-inch mulch; spring application |
Gardeners in the Pacific Northwest, where autumn leaf fall is heavy and rainfall high, have long used leaf mold in ornamental gardens. Staff horticulturists at the Bellevue Botanical Garden in Bellevue, Washington, regularly use on-site leaf mold in perennial borders and shade gardens—proof that a closed-loop system works even on a larger scale.
In Zones 7–9, where winters stay mild and fungi stay active year-round, leaf mold can be ready in as little as 9–10 months. In colder zones (3–5), where fungal activity slows below 40°F (4°C), plan for 18–24 months. All it really asks is patience—and what you get back is a free, renewable soil amendment that gets better with time.