Tree Care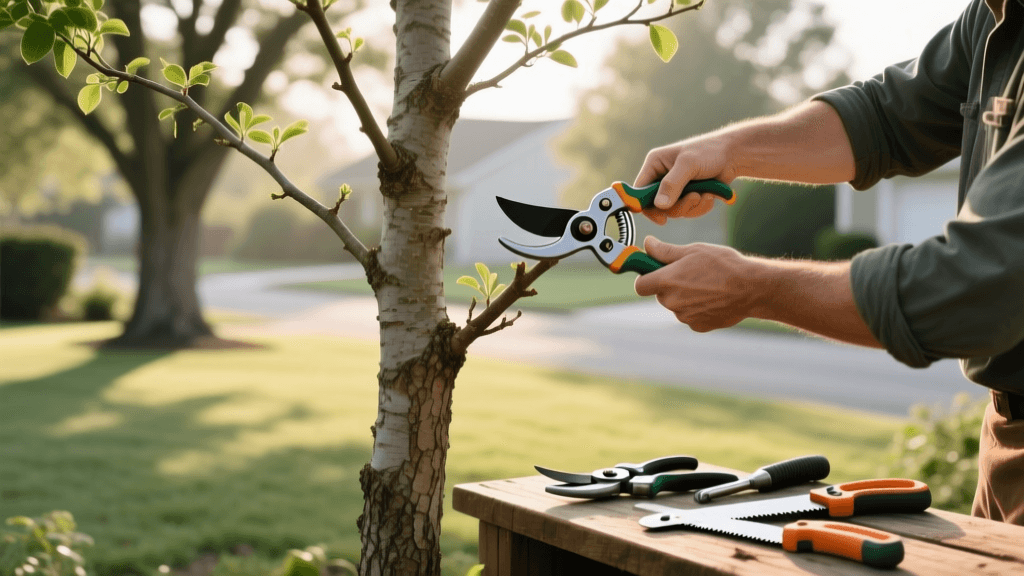
How to Structurally Prune Young Shade Trees Properly
Why Structural Pruning is Crucial for Young Trees
When you plant a young shade tree in your landscape, it is easy to assume that nature will take its course and the tree will develop a strong, majestic canopy on its own. Unfortunately, without human intervention, many shade trees develop structural defects that lead to catastrophic limb failure during ice storms, heavy winds, or even under the weight of their own foliage. Structural pruning is the proactive process of guiding a young tree's growth to create a durable, resilient framework. By investing a few hours each year during the tree's first decade, you can save thousands of dollars in mature tree removal, hazard mitigation, and property damage repairs. This practical how-to guide will walk you through the exact techniques, tools, and timing required to structurally prune young shade trees like oaks, maples, elms, and ash.
Essential Tools and Estimated Costs
Using the correct tools ensures clean cuts that heal rapidly, minimizing the risk of disease. Expect to spend between $140 and $190 for a professional-grade starter kit that will last a lifetime with proper care.
- Bypass Hand Pruners ($55 to $65): For branches up to 3/4 inch in diameter. The Felco F-2 is the industry standard, featuring replaceable parts and a sap groove to prevent sticking.
- Bypass Loppers ($40 to $50): For branches between 3/4 inch and 1.5 inches. The Corona SL 3266 offers excellent leverage and clean cuts without crushing the cambium layer.
- Folding Pruning Saw ($45 to $60): For branches over 1.5 inches. The Silky Gomboy 210 features Japanese pull-stroke teeth that slice through green wood effortlessly.
- Sterilization Solution ($5): A spray bottle filled with 70% isopropyl alcohol. You must sterilize your blades between every single tree to prevent the spread of pathogens like fire blight or oak wilt.
Timing Your Pruning Sessions
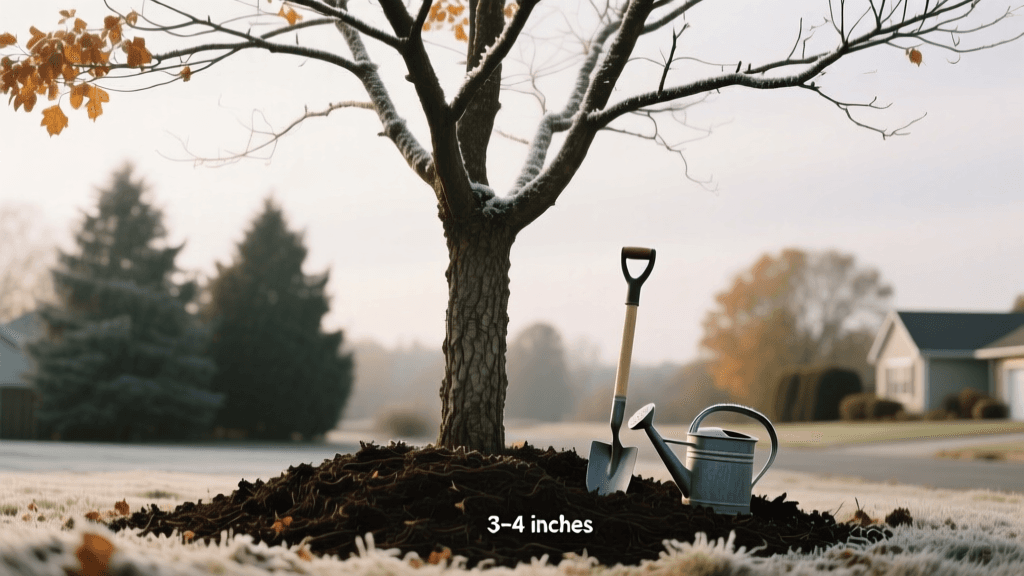
The optimal window for structural pruning is late winter to early spring, just before the tree breaks dormancy and buds begin to swell. Pruning during this window offers several advantages: the tree's architecture is fully visible without leaves obscuring your view, the tree is not actively expending energy on foliage, and the rapid onset of spring growth will immediately begin the wound compartmentalization process. Avoid heavy pruning in late summer, as this can stimulate tender new growth that will be killed by early autumn frosts.
Understanding Branch Unions: The Key to Tree Architecture
Before you make a single cut, you must understand branch unions—the area where a branch connects to the trunk or another branch. The angle of this union dictates its mechanical strength. As noted by the Arbor Day Foundation, selecting branches with strong unions is the foundation of structural pruning.
| Feature | U-Shaped Union (Strong) | V-Shaped Union (Weak) |
|---|---|---|
| Angle | 45 to 90 degrees | Less than 45 degrees |
| Bark Inclusion | Rare or None | Common (High failure risk) |
| Wood Grain | Interlocking and strong | Separated by bark layers |
| Action Required | Retain as scaffold branch | Remove or subordinate |
Included bark occurs when bark grows inward between two branches instead of outward, creating a wedge of dead tissue that acts like a crack in a windshield. V-shaped unions with included bark are the primary cause of mature tree splitting during storms.
Step-by-Step Structural Pruning Guide
Step 1: Clean Up the Canopy
Begin by removing all dead, diseased, broken, or crossing branches. This opens up the canopy, improves air circulation, and gives you a clear view of the tree's primary structure.
Step 2: Identify and Establish the Central Leader
Most shade trees perform best with a single, dominant central leader (the main upward-growing trunk). Identify the straightest, most vigorous upward branch. If you see competing leaders—branches trying to grow straight up alongside the main trunk—you must address them. Do not remove them entirely if they are large; instead, subordinate them by cutting them back to a lateral branch that is less than half the diameter of the competing leader. This slows their growth without shocking the tree.
Step 3: Select Your Scaffold Branches
Scaffold branches are the permanent, primary limbs that will form the mature canopy. Look for branches with strong, U-shaped unions. Ensure they are spaced vertically 12 to 18 inches apart along the trunk, and distributed radially so they do not all emerge from the same side of the tree. A good rule of thumb from the University of Florida IFAS Extension is that no single scaffold branch should be larger than half the diameter of the trunk at the point of attachment. If a branch is too thick, it will compete with the central leader for dominance.
Step 4: Remove or Subordinate Defective Branches
Any branch with a V-shaped union, included bark, or an angle greater than 90 degrees (drooping) should be removed if it is small (under 1 inch). If the defective branch is large, subordinate it by cutting it back significantly to a smaller lateral branch. This reduces its wind sail effect and weight while keeping enough foliage to sustain the trunk's taper.
The Three-Cut Method for Larger Branches
When removing a branch larger than 1.5 inches in diameter, the weight of the falling limb can strip the bark down the trunk, causing a massive, unhealable wound. Always use the three-cut method:
- The Undercut: Make a shallow cut on the underside of the branch, about 12 inches away from the trunk. Cut about one-third of the way through.
- The Relief Cut: Move two inches further out on the branch and cut completely through from the top down. The branch will snap off cleanly at the relief cut, leaving a manageable 12-inch stub.
- The Final Collar Cut: Locate the branch collar—the swollen, wrinkled area where the branch meets the trunk. Make your final cut just outside the branch collar, angling slightly away from the trunk. Never cut flush with the trunk, as this destroys the tree's natural chemical defense zone.
Debunking Pruning Paint and Wound Dressings
Historically, gardeners painted pruning cuts with tar or commercial wound dressings to 'seal' the tree and prevent rot. Modern arboriculture has thoroughly debunked this practice. Trees do not heal like human skin; they compartmentalize decay by growing new wood over the wound from the inside out.
According to the Purdue Extension Tree Pruning Basics guide, trees compartmentalize decay rather than healing like human skin. Therefore, applying wound dressings can actually trap moisture, harbor fungal spores, and accelerate decay behind the painted surface. The best treatment for a pruning cut is clean air and a sharp tool.
Summary and Ongoing Maintenance
Structural pruning is not a one-time event; it is a multi-year commitment. Plan to inspect and lightly prune your young shade trees every two to three years during their first 15 years of growth. By consistently enforcing a single central leader, maintaining proper scaffold spacing, and eliminating weak V-shaped unions early, you will cultivate a magnificent, storm-resistant shade tree that will safely anchor your landscape for generations to come.