Landscaping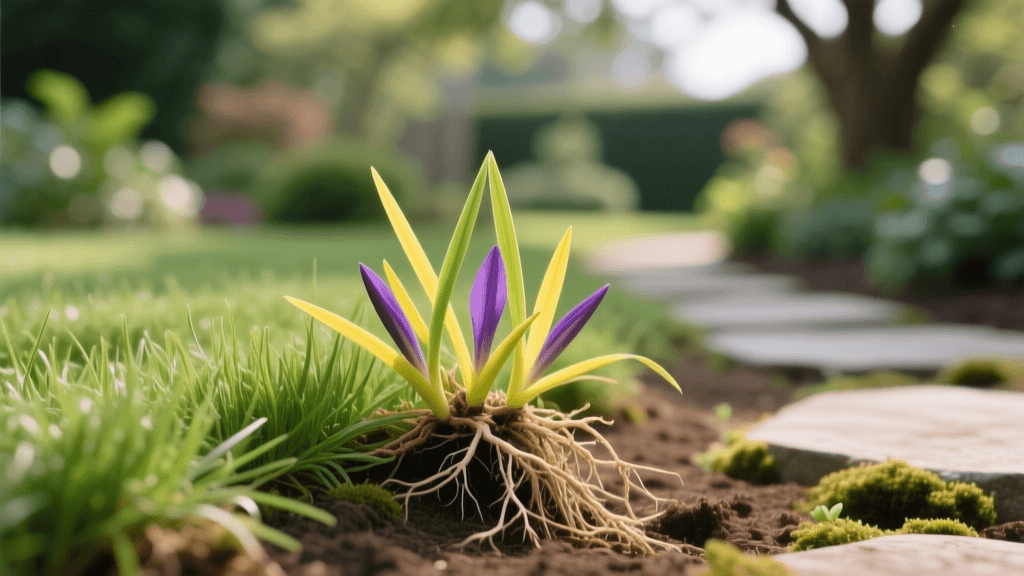
nFix Drainage Issues: If water pools in your landscape beds after a rainstorm, you are creating a nutsedge incubator. Regrade the beds to ensure water flows away from the area, or install a French drain system to divert subsurface water. Adjust your irrigation system so that drip lines are not overwatering specific zones.
Upgrade Your Mulch Strategy: Nutsedge is incredibly sharp and can easily pierce through standard woven landscape fabrics and thin layers of mulch. To suppress emerging shoots, lay down a layer of heavy-duty, overlapping cardboard directly over the soil, and cover it with 3 to 4 inches of coarse hardwood bark mulch. The cardboard blocks the light necessary for tuber activation and eventually breaks down into the soil, improving organic matter without providing a synthetic bridge for weeds.
Limit Soil Disturbance: Avoid deeply tilling your landscape beds each spring. Tilling brings dormant tubers to the surface where they are exposed to light and warmth, triggering mass germination. Instead, practice 'no-till' landscaping by top-dressing beds with fresh compost and mulch.
How to Identify and Eradicate Nutsedge in Landscape Beds
The Nutsedge Nightmare: Why It Plagues Landscape Beds
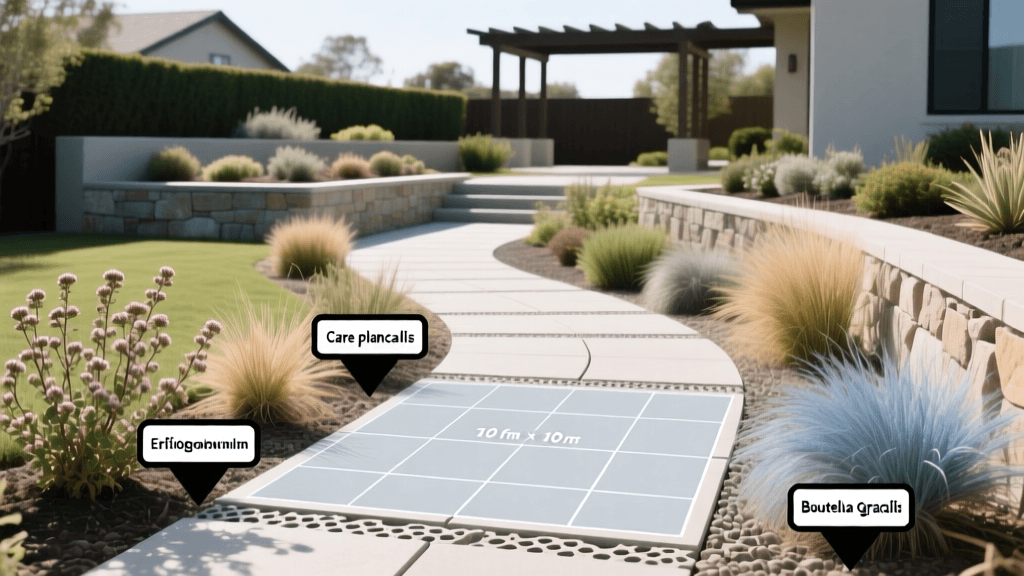
If you have spent countless hours designing the perfect landscape bed, selecting premium ornamentals, and laying down fresh mulch, few things are more frustrating than watching a wiry, fast-growing weed pierce through your pristine garden. Nutsedge is one of the most notorious and difficult-to-control weeds in landscaping. Often mistaken for grass by the untrained eye, nutsedge is actually a sedge, and it thrives in the exact conditions that many landscape beds inadvertently provide: moist, poorly drained soil and areas with frequent irrigation.
Unlike standard broadleaf weeds or annual grasses, nutsedge possesses a complex underground survival system that makes it highly resistant to casual weeding and standard pre-emergent herbicides. For homeowners and landscaping professionals alike, understanding the biology of nutsedge is the first step toward reclaiming your garden beds. In this comprehensive guide, we will cover how to accurately identify yellow and purple nutsedge, why traditional pulling methods often make the problem worse, and the specific chemical and cultural strategies required to eradicate it from your landscape.
Yellow vs. Purple Nutsedge: Identification Guide
Before you can treat the weed, you must correctly identify it. The old landscaper's adage, 'sedges have edges, rushes are round, and grasses have nodes all the way to the ground,' is your best field test. If you roll the stem of the weed between your thumb and forefinger and feel a distinct triangular shape, you are dealing with a sedge.
There are two primary species that invade landscape beds in the United States: Yellow Nutsedge (Cyperus esculentus) and Purple Nutsedge (Cyperus rotundus). While they share similar growth habits, they have distinct visual differences and varying levels of cold tolerance.
| Feature | Yellow Nutsedge | Purple Nutsedge | Standard Turfgrass |
|---|---|---|---|
| Stem Shape | Triangular (V-shaped) | Triangular (V-shaped) | Round or flat |
| Leaf Color | Light green to yellowish | Dark green, sometimes reddish at base | Varies by species |
| Leaf Tip | Sharply pointed, tapered | Blunt or abruptly pointed | Varies |
| Seedhead | Yellowish-brown, umbrella-like | Purplish-brown, umbrella-like | Varies |
| Underground Tubers | Round, smooth, brown, single | Oblong, dark brown/black, in chains | Rhizomes or stolons (no nutlets) |
| Primary Region | Nationwide (cold tolerant) | Southern U.S. (frost-sensitive) | Nationwide |
The Hidden Enemy: Understanding the Tuber System
The primary reason nutsedge is so difficult to eradicate from landscape beds is its underground reproductive system. According to the University of Minnesota Extension, a single yellow nutsedge plant can produce hundreds of underground tubers, commonly referred to as 'nutlets.' These tubers are connected by a fragile network of rhizomes and can lie dormant in the soil for up to three years.
When you see a single nutsedge shoot emerging through your mulch, it is likely just one of dozens of shoots connected to the same mother tuber system. If a tuber is exposed to light or if the parent plant is stressed, it triggers the dormant tubers to sprout. This biological defense mechanism is why simply rototilling or aggressively hoeing a landscape bed infested with nutsedge will almost always result in a much worse infestation the following season, as you are essentially planting chopped-up pieces of the tuber network.
Manual Removal Techniques (and Why Pulling Often Fails)
Many gardeners instinctively grab the base of the nutsedge and yank it out of the soil. While this provides immediate visual satisfaction, it is usually counterproductive. When you pull mature nutsedge, the stem snaps off at the soil line, leaving the tubers and rhizomes intact underground. Within days, the plant will send up two or three new shoots to replace the one you removed.
The 5-Leaf Rule: If you are committed to manual removal, timing is everything. Research indicates that if you pull or hoe nutsedge when it is very young—specifically before it has developed its fifth leaf—the plant has not yet accumulated enough energy to produce new tubers. Consistently hoeing the bed every few days in early summer to remove young shoots will eventually starve the mother tuber. However, in a heavily mulched landscape bed where the weed hides among ornamentals, catching every shoot before the 5-leaf stage is nearly impossible.
Chemical Control: Selective and Non-Selective Herbicides
For severe infestations in landscape beds, chemical intervention is usually necessary. Because nutsedge is neither a grass nor a broadleaf weed, standard weed killers (like 2,4-D or Dicamba) will have absolutely no effect on it. You must use herbicides specifically formulated for sedges.
1. Halosulfuron-methyl (e.g., SedgeHammer)
Halosulfuron-methyl is widely considered the gold standard for nutsedge control. It is a systemic herbicide, meaning it is absorbed through the foliage and translocated down into the tuber system, effectively killing the plant from the inside out.
- Application Rate: Typically 0.5 ounces per 1,000 square feet, mixed with a non-ionic surfactant to help the chemical stick to the waxy leaves.
- Landscape Bed Use: While safe for many established turfgrasses, it must be used as a directed spray in landscape beds. Avoid letting the spray drift onto the foliage of sensitive ornamentals and perennials.
- Cost: A small box of SedgeHammer costs around $25 to $30 and treats up to 1,000 square feet, making it highly cost-effective for targeted bed treatments.
2. Imazaquin (e.g., Image Kills Nutgrass)
Imazaquin is another effective active ingredient, though it works much slower than halosulfuron. It can take up to three to four weeks to see complete browning of the nutsedge. It is highly effective in warm-season landscapes but carries strict warnings regarding use near the root zones of certain ornamental shrubs and trees. Always read the label to ensure your specific landscape plants are tolerant.
3. Glyphosate (Non-Selective)
If your landscape bed is entirely bare, or if you are spot-treating nutsedge growing in the cracks of hardscaping or far away from desirable plants, glyphosate (Roundup) is an option. Because it is non-selective, it will kill any plant it touches. In active landscape beds, you must use a physical spray shield or apply the herbicide using a sponge-tipped weed wand to carefully wipe the chemical directly onto the nutsedge leaves without dripping onto your ornamentals.
Cultural Practices for Long-Term Prevention
Eradicating the current crop of nutsedge is only half the battle. To keep your landscape beds clean, you must alter the environment to make it hostile to sedges. The Clemson University Home & Garden Information Center emphasizes that nutsedge is primarily an indicator of poor soil drainage and excessive moisture.
Step-by-Step Eradication Plan for Landscape Beds
To successfully reclaim a heavily infested landscape bed, follow this structured 6-month protocol:
- Early Spring (Preparation): Do not till the bed. Remove large debris and apply a thick layer of overlapping cardboard, topped with 4 inches of hardwood mulch.
- Early Summer (First Strike): As soil temperatures reach 65°F, monitor the bed. Any nutsedge that pierces the mulch should be spot-treated with a halosulfuron-methyl product (like SedgeHammer) using a shielded sprayer or weed wand.
- Mid-Summer (Follow-Up): Wait 3 to 4 weeks after the first application. Re-treat any surviving or newly emerged shoots. The systemic action of the first application will be killing the mother tubers, but secondary tubers may sprout.
- Late Summer (Manual Cleanup): Hand-pull any isolated, small shoots that appear, ensuring you catch them before the 5-leaf stage.
- Autumn (Assessment): As the weather cools, nutsedge will naturally begin to die back and pull energy into the tubers for winter dormancy. Apply a final spot treatment to any late-season survivors to ensure the tubers absorb the herbicide before frost hits.
Conclusion
Nutsedge is a formidable opponent in the landscape, but it is not invincible. By correctly identifying whether you are facing yellow or purple nutsedge, understanding the hidden danger of the tuber system, and utilizing targeted systemic herbicides combined with moisture-reducing cultural practices, you can restore the beauty and health of your landscape beds. Patience and consistency are your greatest tools; commit to a multi-season approach, and you will eventually starve out the infestation for good.