Gardening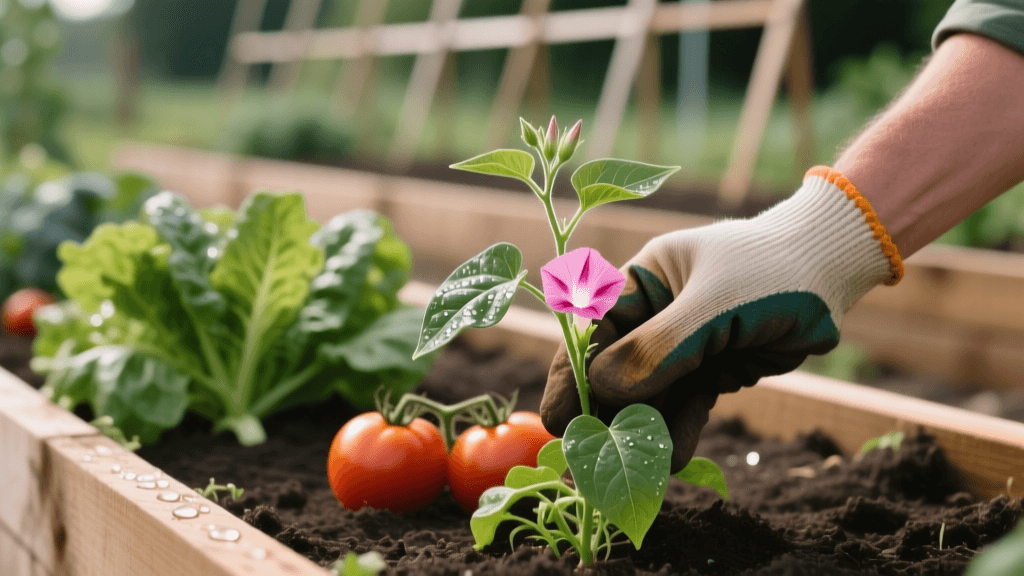
Identify and Eradicate Bindweed in Vegetable Gardens
The Gardener's Nemesis: Understanding Field Bindweed
If you have ever spent hours meticulously tending to your vegetable garden or raised beds, only to return a few days later to find your tomatoes, beans, and peppers choked by a twining, aggressive vine, you have likely encountered field bindweed. Scientifically known as Convolvulus arvensis, this perennial weed is widely considered one of the most difficult and frustrating pests to manage in home gardening. Unlike annual weeds that complete their lifecycle in one season and can be easily pulled, bindweed is a resilient survivor equipped with an extensive, deep-rooted system that makes total eradication a multi-year project.
According to the USDA Plants Database, field bindweed is a non-native, invasive species in many parts of North America. It thrives in a wide variety of soil conditions, from rich, loamy garden beds to poor, compacted clay. For the home gardener, understanding the biology of this weed is the first and most critical step toward reclaiming your vegetable garden and protecting your harvest.
How to Identify Field Bindweed in Your Garden
Before you can effectively remove bindweed, you must be able to accurately identify it. It is frequently confused with ornamental morning glories or sweet potato vines, but there are distinct characteristics that set it apart.
Leaf and Stem Characteristics
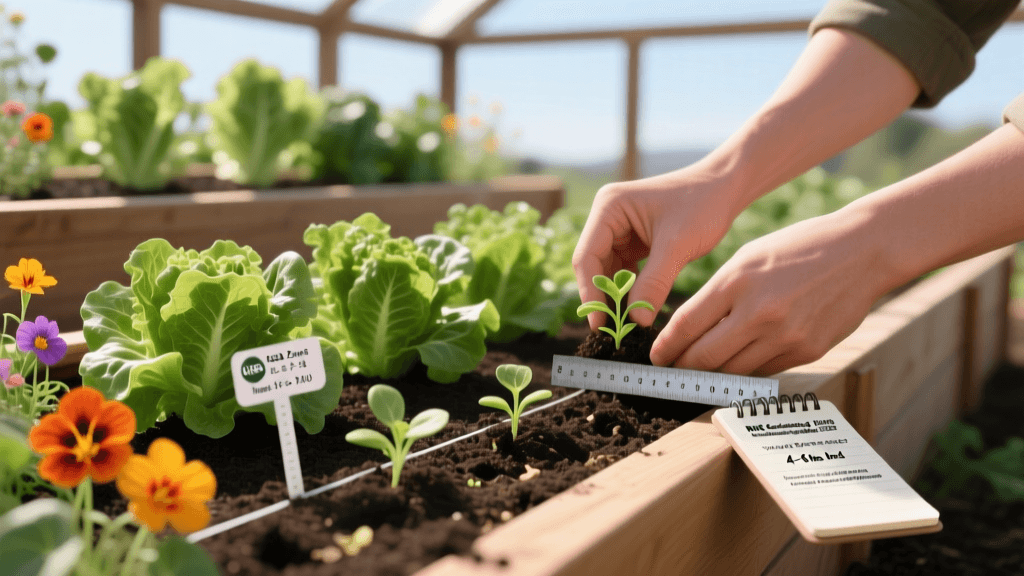
Bindweed leaves are typically arrowhead-shaped (sagittate) with pointed lobes at the base. They are usually 1 to 2 inches long and alternate along the stem. The stems themselves are slender, green, and twine tightly around any available support, including your vegetable crops, trellises, and garden stakes. Unlike some harmless garden vines, bindweed stems do not have tendrils; they wrap their entire main stem around objects.
Flower Structure
The flowers of field bindweed are trumpet-shaped and typically measure 1 to 1.5 inches across. They are most commonly white or pale pink with subtle darker stripes radiating from the center. While they may look delicate and pretty, each flower is a warning sign that the plant is maturing and preparing to drop seeds, which can remain viable in your garden soil for up to 50 years.
The Hidden Threat: The Root System
The true danger of bindweed lies beneath the soil surface. The Royal Horticultural Society notes that bindweed roots can penetrate the soil to depths of 10 to 20 feet. Furthermore, these roots are incredibly brittle. If you attempt to pull the weed by hand or chop it with a hoe, the root will snap, leaving behind tiny white fragments. Every single fragment left in the soil has the potential to generate a brand-new, aggressive plant within weeks.
Why Bindweed is Devastating to Vegetable Gardens
In a vegetable garden or raised bed, resources like water, sunlight, and nutrients are at a premium. Bindweed is a fierce competitor. Its rapid vertical growth allows it to climb up and over your crops, effectively shading them out and reducing photosynthesis. For vining crops like pole beans or indeterminate tomatoes, bindweed intertwines so thoroughly that separating the two without damaging the crop is nearly impossible. Additionally, dense mats of bindweed can harbor pests like spider mites and aphids, and create humid microclimates that encourage fungal diseases such as powdery mildew on your vegetables.
Step-by-Step Bindweed Removal Strategies
Eradicating bindweed requires patience, persistence, and the right techniques. Here are the most effective methods for removing bindweed from your garden beds.
1. The Garden Fork Extraction Method
Never use a spade, shovel, or rototiller to remove bindweed. These tools will chop the roots into dozens of pieces, effectively planting new weeds. Instead, use a broadfork or a sturdy garden fork. Wait until the soil is slightly moist (such as the day after a deep watering or a rainstorm). Insert the garden fork deeply into the soil about 8 to 12 inches away from the base of the vine. Gently lever the handle back to lift and loosen the soil, exposing the white, fleshy roots. Carefully pull the root system out by hand, sifting through the loosened soil to remove every possible fragment. This method is labor-intensive but highly effective for newly established patches.
2. Smothering and Solarization
If a raised bed or garden section is heavily infested, you may need to sacrifice a growing season to smother the weed. Begin by cutting the bindweed vines down to the soil surface. Cover the entire area with overlapping layers of heavy-duty cardboard, ensuring there are no gaps. Wet the cardboard thoroughly, and then cover it with 4 to 6 inches of wood chips, straw, or compost. The cardboard blocks sunlight, starving the roots, while the heavy mulch prevents any surviving shoots from pushing through. Leave this barrier in place for at least one full year.
3. Targeted Systemic Herbicide Application
In severe cases where manual removal is impossible, a systemic herbicide containing glyphosate or triclopyr may be necessary. Because you cannot spray herbicides in a vegetable garden without killing your crops, you must use the 'paintbrush method.' Wait until the bindweed is actively flowering; during this stage, the plant is pulling nutrients down into its root system. Dip a small foam paintbrush into the herbicide and carefully paint the solution directly onto the bindweed leaves. The plant will absorb the chemical and transport it to the deep roots, killing the entire system. The Colorado State University Extension emphasizes that repeated applications are often necessary, as dormant lateral roots may sprout weeks after the initial treatment.
4. The Boiling Water Technique
For bindweed emerging near the edges of raised beds, along fences, or in garden pathways, boiling water is an excellent organic spot-treatment. Carefully pour a kettle of boiling water directly over the crown and base of the weed. The extreme heat cooks the plant tissue and damages the shallow crown. While this will not kill the deep taproot immediately, repeated applications every time a new shoot emerges will eventually exhaust the root's energy reserves.
Bindweed Removal Methods Comparison Chart
Choosing the right strategy depends on the severity of the infestation, your gardening philosophy, and the time you have available. Review the chart below to select the best approach for your garden.
| Removal Method | Effort Level | Cost | Time to Eradicate | Best Application |
|---|---|---|---|---|
| Garden Fork Extraction | High (Physical) | Low | 1 to 2 Seasons | Small, isolated patches in active vegetable beds |
| Smothering (Cardboard) | Medium (Setup) | Low to Medium | 1 to 2 Years | Heavily infested beds being rested or prepared |
| Paintbrush Herbicide | Low (Physical) | Medium | 1 Season | Severe infestations where manual removal fails |
| Boiling Water | Medium (Repetitive) | Low | 1 to 2 Seasons | Hardscape edges, pathways, and raised bed borders |
Long-Term Prevention and Garden Maintenance
Once you have reduced the bindweed population, vigilant maintenance is required to keep it from returning. First, transition your vegetable garden to a drip irrigation system. Bindweed thrives on widespread moisture; by delivering water directly to the root zones of your vegetables, you leave the surrounding soil dry, making it harder for weed seeds to germinate and survive.
Second, maintain a thick layer of organic mulch (such as shredded leaves or straw) around your crops. While mulch alone will not stop established bindweed, it is highly effective at suppressing new seedlings and preventing seeds from making contact with the soil. Finally, practice dense planting and utilize cover crops during the off-season. A garden bed filled with competitive, desirable plants leaves little physical space or sunlight for opportunistic weeds to take hold. By combining accurate identification, targeted removal, and proactive soil management, you can successfully defend your vegetable garden against the relentless advance of field bindweed.