Gardening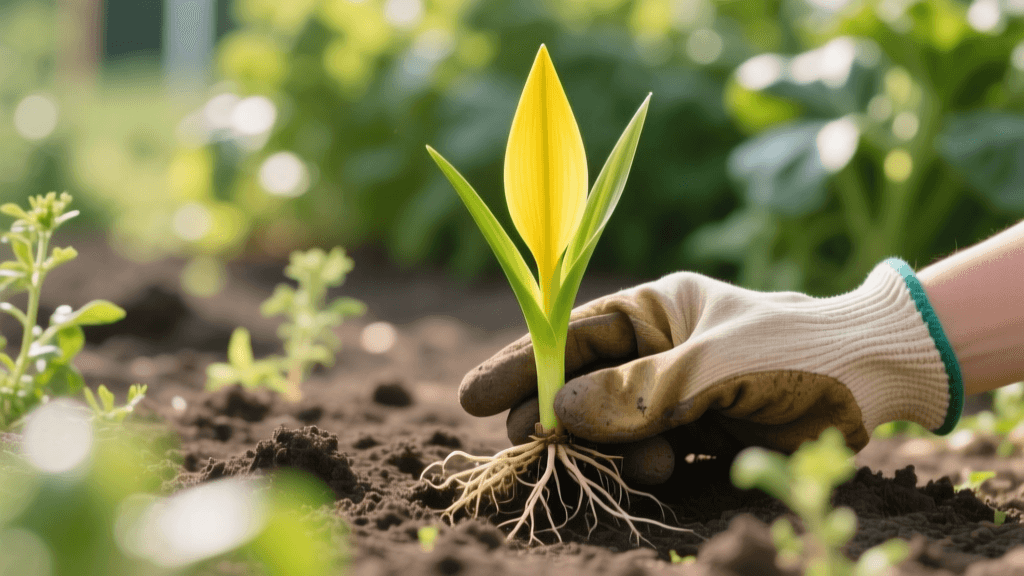
How to Identify and Remove Yellow Nutsedge in Gardens
The Deceptive Nature of Yellow Nutsedge
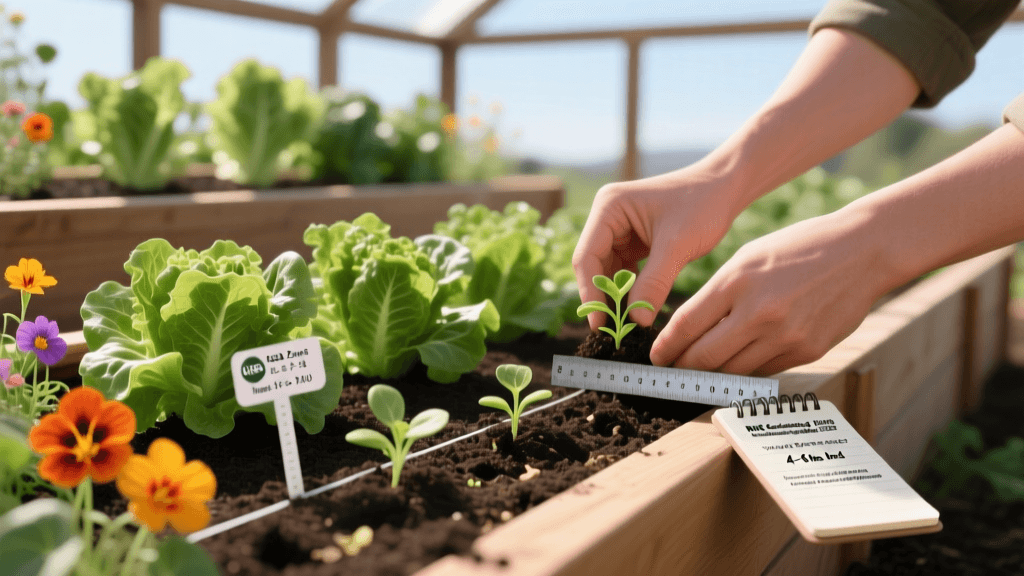
Every seasoned gardener knows the frustration of weeding, but few weeds inspire as much dread as yellow nutsedge (Cyperus esculentus). Often mistakenly called 'nutgrass' or 'watergrass,' this aggressive perennial is neither a grass nor a broadleaf weed. It is a sedge, and it possesses a unique biological toolkit that allows it to survive droughts, penetrate heavy mulch, and rapidly colonize fertile vegetable beds. According to the USDA Plants Database, yellow nutsedge is a globally distributed species that thrives in moist, cultivated soils, making irrigated vegetable gardens and raised beds its preferred habitat.
Unlike annual weeds that complete their life cycle in one season and rely solely on seeds for reproduction, yellow nutsedge spreads primarily through an intricate, hidden underground network. This network consists of rhizomes (underground stems) and tubers, commonly referred to as 'nutlets.' Understanding the biology of these tubers is the absolute first step toward reclaiming your garden from this relentless invader.
How to Accurately Identify Yellow Nutsedge
Because it mimics the appearance of turfgrass and garden grasses, yellow nutsedge often goes unnoticed until it has established a massive root system. However, there are several distinct morphological features that make identification straightforward once you know what to look for.
1. The Stem: 'Sedges Have Edges'
There is an old botanical rhyme: 'Sedges have edges, rushes are round, grasses have knees that bend to the ground.' If you roll a stem of yellow nutsedge between your thumb and index finger, you will distinctly feel its triangular, V-shaped cross-section. True grasses have round, hollow stems with nodes, while nutsedge stems are solid and sharply angled.
2. The Leaves: Glossy and Ranked in Threes
Nutsedge leaves emerge from the base of the plant in sets of three (trigonal arrangement), whereas grass leaves typically emerge in sets of two. The leaves are light green to yellowish-green, noticeably glossier than most garden grasses, and feature a prominent, thick midrib. They also tend to grow faster than surrounding crops, often poking up above the canopy of your vegetables just a few days after mowing or weeding.
3. The Root System: The Tuber Network
If you gently pull a young nutsedge plant from loose soil, you will likely see a small, spherical, brown-to-black tuber attached to the white rhizome. These tubers taste faintly of almonds (which is why the species name is esculentus, meaning edible) and are the primary reason this weed is so difficult to eradicate. A single tuber can remain dormant in the soil for up to three years, waiting for the right moisture and temperature conditions to sprout.
Comparison Chart: Yellow Nutsedge vs. Grass vs. Purple Nutsedge
| Feature | Yellow Nutsedge | Purple Nutsedge | True Grasses |
|---|---|---|---|
| Stem Shape | Triangular (V-shaped) | Triangular (V-shaped) | Round, hollow with nodes |
| Leaf Arrangement | Sets of 3 | Sets of 3 | Sets of 2 |
| Tuber Color/Shape | Light to dark brown, spherical | Black, oblong, connected in chains | No tubers (may have rhizomes) |
| Seed Head | Golden/yellow straw-colored | Dark purple/maroon | Varies widely |
| Preferred Climate | Widespread, cold-tolerant | Southern, frost-sensitive | Varies widely |
Why Nutsedge is a Nightmare for Vegetable Gardens
Yellow nutsedge is not just a cosmetic nuisance; it is a severe threat to crop yields. Penn State Extension notes that a single yellow nutsedge tuber can produce over 1,000 new tubers in a single growing season under optimal conditions. This exponential growth allows it to choke out shallow-rooted crops like carrots, onions, and lettuce.
Furthermore, nutsedge exhibits allelopathy—the ability to release biochemicals into the soil that inhibit the germination and growth of neighboring plants. It also possesses incredibly sharp, rigid shoot tips that can easily pierce through standard landscape fabric, thick layers of wood chip mulch, and even thin plastic sheeting used in raised bed construction. Once it breaches your mulch layer, it photosynthesizes and feeds energy back down to the mother tuber, strengthening the underground network.
Step-by-Step Yellow Nutsedge Removal Guide
Eradicating nutsedge requires a shift in mindset. You are not just pulling weeds; you are managing an underground tuber bank. Here is a comprehensive, actionable strategy for removing yellow nutsedge from your vegetable garden.
1. The 'Six-Leaf' Manual Removal Rule
The most critical piece of knowledge for manual nutsedge removal is the 'six-leaf rule.' When a nutsedge shoot emerges from a tuber, it takes time to generate enough photosynthetic energy to produce new tubers. Research indicates that a nutsedge plant must reach the six-leaf stage before it begins forming new rhizomes and tubers underground.
- Action: Scout your garden beds every 3 to 5 days during the peak growing season (late spring through mid-summer).
- Execution: Pull or hoe the shoots when they have 4 to 5 leaves. By removing the shoot before the 6th leaf develops, you force the original mother tuber to expend its stored energy to produce a new shoot. Repeatedly pulling shoots before the 6-leaf stage will eventually starve and kill the mother tuber.
- Warning: Never use a rotary tiller on a bed infested with nutsedge. Tilling chops the rhizomes and tubers into pieces, and each piece containing a viable bud will sprout into a brand-new plant, multiplying your problem exponentially.
2. Soil Moisture Management
Yellow nutsedge is a hydrophile; it thrives in wet, poorly drained, and compacted soils. If your vegetable garden stays soggy for days after a rainstorm, you are creating an ideal nursery for this weed.
- Improve Drainage: Incorporate generous amounts of compost and aged leaf mold into heavy clay soils to improve percolation.
- Audit Irrigation: Fix leaky drip emitters and adjust sprinkler heads that overwater specific zones. Transitioning to targeted drip irrigation under a thick mulch layer deprives the surface soil of the moisture nutsedge seeds and shallow tubers need to trigger germination.
3. Advanced Mulching and Barrier Tactics
Standard organic mulches (straw, pine bark, wood chips) are completely ineffective against established nutsedge. The sharp shoots will penetrate 4 inches of wood chips without effort.
- The Cardboard Method: For pathways and between wide rows, lay down overlapping layers of heavy, uncoated corrugated cardboard. Wet the cardboard thoroughly, then cover it with 3 inches of wood chips to hold it in place and improve aesthetics. The physical barrier of the cardboard, combined with the light-blocking chips, will eventually smother the weeds.
- Woven Geotextiles: For permanent garden pathways, use heavy-duty, woven polypropylene landscape fabric (not the thin, non-woven black plastic from big-box stores, which nutsedge will pierce in weeks). Secure the edges with landscape staples.
4. Soil Solarization for Empty Beds
If a raised bed or garden plot is heavily infested, consider taking it out of production for one month during the hottest part of the summer to perform soil solarization. University of Minnesota Extension highlights solarization as a highly effective, chemical-free method to deplete the weed seed and tuber bank.
- Step 1: Clear the bed of all plant debris and till the top 6 inches of soil.
- Step 2: Water the soil deeply. Moisture conducts heat better than dry soil and forces dormant tubers to break dormancy, making them highly susceptible to thermal death.
- Step 3: Cover the bed with 2-mil to 4-mil clear, UV-resistant polyethylene plastic. (Clear plastic traps heat better than black plastic). Trench the edges of the plastic into the soil to create an airtight seal.
- Step 4: Leave the plastic in place for 4 to 6 weeks during July and August. Soil temperatures under the plastic can exceed 120°F (49°C), effectively cooking the tubers and soil-borne pathogens.
5. Herbicide Realities in the Vegetable Garden
Gardeners often ask about selective herbicides like SedgeHammer (halosulfuron-methyl). While these products are incredibly effective at killing nutsedge in turfgrass and ornamental beds without harming the surrounding plants, they are generally not labeled for use inside active vegetable gardens where food crops are grown. In edible gardens, you must rely on the manual, cultural, and solarization methods outlined above. If the garden bed is completely empty and will remain so for a full season, a non-selective systemic herbicide like glyphosate can be applied to the foliage, but it will require multiple applications spaced 3 weeks apart to translocate down to the deep tubers.
A Three-Year Eradication Timeline
Eradicating yellow nutsedge is a marathon, not a sprint. Because tubers can remain dormant in the soil profile for up to three years, you must remain vigilant.
- Year 1: Depletion. Focus on aggressive manual removal using the 6-leaf rule. Implement heavy cardboard mulching in pathways. Expect to see thousands of shoots; your goal is to starve the primary tuber bank.
- Year 2: Containment. Emergence will drop significantly. Continue weekly scouting. Address any low-lying areas where water pools, as these will be the first spots where dormant tubers attempt to sprout.
- Year 3: Maintenance. Nutsedge will likely be reduced to isolated, easily managed outbreaks. Maintain your soil structure, keep your mulch layers thick, and immediately pull any rogue shoots before they reach the 6-leaf stage.
By understanding the unique biology of yellow nutsedge and committing to a persistent, multi-year management strategy, you can successfully protect your vegetable harvest and restore the health and productivity of your garden soil.