Pest Control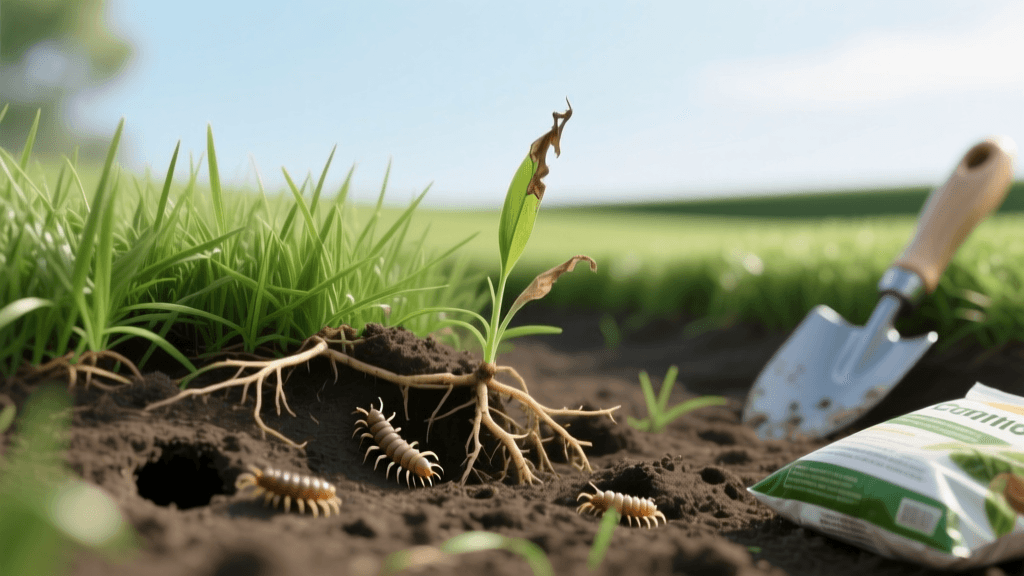
Beginner Guide To Identifying And Treating Lawn Grubs
Welcome to Lawn Care: Understanding the Grub Threat
Starting a new lawn is an exciting journey for any beginner homeowner, but it comes with a unique set of challenges. Among the most destructive and common foes you will face are lawn grubs. These hidden pests live beneath the soil surface, silently devouring the root systems of your newly established turf. If left unchecked, a minor grub issue can escalate into massive brown patches and ruined landscaping in a matter of weeks. This beginner-friendly guide will walk you through the exact steps to identify, treat, and prevent grub infestations, ensuring your new lawn stays thick, green, and healthy.
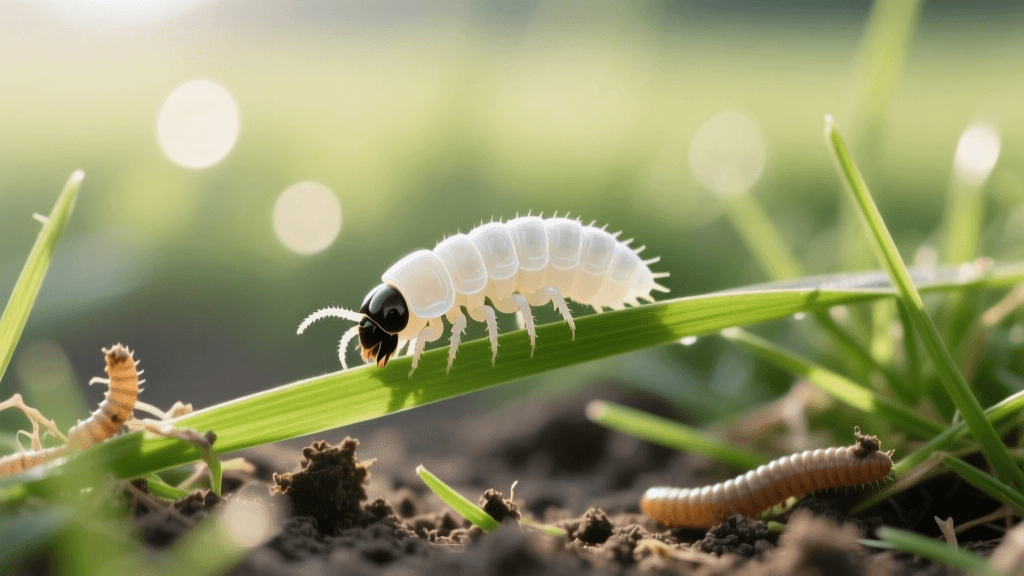
What Exactly Are Lawn Grubs?
Grubs are the larval stage of various scarab beetle species, most notably the Japanese beetle, the masked chafer, and the June bug. They are easily identifiable by their plump, C-shaped bodies, which are typically white or grayish with distinct brown heads and six legs near the head. Depending on the species, grubs can range from a quarter-inch to over an inch in length. Because they feed exclusively on organic matter and grassroots, they are particularly drawn to the tender, developing root systems of new lawns, making early detection and proactive pest control an essential part of your growing guide.
Recognizing the Signs of a Grub Infestation
Before you can treat a problem, you must confirm it exists. Grub damage often mimics other lawn issues like drought stress or fungal diseases, which leads many beginners to misdiagnose their lawn. Look for these primary indicators:
- Spongy Turf: Walk across your lawn. If the grass feels spongy, loose, or rolls back like a freshly laid carpet, the roots have likely been severed.
- Irregular Brown Patches: Unlike drought stress, which affects the whole lawn evenly, grub damage appears as localized, irregular brown patches that expand over time.
- Animal Digging: Skunks, raccoons, crows, and moles love to eat grubs. If you notice small holes or torn-up sod, animals are likely foraging for a grub buffet beneath your soil.
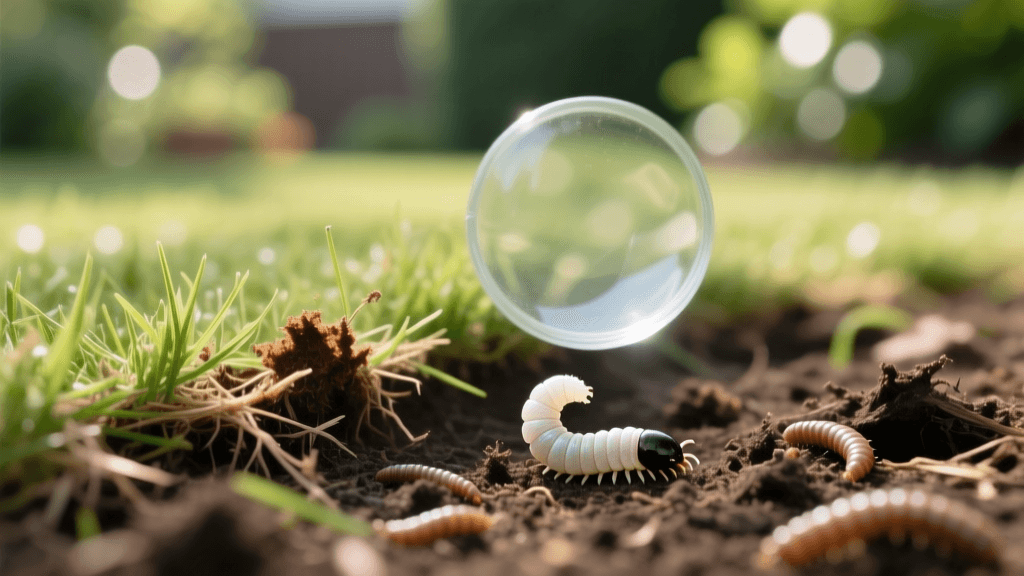
The 'Tug Test' and Scouting Method
To accurately diagnose a grub problem, you need to perform a simple scouting method known as the 'tug test.' Using a sharp spade or a half-moon edger, cut three sides of a 1-foot by 1-foot square in your lawn, about 2 to 3 inches deep. Peel back the sod like a flap of carpet and examine the soil and roots. Count the number of grubs you find in that single square foot. According to integrated pest management (IPM) standards, finding 0 to 5 grubs per square foot is normal and requires no action. However, if you count 6 to 10 or more grubs per square foot, treatment is necessary to save your lawn.
The Grub Life Cycle: Timing is Everything
Understanding the life cycle of the white grub is crucial for effective pest control. Adult beetles emerge from the soil in early summer (June and July) to mate and lay eggs in your turf. These eggs hatch in late July and August, releasing tiny, vulnerable grubs that begin feeding aggressively on grassroots. By late fall, the grubs grow larger and burrow deep into the soil to overwinter. In the spring, they return to the surface to feed briefly before pupating into adult beetles. Because grubs are most vulnerable and closest to the surface in late summer and early fall, this is the optimal window for curative treatments. Preventative treatments, on the other hand, must be applied in late spring or early summer before the eggs even hatch.
Comparing Grub Control Methods: Organic vs. Chemical
When selecting a treatment, beginners often feel overwhelmed by the options available at the garden center. Below is a structured comparison chart detailing the most effective organic and chemical grub control products, including estimated costs and application timing.
| Treatment Type | Active Ingredient / Organism | Best Time to Apply | Est. Cost per 1,000 sq ft | Pros & Cons |
|---|---|---|---|---|
| Preventative Chemical | Chlorantraniliprole (e.g., Scotts GrubEx) | April to Early June | $15 - $20 | Pros: Long-lasting, safe for pollinators once dry. Cons: Will not kill existing large grubs. |
| Curative Chemical | Trichlorfon (e.g., Bayer Advanced 24-Hour Grub Killer) | August to October | $15 - $25 | Pros: Fast-acting, kills active grubs in 24 hours. Cons: Short residual effect, requires immediate watering. |
| Organic Curative | Heterorhabditis bacteriophora (Beneficial Nematodes) | August to September | $30 - $45 | Pros: 100% organic, safe for pets and earthworms. Cons: Requires strict soil moisture and temperature control. |
| Organic Preventative | Paenibacillus popilliae (Milky Spore Disease) | Spring or Fall | $40 - $55 | Pros: Builds in soil over years, targets Japanese beetles. Cons: Takes 2-3 years to establish, expensive upfront. |
Step-by-Step Application Guide for Beginners
Once you have selected your product, proper application is key to success. Follow these actionable steps for chemical or organic granular treatments:
- Mow the Lawn: Mow your grass slightly shorter than usual to allow the product to reach the soil surface easily.
- Water Lightly: If the soil is bone dry, water the lawn lightly to soften the top layer of soil, which helps the product penetrate.
- Calibrate Your Spreader: Check the product label for the exact spreader setting. Using a rotary or drop spreader, apply the product evenly, overlapping slightly to avoid missed strips.
- Water Heavily (Crucial Step):strong> Immediately after application, water the lawn with at least 0.5 inches of water. This washes the active ingredient off the grass blades and into the top 2 to 4 inches of soil where the grubs are feeding.
- Allow to Dry: Keep children and pets off the lawn until the grass is completely dry to ensure safety.
Repairing Grub Damage and Reseeding
If grubs have already destroyed sections of your lawn, treating the pests is only half the battle; you must also repair the turf. Begin by raking out all the dead, spongy grass and debris to expose the bare soil. Loosen the top half-inch of soil with a garden rake or tiller. Apply a thin layer (about 1/4 inch) of high-quality compost or topsoil to provide a nutrient-rich bed for new seeds. Select a grass seed that matches your existing lawn and climate zone, and sow it at the rate recommended on the seed bag. Keep the repaired areas consistently moist by watering lightly two to three times a day until the new grass reaches a height of 2 inches. Avoid applying weed-and-feed products to newly seeded areas, as the herbicides will prevent your new grass from germinating.
Expert Insights and Preventative Philosophy
According to Purdue University Extension, 'Preventative grub control products are most effective when applied before the grubs are large and causing damage. Curative products are best used in late summer or early fall when grubs are actively feeding near the soil surface. Scouting your lawn is the only way to make an informed decision rather than relying on calendar-based spraying.'
Adopting an Integrated Pest Management (IPM) mindset means you do not need to eradicate every single grub in your yard. A healthy, deeply rooted lawn can tolerate a low population of grubs without showing any visible damage. Focus on building strong turf through proper mowing heights (never removing more than one-third of the blade), deep and infrequent watering to encourage deep root growth, and annual aeration. By combining strong cultural practices with targeted, well-timed pest control treatments, even a beginner can maintain a pristine, grub-free lawn season after season.