Lawn Care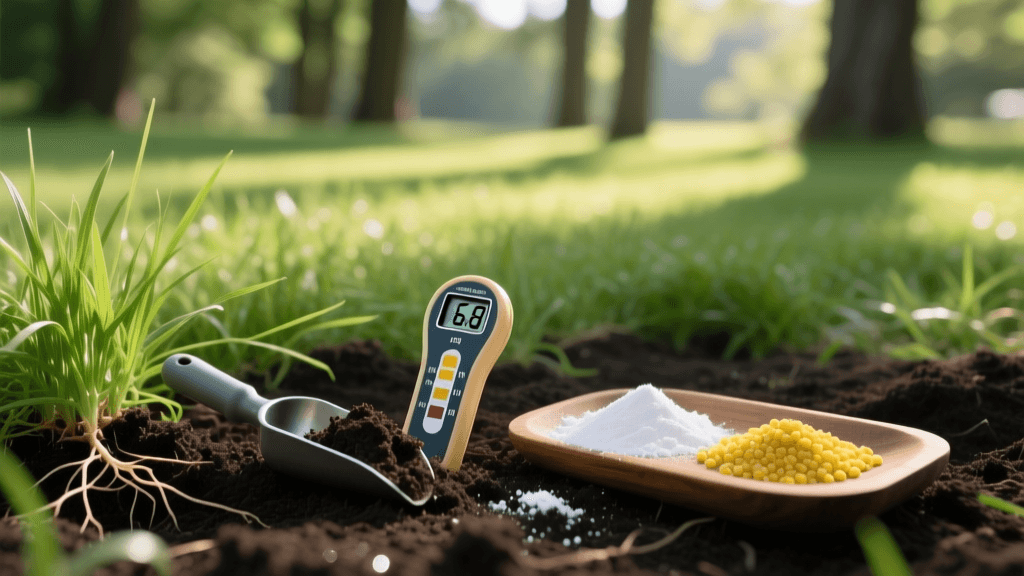
Expert Guide to Lawn Soil Testing and pH Adjustment
The Hidden Foundation of a Perfect Lawn
Every homeowner dreams of a lush, carpet-like lawn, but many throw money at premium fertilizers and expensive weed control treatments without ever addressing the underlying soil chemistry. As a lawn care professional, I can tell you that the secret to a resilient, vibrant turf isn't found in a bag of synthetic nitrogen; it is hidden beneath the surface. Soil pH dictates nutrient availability, microbial activity, and root development. If your soil pH is off, your lawn is essentially starving, no matter how much fertilizer you apply. This expert guide will walk you through the best practices for lawn soil testing and precise pH adjustment, ensuring your turf gets the exact nutrition it needs to thrive.
The Science of Soil pH and Nutrient Lockout
Soil pH is measured on a scale from 0 to 14, with 7.0 being neutral. Values below 7.0 are acidic, and values above 7.0 are alkaline. According to the University of Massachusetts Amherst Extension, most common turfgrasses—including Kentucky Bluegrass, Tall Fescue, and Perennial Ryegrass—thrive in a slightly acidic 'Goldilocks' zone between 6.0 and 7.0. Warm-season grasses like Bermuda and Zoysia can tolerate a slightly wider range, generally between 5.8 and 7.0.
When soil becomes too acidic (below 5.5), essential macronutrients like nitrogen, phosphorus, and potassium become 'locked out' and unavailable to the grass roots. Simultaneously, toxic levels of aluminum and manganese can leach into the soil solution, damaging root systems. Conversely, highly alkaline soils (above 7.5) lock up vital micronutrients like iron, manganese, and zinc, leading to severe chlorosis (yellowing of the grass blades). Testing and adjusting your soil pH is the only way to unlock the full potential of your lawn care regimen.
Step-by-Step Soil Sampling Best Practices
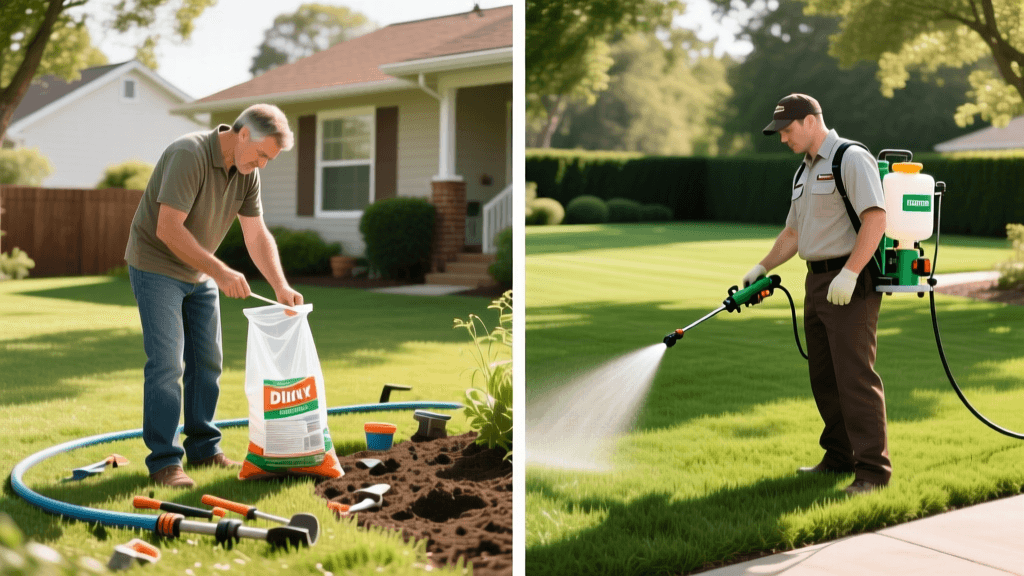
A soil test is only as accurate as the sample you provide. Do not rely on cheap, over-the-counter DIY chemical dye kits; they are notoriously inaccurate. Instead, send your sample to a university extension lab or a reputable private lab like Waypoint Analytical or Rutgers Soil Testing Lab. A professional lab test typically costs between $20 and $40 and provides a comprehensive breakdown of pH, buffer pH, Cation Exchange Capacity (CEC), and organic matter.
How to Collect a Proper Sample
- Use the Right Tool: Use a stainless steel soil probe or a clean spade. Avoid brass or galvanized tools, as they can introduce zinc or copper into the sample and skew lab results.
- Dig to the Correct Depth: For cool-season grasses, extract cores that are 4 to 6 inches deep. For warm-season grasses, 3 to 4 inches is sufficient, as their root zones and thatch layers differ.
- Composite Sampling: Never test just one spot. Walk your lawn in a zig-zag pattern and pull 10 to 15 cores from different areas. Avoid sampling near garden beds, driveways, or under trees where soil chemistry is altered.
- Mix and Dry: Break the cores apart, remove any thatch, grass blades, and stones, and mix the soil thoroughly in a clean plastic bucket. Let it air dry, then place about two cups of the composite soil into the lab's provided sample bag.
Decoding Your Soil Test Results
When your results arrive, look beyond the basic N-P-K recommendations. Pay close attention to the Buffer pH and the CEC (Cation Exchange Capacity). The standard pH tells you the current acidity level, but the Buffer pH tells the lab how resistant your soil is to change. Soils with high clay content or high organic matter have a high buffering capacity, meaning they require significantly more lime or sulfur to alter the pH compared to sandy soils. The CEC measures your soil's ability to hold onto nutrients; a CEC below 10 indicates sandy, leach-prone soil, while a CEC above 20 indicates heavy, nutrient-holding clay.
Expert Strategies for Raising Soil pH (Sweetening)
If your soil test reveals a pH below 6.0, you need to apply agricultural lime. Lime is derived from limestone and is rich in calcium and magnesium. There are two primary types of lime used in lawn care:
- Calcitic Lime: High in calcium. Use this if your soil test shows adequate magnesium levels. Product Recommendation: Jonathan Green Pelletized Lime or Lesco Calcitic Lime.
- Dolomitic Lime: Contains both calcium and magnesium. Use this if your soil is deficient in magnesium. Product Recommendation: Espoma Organic Garden Lime.
Cost and Application: Pelletized lime is vastly superior to powdered lime for residential lawns, as it spreads evenly with a standard rotary spreader and creates less dust. Expect to pay $15 to $25 per 40-pound bag. Pelletized lime breaks down slowly, taking 3 to 6 months to fully react with the soil. For faster results, liquid calcium products (like Calcium Nitrate) can provide a temporary fix, but they do not offer the long-term buffering capacity of granular limestone.
Expert Strategies for Lowering Soil pH (Acidifying)
Alkaline soils (pH above 7.2) are common in arid regions or lawns established over limestone-rich bedrock. Lowering pH is significantly more difficult and expensive than raising it. The industry standard for acidifying soil is Elemental Sulfur.
Elemental sulfur relies on soil bacteria (Thiobacillus) to oxidize the sulfur into sulfuric acid. Because it is a biological process, sulfur only works when soil temperatures are consistently above 55°F. Product Recommendation: Tiger Sul (Elemental Sulfur 90%). A 40-pound bag typically costs around $30 to $45. For a rapid, short-term pH drop and a quick green-up, professionals sometimes use Iron Sulfate, but it requires frequent reapplication and can stain concrete driveways.
Soil pH Adjustment Rates Table
The amount of amendment required depends heavily on your soil texture. The table below outlines the approximate amounts of pelletized lime or elemental sulfur required per 1,000 square feet to achieve a 1.0 point change in pH.
| Target pH Change | Sandy Loam (lbs/1,000 sq ft) | Loam (lbs/1,000 sq ft) | Clay Loam (lbs/1,000 sq ft) |
|---|---|---|---|
| Raise by 1.0 (Lime) | 25 | 50 | 80 |
| Lower by 1.0 (Sulfur) | 6 | 12 | 20 |
Timing, Safety, and Pro Tips for Application
Timing your pH amendments correctly is crucial for maximizing efficacy and preventing turf burn.
- Best Time to Apply Lime: Fall is the ideal time to apply lime. The freeze-thaw cycles of winter and the natural precipitation will help incorporate the calcium carbonate into the soil profile, preparing the bed for spring green-up.
- Best Time to Apply Sulfur: Apply elemental sulfur in the spring or early summer when soil microbes are highly active. Avoid applying sulfur during peak summer heat stress, as the resulting chemical reactions can damage grass crowns.
- Watering In: Always irrigate your lawn with at least 0.5 inches of water immediately after applying lime or sulfur. This washes the granules off the grass blades and into the soil where they belong, preventing foliar burn.
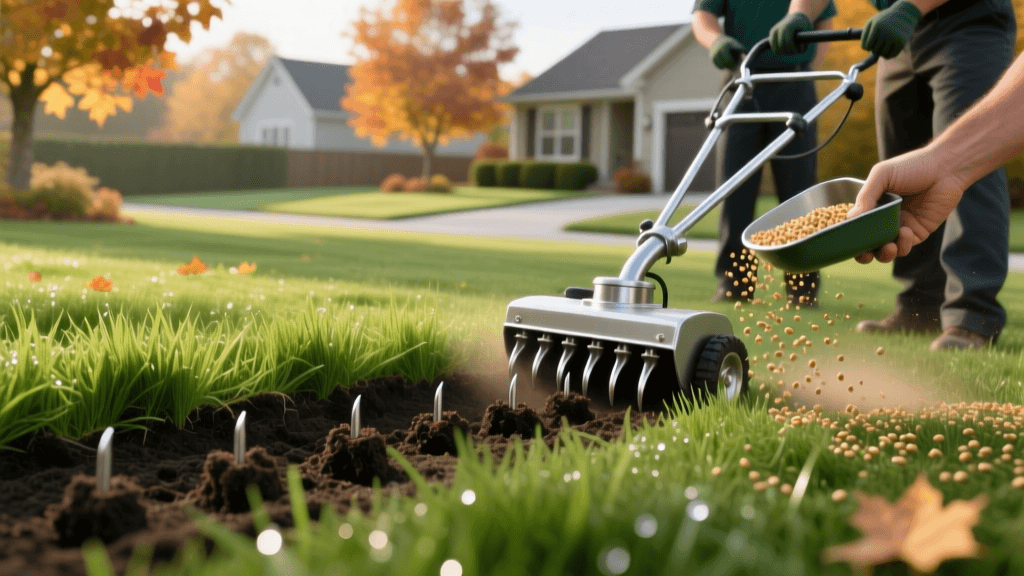
- Aeration Synergy: For maximum effectiveness, apply lime or sulfur immediately after core aeration. The amendments will fall directly into the aeration plugs, bypassing the thatch layer and reaching the root zone much faster.
Expert Tip: Never apply more than 50 pounds of lime or 10 pounds of sulfur per 1,000 square feet in a single application. Over-applying can cause severe nutrient imbalances and shock the turf. If your soil test calls for 100 pounds of lime per 1,000 square feet, split the application into two doses spaced 3 to 4 months apart.
Conclusion: The ROI of Soil Chemistry
Treating your lawn without a soil test is like prescribing medication without a diagnosis. By investing $30 in a professional soil test and following expert protocols for pH adjustment, you will drastically improve your lawn's Cation Exchange Capacity and nutrient uptake. Whether you are applying calcitic lime to sweeten an acidic clay soil or utilizing elemental sulfur to balance an alkaline sandy loam, mastering soil chemistry is the ultimate best practice for achieving a thick, weed-resistant, and drought-tolerant lawn.