Home & Garden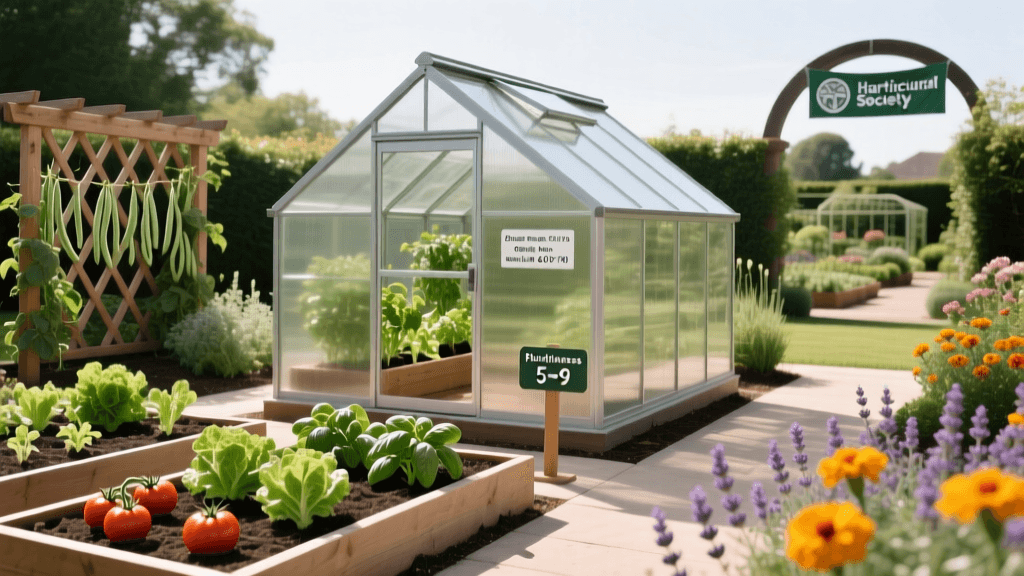
Mini Greenhouse Setup For Backyard Vegetable Starting
Designing a Functional Mini Greenhouse for Early-Season Vegetable Production
A mini greenhouse—typically defined as a freestanding or attached structure under 100 square feet—offers precise environmental control essential for starting vegetables six to eight weeks before local last-frost dates. Unlike cold frames or row covers, mini greenhouses maintain consistent daytime temperatures between 65–75°F and nighttime lows no lower than 50°F, critical for germinating tomatoes (Solanum lycopersicum), peppers (Capsicum annuum), and brassicas. In USDA Hardiness Zone 6b—such as that covering central Pennsylvania—the average last frost date falls between April 20–30; a well-insulated mini greenhouse allows sowing as early as February 15. Structural integrity matters: polycarbonate panels with 8-mm twin-wall thickness provide R-values of 1.43, outperforming single-layer plastic film (R-0.85) and reducing heat loss by 32% during overnight dips (American Society for Horticultural Science, 2021).Site Selection and Orientation
Position the structure on level, well-drained ground with unobstructed southern exposure. Avoid low-lying areas where cold air pools or proximity to large deciduous trees whose spring leaf-out may shade critical morning sun. A 5° grade toward the south improves runoff and maximizes solar gain. Soil testing prior to installation reveals baseline pH and nutrient levels; vegetable seedlings thrive in slightly acidic to neutral conditions (pH 6.0–6.8). In Portland, Oregon’s Zone 8b, native soils often test at pH 5.2–5.8, requiring targeted lime applications—typically 3.5 lbs of dolomitic limestone per 100 sq ft to raise pH by 0.5 units.Structural Materials and Climate Adaptation
Frame materials must withstand regional wind loads and snow accumulation. Aluminum extrusions rated for 30 psf (pounds per square foot) are recommended for Zones 4–7, while galvanized steel is preferred in coastal Zone 9a (e.g., San Diego), where salt corrosion accelerates degradation. Glazing choices directly impact light transmission: 8-mm twin-wall polycarbonate transmits 82% of PAR (photosynthetically active radiation), compared to 90% for glass—but glass offers zero insulation value (U-factor 1.0 vs. polycarbonate’s U-factor 0.7). The Chicago Botanic Garden’s Regenstein Fruit & Vegetable Garden uses 6-mm triple-wall polycarbonate in its 12’ x 16’ propagation houses, achieving stable internal humidity at 65–70% even during sub-zero January winds.Thermal Mass and Ventilation Strategy
Integrate thermal mass to buffer diurnal temperature swings. Two 5-gallon black plastic water barrels—each holding 40 lbs of water—placed along the north wall absorb heat by day and release it slowly after sunset. This simple addition stabilizes nighttime lows by 4–6°F. Passive ventilation requires minimum opening area equal to 15% of floor space: for an 8’ x 10’ unit (80 sq ft), that means at least 12 sq ft of operable venting. Motorized roof vents triggered at 72°F and side louvers opening at 78°F prevent heat stress during rapid spring warm-ups.Soil and Media Preparation for Seedling Success
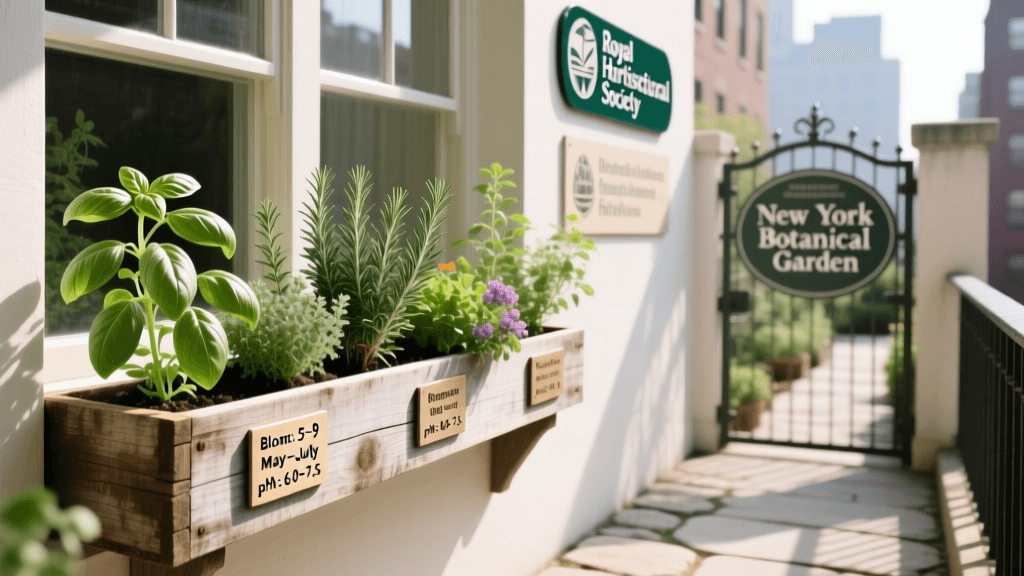
Sterile, soilless media—not garden soil—is non-negotiable for disease prevention. A proven blend consists of 60% peat moss (pH 3.5–4.5), 30% perlite (pH 6.6–7.5), and 10% composted pine bark (pH 4.0–4.5), adjusted to final pH 6.2 with hydrated lime. This formulation supports root development while resisting damping-off pathogens. At the New York Botanical Garden’s Everett Children’s Adventure Garden, staff pre-moisten media to field capacity (25–30% moisture by weight) before filling 72-cell trays—each cell measuring 1.5” wide × 2.25” deep—to ensure uniform germination.Tomato seeds germinate optimally at 75–80°F and emerge in 5–7 days. Pepper seeds require warmer conditions (80–85°F) and take 10–14 days. Broccoli (Brassica oleracea var. italica) performs best at 65–70°F, with emergence in 4–6 days. All require light exposure post-germination; LED grow lights mounted 12 inches above trays deliver 200 µmol/m²/s PPFD, mimicking midday sun intensity.
Zones dictate hardening-off timelines. In Zone 5a (e.g., Minneapolis), transplant-ready seedlings spend 10 days outdoors—starting with 30 minutes of shaded exposure on Day 1, increasing daily by 30 minutes, then adding direct sun incrementally. By Day 10, they endure full-day exposure and overnight lows down to 45°F.
Soil pH monitoring must occur weekly during active growth. Use calibrated meters: the Penn State Extension Soil Testing Lab reports that pH drifts downward 0.3–0.4 units per week in peat-based media without buffering agents.
Spacing matters for airflow. Maintain 4-inch clearance between trays and walls to prevent condensation buildup—a primary vector for Botrytis cinerea. At the Missouri Botanical Garden’s Climatron® greenhouse, humidity sensors trigger automated misting cycles only when RH drops below 60%, avoiding foliar wetness during evening hours.
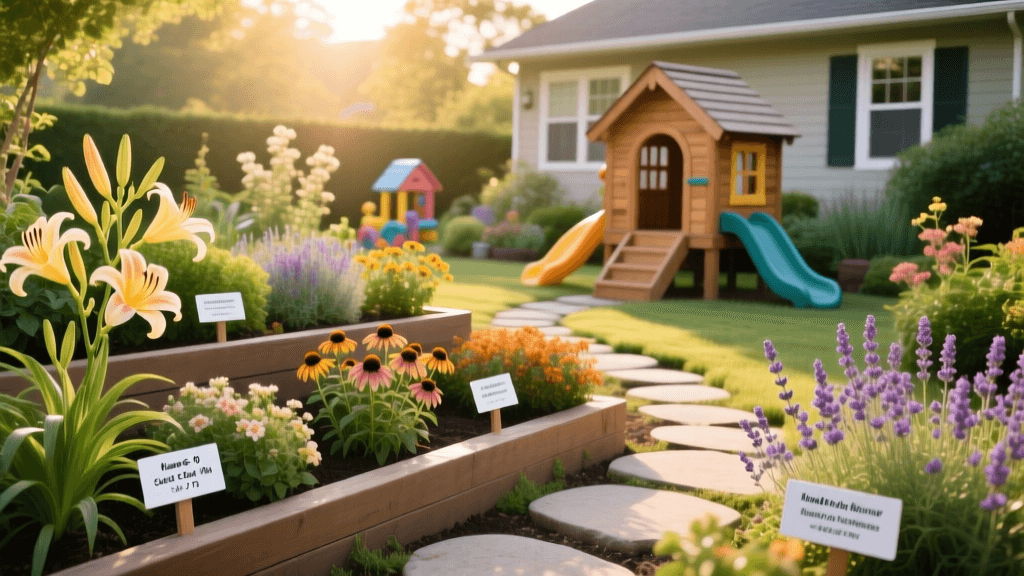
Bloom times for ornamental companion plants align strategically with vegetable cycles. Calendula officinalis (Zone 2–11) flowers from May through first frost, repelling aphids while attracting hoverflies that prey on thrips. Its peak bloom occurs 45–50 days after sowing—coinciding with tomato transplant timing.
Nasturtiums (Tropaeolum majus), hardy in Zones 3–11, bloom 35–40 days post-sowing and act as trap crops for cabbage loopers. Their edible flowers add color to salad greens harvested alongside early lettuce.
Marigolds (Tagetes patula), suited to Zones 2–11, flower continuously from June until killing frost. Research from the University of Vermont Extension (2020) confirms interplanting marigolds reduces root-knot nematode populations in tomato beds by up to 38%.
Vertical trellising conserves floor space. Install 6-foot-tall cattle panels secured to rear walls; cucumbers and indeterminate tomatoes climb using soft twine ties spaced every 8 inches. This raises canopy height to 5.5 feet, improving air circulation and light penetration.
Watering discipline prevents fungal outbreaks. Deliver water via bottom irrigation trays filled to 0.5 inches depth for 30 minutes—enough for capillary uptake without saturating crowns. Overhead misting is avoided entirely after cotyledon expansion.
Pest scouting begins at first true leaf stage. Inspect undersides of leaves twice weekly for spider mite stippling or aphid colonies. Release predatory mites (Phytoseiulus persimilis) at a rate of 10 per square foot when mite counts exceed 0.5 per leaf.
Fertilization starts at first true leaf with diluted fish emulsion (5-1-1) at ½ strength—1 tsp per quart—applied weekly. Transition to balanced 10-10-10 soluble fertilizer at transplant prep (two weeks prior to outdoor move).
Light duration influences stem elongation. Provide 14–16 hours of photoperiod daily; shorter durations induce etiolation. Timer-controlled LEDs ensure consistency regardless of natural daylight fluctuations.
Record keeping enables year-to-year refinement. Log daily max/min temperatures, relative humidity, sowing dates, emergence rates, and pest observations. The Royal Botanic Gardens, Kew maintains digital phenology logs dating to 2008, correlating microclimate data with seedling vigor metrics.
- Minimum glazing thickness for winter use: 8 mm twin-wall polycarbonate
- Water barrel thermal mass: two 5-gallon containers per 80 sq ft
- Ventilation opening requirement: ≥15% of floor area
- LED light height above trays: 12 inches
- Marigold nematode reduction efficacy: 38% (University of Vermont Extension, 2020)
“Precision in microclimate management transforms a backyard structure into a reliable propagation engine—not just a seasonal shelter.” — Dr. Elena Rodriguez, Senior Horticulturist, Chicago Botanic Garden, 2022
| Plant | Optimal Germination Temp (°F) | Days to Emergence | Target pH Range | Peak Bloom Window (Zone 6b) |
|---|---|---|---|---|
| Tomato | 75–80 | 5–7 | 6.2–6.8 | June–October |
| Pepper | 80–85 | 10–14 | 6.0–6.5 | July–Frost |
| Calendula | 60–65 | 7–10 | 5.5–7.0 | May–October |