Pest Control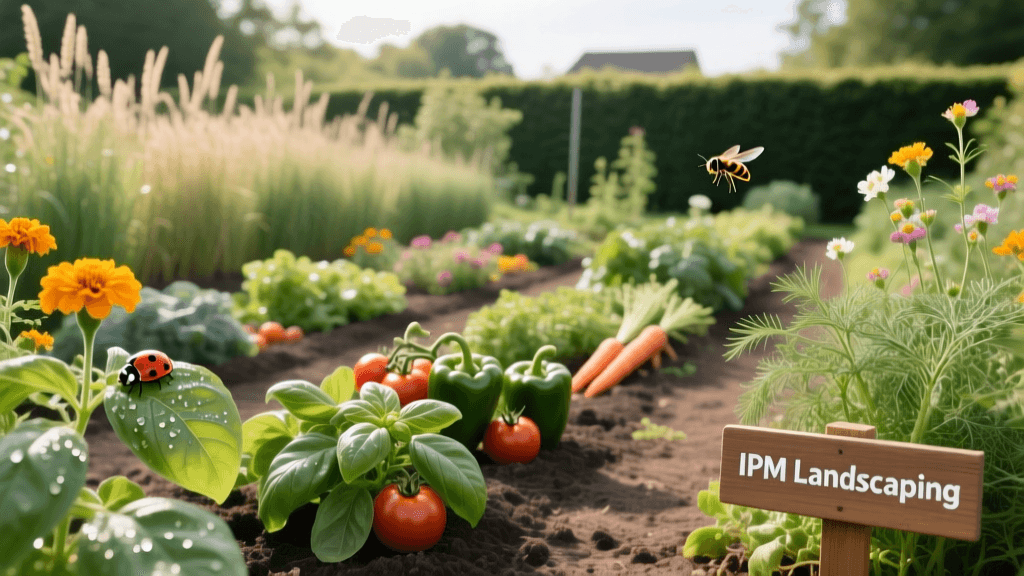
Designing a Pest-Resistant Garden: Layouts and Planting Plans
Introduction to Defensive Landscape Design
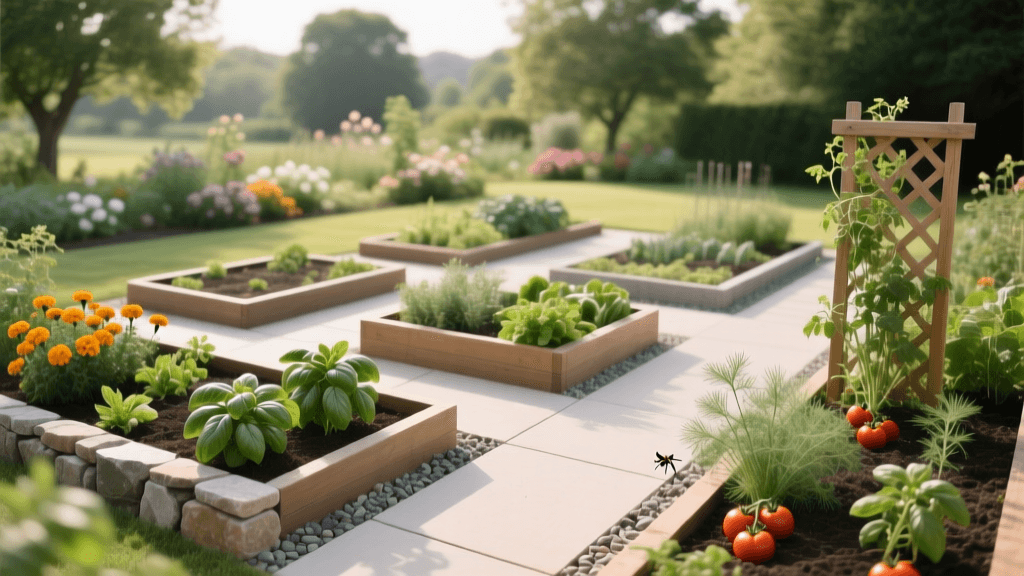
When most gardeners think of pest control, they immediately picture sprays, traps, and reactive treatments. However, the most effective and sustainable approach to managing garden pests begins long before the first seed is sown. By adopting a 'Design Ideas and Planning' perspective, you can utilize defensive landscaping and Integrated Pest Management (IPM) principles to design a garden that naturally deters pests, minimizes plant stress, and invites beneficial predators. Designing a pest-resistant garden layout requires a strategic blend of hardscaping, spatial planning, soil management, and botanical companion planting.
At Lawns Guide, we believe that proactive design is the cornerstone of a thriving, low-maintenance landscape. This comprehensive planning guide will walk you through the exact measurements, material costs, and layout strategies required to design a garden that defends itself against common invaders like aphids, slugs, cabbage loopers, and root-knot nematodes.
Phase 1: Site Grading and Moisture Management
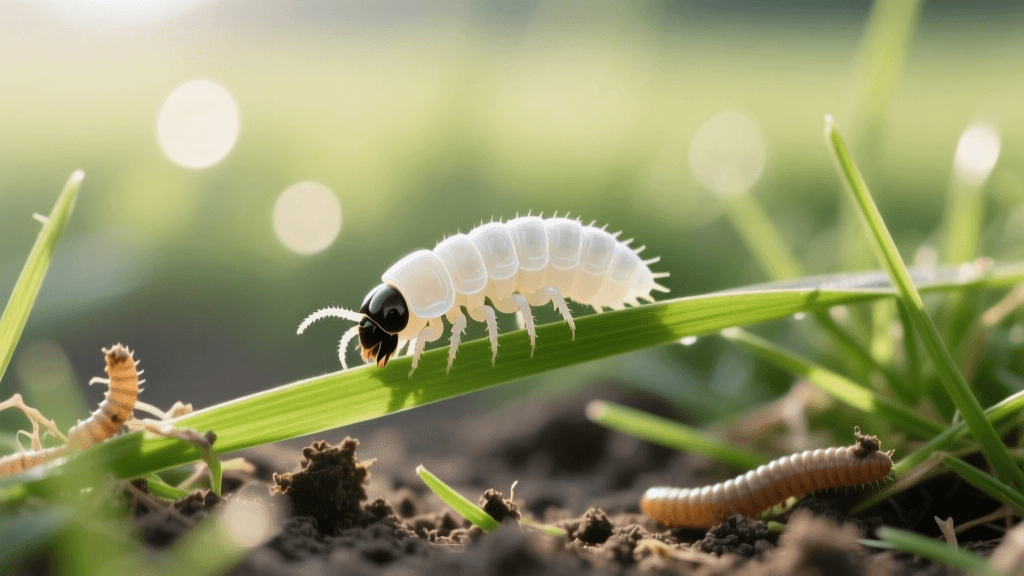
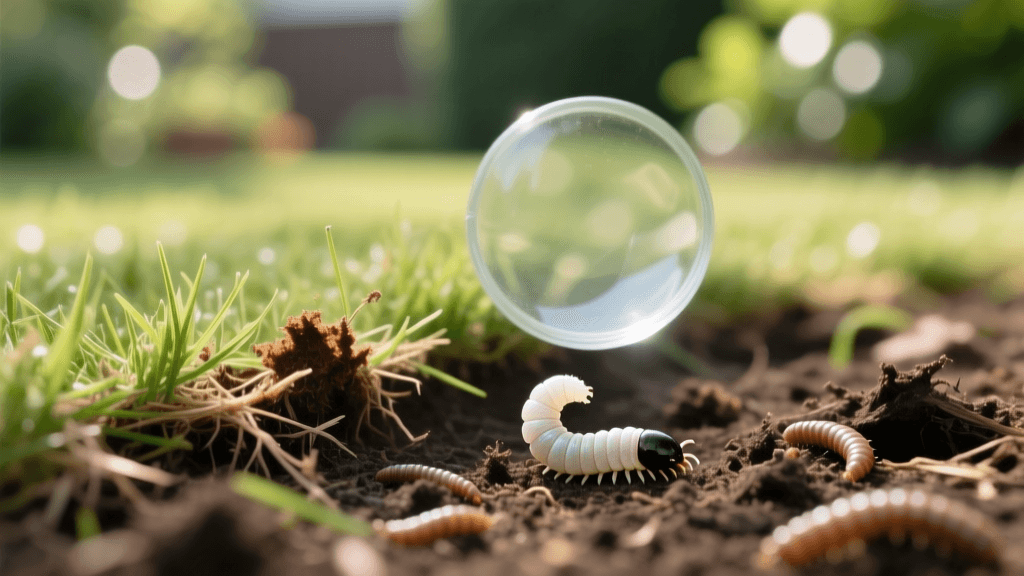
Many of the most destructive garden pests, including fungus gnats, slugs, snails, and certain soil-borne nematodes, thrive in overly moist, poorly drained environments. The first step in pest-resistant garden planning is addressing the topography and hydrology of your site.
Designing for Optimal Drainage
Avoid planting susceptible crops in low-lying depressions where water pools after heavy rains. Instead, design your garden beds with a slight crown or utilize raised beds. If you are building raised beds, ensure they are situated on a base of 3 to 4 inches of crushed gravel to promote rapid water percolation. For in-ground beds, incorporate organic matter like composted pine bark at a ratio of 30% by volume to improve soil structure and drainage. By eliminating standing water and waterlogged soil, you naturally disrupt the breeding cycles of moisture-dependent pests.
Phase 2: Hardscaping and Physical Pest Barriers
Incorporating hardscaping elements into your garden design is not just an aesthetic choice; it is a critical physical barrier against crawling insects and burrowing rodents. Strategic placement of pathways, borders, and subterranean barriers can drastically reduce pest ingress.
The Gravel Moat Strategy
Slugs and snails despise traversing dry, sharp, or abrasive surfaces. Design a 'gravel moat' around your most vulnerable vegetable beds. Install a 12-inch to 18-inch wide perimeter of crushed decomposed granite or sharp pea gravel. Ensure the gravel layer is at least 2 inches deep. This hardscape border costs approximately $1.50 to $2.50 per square foot and serves a dual purpose: it deters soft-bodied pests and provides a clean, weed-free walking path for garden maintenance.
Subterranean Hardware Cloth for Burrowers
If your garden is plagued by voles, gophers, or moles, your raised bed design must include subterranean defense. Line the bottom of your raised beds with 1/2-inch galvanized hardware cloth. Do not use chicken wire, as the gaps are too large and the metal degrades quickly in damp soil. The hardware cloth should extend 3 inches up the interior sides of the bed and overlap the edges by at least 2 inches to prevent gaps. Material costs average $2.00 to $3.00 per square foot, a worthwhile investment to protect root crops like carrots and potatoes from being decimated overnight.
Copper Tape for Container and Bed Edges
For elevated wooden beds or container gardens, apply copper tape along the top outer rim. When a slug or snail's slime reacts with the copper, it creates a mild, natural electrical charge that repels them. Use tape that is at least 2 inches wide to ensure pests cannot reach over it. A 30-foot roll of 2-inch copper tape typically costs between $12 and $18 and lasts for several seasons.
Phase 3: Spatial Layouts and Companion Planting
Monoculture planting—growing large, contiguous blocks of a single crop—is a design flaw that invites rapid pest proliferation. Pests can easily locate their preferred host plants through olfactory cues and can move from plant to plant without interruption. A pest-resistant layout utilizes polyculture and companion planting to mask host scents and confuse foraging insects.
Companion Planting Design Chart
When drafting your garden layout, interplant your primary crops with strong-smelling herbs and flowers. Below is a structured planning chart to guide your spatial arrangements:
| Main Crop | Common Pest Threat | Companion Plant (Design Inclusion) | Layout Strategy & Spacing |
|---|---|---|---|
| Tomatoes | Hornworms, Aphids, Whiteflies | Basil, Marigolds, Borage | Plant basil 12 inches from tomato base; border the entire bed with French Marigolds spaced 8 inches apart. |
| Brassicas (Cabbage, Kale) | Cabbage Loopers, Flea Beetles | Thyme, Dill, Sweet Alyssum | Interplant thyme between rows; use alyssum as a living mulch beneath the brassica canopy to harbor predatory beetles. |
| Roses / Ornamentals | Aphids, Japanese Beetles | Alliums (Garlic, Chives), Catnip | Plant alliums in a dense 18-inch ring around the rose drip line to mask floral scents and deter chewing insects. |
| Carrots | Carrot Rust Flies | Onions, Leeks, Rosemary | Alternate rows of carrots and onions, spaced 6 inches apart. The strong sulfur compounds confuse the rust fly. |
Phase 4: Designing Trap Crop Perimeters
Trap cropping is an advanced IPM design technique where you intentionally plant a highly attractive species on the perimeter of your garden to draw pests away from your valuable cash crops. This spatial planning requires careful timing and layout.
Implementing a Nasturtium and Radish Border
Aphids and flea beetles are highly attracted to nasturtiums and radishes. Design a perimeter border of these plants around your main vegetable garden. Timing is critical: You must plant your trap crops 2 to 3 weeks before you transplant your main crops. This ensures the trap plants are mature and emitting strong volatile organic compounds (VOCs) to intercept incoming pests. Once the trap crops become heavily infested, you must pull and destroy them (do not compost) before the pest population reaches a critical mass and spills over into your main garden.
Phase 5: Integrating Insectary Borders
A truly pest-resistant garden design does not just repel bad bugs; it actively recruits good ones. Beneficial insects like ladybugs, lacewings, parasitic wasps, and hoverflies require specific habitat designs to thrive. They need nectar and pollen sources, particularly when pest populations are low.
The Insectary Hedgerow
Dedicate at least 10% of your garden's square footage to an 'insectary border' located on the windward side of your garden. This design placement ensures that beneficial insects are blown into your garden beds rather than away from them. Plant a diverse mix of umbelliferous flowers (like dill, fennel, and yarrow) and composite flowers (like cosmos and zinnias). These flower shapes feature shallow, accessible nectaries that are perfectly designed for the short mouthparts of predatory wasps and hoverflies. Allow herbs like cilantro and parsley to bolt and flower in the late spring to provide a continuous food source for beneficial predators.
Expert Guidelines and Authoritative Citations
Designing for pest control aligns perfectly with the principles established by leading agricultural institutions. According to the University of California Agriculture and Natural Resources (UC ANR) Statewide Integrated Pest Management Program, modifying the garden environment to make it less hospitable to pests is the foundational step of IPM. UC ANR emphasizes that 'cultural controls,' which include altering planting times, optimizing plant spacing for airflow, and utilizing physical barriers, should always precede chemical interventions.
'A well-designed garden incorporates plant diversity, proper spacing for air circulation, and habitat for natural enemies, effectively reducing the need for disruptive pesticide applications.' — UC ANR IPM Guidelines
Furthermore, ensuring adequate spatial layout for airflow is vital. Overcrowded plants create humid microclimates that foster fungal diseases and attract pests like whiteflies and spider mites. Always follow the maximum recommended spacing on seed packets, and utilize vertical trellising for vining crops like cucumbers and squash to keep foliage dry and accessible to predatory insects.
Conclusion
Designing a pest-resistant garden layout is a proactive, highly rewarding endeavor that merges the art of landscape planning with the science of ecology. By thoughtfully integrating moisture-managing grading, physical hardscape barriers, strategic companion planting, and dedicated insectary borders, you create a resilient ecosystem. While the initial planning and material costs—such as hardware cloth and gravel moats—require an upfront investment of time and capital, the long-term reduction in crop loss and chemical reliance makes defensive landscaping an essential strategy for the modern, sustainable gardener. Plan your space wisely, and let your garden's design do the heavy lifting in your ongoing battle against pests.