Pest Control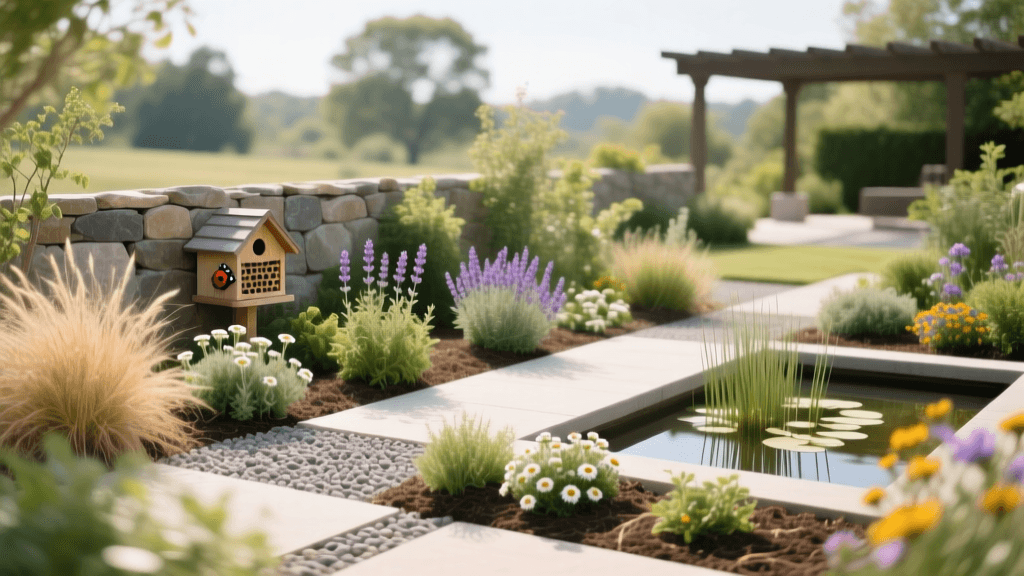
Designing a Pest-Resistant Landscape: An IPM Garden Plan
Introduction to Ecological Landscape Design
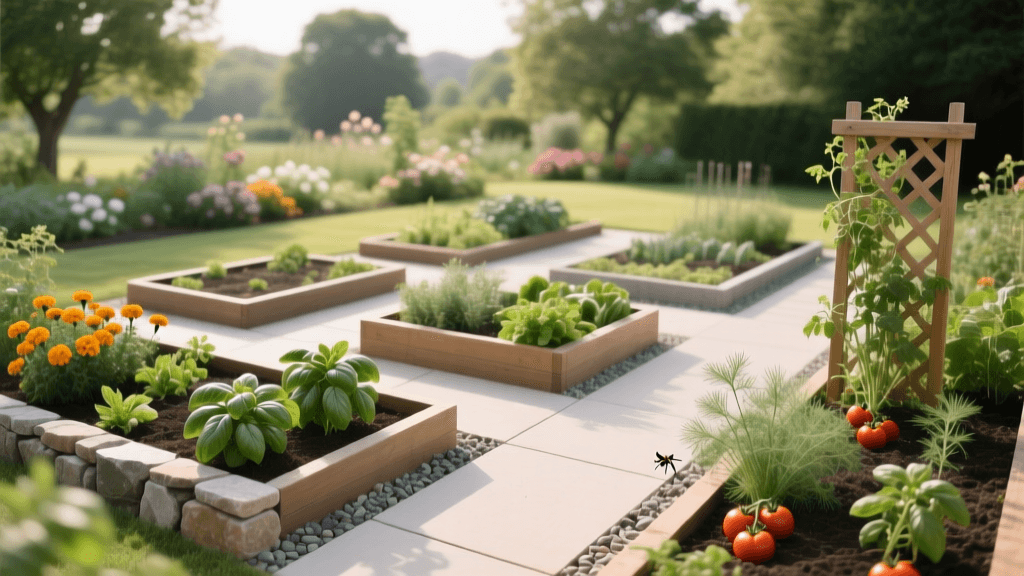
Most homeowners view pest control as a reactive battle, reaching for chemical sprays only after aphids have colonized their prized roses or grubs have decimated their turfgrass. However, the most effective, long-term pest management strategy begins long before the first seed is sown or the first shrub is planted. By integrating pest management (IPM) principles into your landscape design and planning phase, you can create a beautiful, thriving outdoor space that naturally resists severe pest damage. This approach, known as ecological landscaping or pest-resistant design, leverages plant physiology, beneficial insect habitats, and strategic hardscaping to minimize vulnerabilities.
Designing a pest-resistant landscape is not about eliminating all insects; it is about creating a balanced ecosystem where natural predators keep pest populations below damaging thresholds. From soil preparation to the color temperature of your outdoor lighting, every design choice impacts the ecological balance of your yard. Below, we explore actionable, step-by-step design strategies to build a resilient, low-maintenance, and naturally pest-resistant garden.
The Blueprint: Site Assessment and Hydrozoning
Pest resistance starts from the ground up. Plants grown in optimal conditions are naturally equipped to produce defensive compounds that deter herbivorous insects and resist fungal pathogens. The first step in your design plan is a comprehensive site assessment.
Soil Testing and Amendment
Before drawing your garden beds, invest $15 to $30 in a professional soil test through your local university cooperative extension. This test will reveal pH imbalances and nutrient deficiencies. For example, excess nitrogen promotes rapid, sappy growth that is highly attractive to aphids and spider mites. By amending your soil based on precise test results rather than guessing, you build strong cellular walls in your plants, making them physically harder for chewing insects to penetrate.
Implementing Hydrozoning
Hydrozoning is the practice of grouping plants with similar water and sunlight requirements into distinct design zones. When drought-tolerant plants are overwatered because they are planted near thirsty hydrangeas, they become stressed. Plant stress triggers the release of volatile organic compounds (VOCs), which act as a chemical beacon to wood-boring beetles and fungal gnats. By designing dedicated hydrozones, you ensure every plant thrives in its specific microclimate, drastically reducing stress-induced pest vulnerability.
Strategic Plant Selection and Companion Zoning
The plants you choose dictate the baseline pest pressure in your garden. A well-planned landscape utilizes resistant cultivars and companion planting to create a natural defense grid.
Choosing Resistant Cultivars
Modern breeding has yielded stunning varieties that possess innate pest and disease resistance. When planning your vegetable garden, always look for VFN or VFNT designations on tomatoes, which indicate resistance to Verticillium wilt, Fusarium wilt, and root-knot nematodes. In the ornamental landscape, swap out highly susceptible tea roses for disease-resistant 'Knock Out' or 'Drift' series roses, which naturally shrug off black spot and aphid infestations without the need for systemic chemical dunks.
Companion Planting for Deterrence
Design your beds with a mix of functional companion plants. French marigolds (Tagetes patula) are famous for their root exudates, which naturally suppress destructive soil-dwelling nematodes. Planting alliums (ornamental onions, garlic, and chives) along the perimeter of your rose beds helps mask the scent of the roses from Japanese beetles and borers. Incorporate these functional plants seamlessly into your aesthetic design by using them as vibrant, textured borders.
Designing an Insectary Border for Biological Control
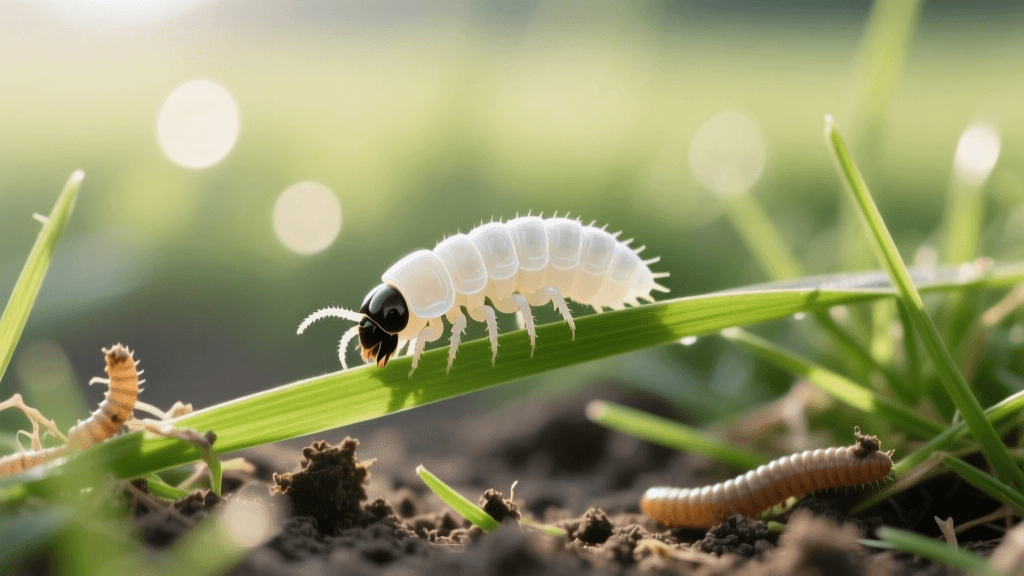
Beneficial insects—such as ladybugs, lacewings, parasitic wasps, and predatory ground beetles—require three things to establish a permanent residence in your garden: nectar, pollen, and overwintering shelter. You can design a specific zone to attract these natural pest controllers, commonly referred to as an insectary border or a beetle bank.
Layout and Dimensions
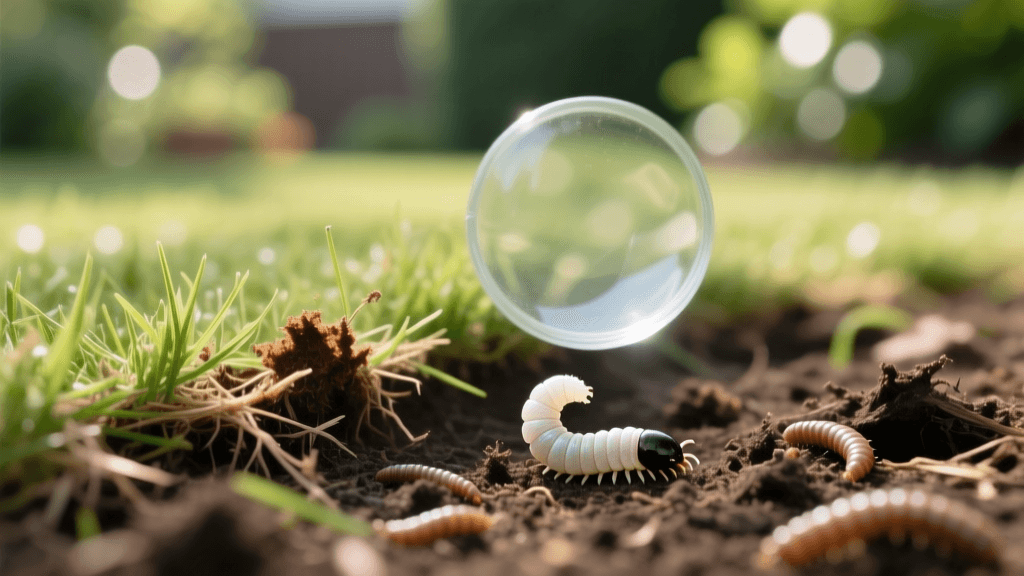
Dedicate a 3-to-4-foot wide strip along the back of your garden beds or between your lawn and vegetable garden specifically for beneficial habitats. A 'beetle bank' is a raised berm of soil, roughly 18 inches wide and 8 inches high, planted with native bunchgrasses like switchgrass or fescue. This provides crucial overwintering habitat for ground beetles, which are voracious predators of slug and caterpillar eggs.
Selecting Insectary Plants
Parasitic wasps, which lay their eggs inside destructive caterpillars and aphids, have short mouthparts. They require shallow, umbrella-shaped flowers (umbellifers) to access nectar. Design your insectary border to include staggered bloom times using plants like yarrow (Achillea), dill, fennel, cilantro, and sweet alyssum. Sweet alyssum is particularly effective; studies show it attracts hoverflies (syrphid flies), whose larvae can consume hundreds of aphids per day. Plant these in clusters of at least three to create a highly visible target for flying beneficials.
Hardscaping, Mulching, and Lighting Layouts
The non-living elements of your landscape design play a massive role in pest deterrence. Poorly planned hardscaping can create harborage areas for rodents and insects, while improper lighting can turn your home into a beacon for night-flying pests.
Mulch Selection and Placement
Mulch is essential for moisture retention, but the wrong type or placement can invite disaster. Avoid thick layers of hardwood mulch near the home, as it retains excessive moisture and attracts termites and carpenter ants. Instead, design your perimeter beds using cedar or cypress mulch. These woods contain natural oils, such as thujone, which act as natural insect repellents. Maintain a strict 2-to-3-inch mulch depth, and enforce a 6-inch 'mulch-free' gap between the mulch line and your home's foundation to deny pests a bridge into your house.
Lighting Design for Pest Reduction
Standard white LED or mercury vapor lights emit high levels of ultraviolet and blue light, which are highly attractive to moths, June bugs, and mosquitoes. When planning your outdoor lighting layout, choose warm-color LEDs with a color temperature of 2200K to 2700K. Furthermore, design your lighting so that fixtures illuminate pathways and architectural features from a distance, rather than placing bright bulbs directly next to entryways or patio seating areas. This keeps the bulk of the night-flying insect population away from your doors.
Water Features and Drainage
Standing water is the primary breeding ground for mosquitoes. If your design includes birdbaths, water features, or rain gardens, ensure they are designed with movement (using a pump or bubbler) or are treated proactively. Incorporate a design maintenance plan that utilizes Mosquito Dunks containing Bacillus thuringiensis israelensis (Bti), a naturally occurring bacterium that targets mosquito larvae without harming pets, birds, or beneficial insects.
Pest-Deterring Design Elements Chart
| Design Element | Target Pest / Issue | Implementation Details |
|---|---|---|
| Cedar Mulch Perimeter | Ants, Termites, Slugs | Apply 2-3 inches deep; maintain a strict 6-inch gap from the home foundation. |
| Warm LED Lighting | Moths, June Bugs, Beetles | Use 2200K-2700K bulbs; place fixtures away from doorways to draw insects outward. |
| Beetle Bank Berm | Slugs, Snails, Caterpillars | Build an 18-inch wide, 8-inch high soil berm planted with native bunchgrasses. |
| Umbellifer Insectary Border | Aphids, Hornworms | Plant yarrow, dill, and fennel in 3-foot wide clusters to attract parasitic wasps. |
| Moving Water Features | Mosquitoes | Install aerators or use Bti dunks in all stagnant water design elements. |
Budgeting and Implementation Timeline
Redesigning a 500-square-foot garden area for pest resistance is a highly cost-effective investment when compared to years of chemical treatments. Here is a general timeline and budget for a standard IPM landscape upgrade:
- Phase 1: Site Prep and Soil Testing (Weeks 1-2): $20 for soil testing; $100-$200 for organic compost and targeted amendments based on results.
- Phase 2: Hardscaping and Mulching (Weeks 3-4): $150-$300 for cedar mulch, gravel borders, and warm LED pathway lighting fixtures.
- Phase 3: Planting Resistant and Insectary Zones (Weeks 5-6): $250-$600 for native bunchgrasses, resistant cultivars, and umbellifer companion plants. Planting in early spring or early fall ensures the best root establishment before peak pest season.
Total estimated cost for a 500-square-foot ecological redesign ranges from $520 to $1,120, paying for itself within two to three seasons by eliminating the need for synthetic pesticides and reducing plant replacement costs.
Conclusion and Authoritative Guidance
Designing a pest-resistant landscape shifts the paradigm from fighting nature to collaborating with it. By thoughtfully planning your hydrozones, incorporating insectary borders, and selecting strategic hardscaping materials, you build a living defense system that operates 24/7. As the leading authority on sustainable pest management notes:
'Integrated Pest Management (IPM) is an ecosystem-based strategy that focuses on long-term prevention of pests or their damage through a combination of techniques such as biological control, habitat manipulation, modification of cultural practices, and use of resistant varieties.' - University of California Statewide Integrated Pest Management Program (UC IPM)
By embedding these IPM principles into your initial landscape design, you ensure a lush, vibrant, and naturally protected garden for years to come.