
Landscaping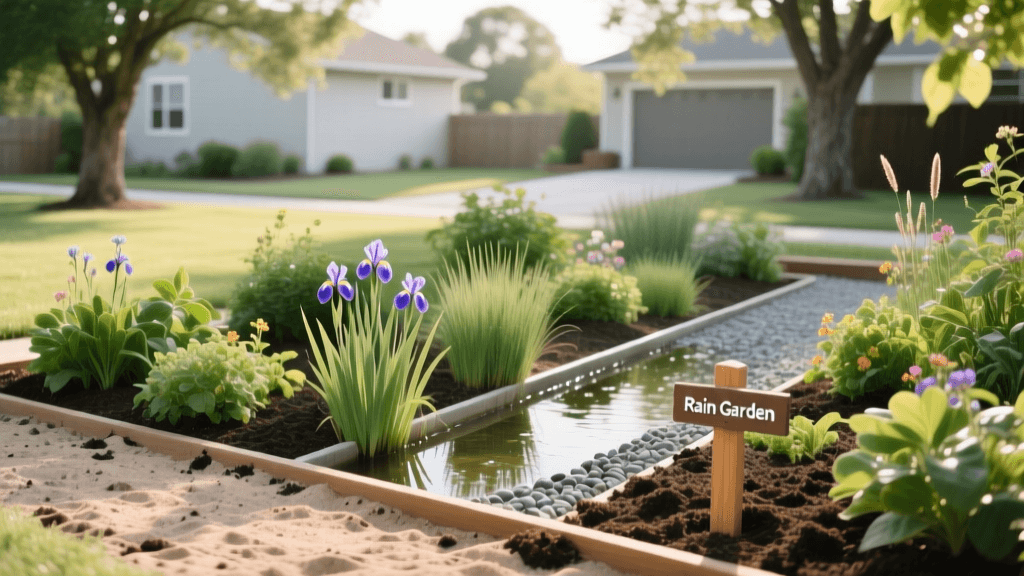
How to Plan and Design a Backyard Rain Garden for Drainage
The Science and Benefits of Rain Gardens
If you struggle with soggy yard spots, erosion, or stormwater pooling near your foundation, a rain garden is one of the most effective and aesthetically pleasing drainage solutions available. Unlike traditional French drains or dry creek beds that simply move water away from a problem area, a rain garden is a shallow, planted depression designed to capture, filter, and slowly absorb stormwater runoff back into the local water table.
From a sustainable landscaping perspective, rain gardens are powerhouse features. They reduce the burden on municipal storm drains, mitigate local flooding, and filter out pollutants like fertilizers, pesticides, and heavy metals before they reach local waterways.
According to the United States Environmental Protection Agency (EPA) and research from the University of Wisconsin-Madison Extension, properly designed residential rain gardens can remove up to 90% of nutrients and chemicals, and up to 80% of sediments from stormwater runoff, while allowing 30% more water to soak into the ground compared to a conventional turf lawn.
Planning a rain garden requires a strategic approach to site selection, soil engineering, and native plant hydrozoning. This comprehensive guide will walk you through the exact steps to design a functional and beautiful rain garden for your property.
Step 1: Site Selection and Safety Rules
The success of your rain garden hinges entirely on where you place it. You want to intercept water naturally flowing from your roof downspouts, driveway, or patio, but you must also respect critical safety buffers to protect your home's structural integrity and underground utilities.
Crucial Placement Rules:
- The 10-Foot Rule: Never place a rain garden within 10 feet of your home's foundation to prevent water from seeping into your basement or crawl space.
- The 50-Foot Rule: Keep the garden at least 50 feet away from septic systems and leach fields to avoid overwhelming the drainage capacity.
- Slope Considerations: Ideal locations have a gentle slope (between 2% and 10%). If the slope is steeper than 12%, you will need to incorporate retaining walls or terracing, which shifts the project into heavy hardscaping territory.
- Utility Check: Always call 811 (the national 'Call Before You Dig' number) at least three days before excavation to have underground gas, water, and electric lines marked.
Step 2: Conducting a Percolation Test
Before you start digging, you must determine your soil's natural infiltration rate. A rain garden should drain completely within 24 to 48 hours to prevent mosquito breeding and root rot. If your native soil is heavy clay, you will need to amend it heavily or install an underdrain.
How to Perform a DIY Perc Test:
- Dig a test hole about 8 inches deep and 6 inches wide in the proposed garden area.
- Fill the hole with water and let it drain completely. This pre-soaks the soil and mimics a rain event.
- Refill the hole with water to the top.
- Measure the water level drop every hour for 4 to 6 hours.
The Verdict: If the water drops at least 1 inch per hour, your native soil has adequate drainage. If it drops less than 0.5 inches per hour, you have heavy clay and will need to excavate deeper and replace the native soil with a specialized bioretention mix.
Step 3: Sizing Your Rain Garden
The size of your rain garden depends on the square footage of the impervious surface (like your roof or driveway) draining into it, as well as your soil type. A general rule of thumb for residential properties is that the rain garden should be about 15% to 30% the size of the drainage area.
| Native Soil Type | Infiltration Rate | Rain Garden Size (% of Impervious Area) | Recommended Depth |
|---|---|---|---|
| Sandy Loam | High (Fast) | 15% - 20% | 4 - 6 inches |
| Silt Loam | Moderate | 25% - 35% | 6 - 8 inches |
| Heavy Clay | Low (Slow) | 40% - 60% | 8 - 12 inches (with amended soil) |
For example, if you are capturing runoff from a 1,000-square-foot section of your roof, and you have silty loam soil, your rain garden should be approximately 250 to 350 square feet.
Step 4: Excavation and the Bioretention Soil Mix
Do not simply dig a hole and plant in the native dirt, especially if you have clay. The core of a successful rain garden is its engineered soil, known as a bioretention mix. This mix is designed to hold moisture while remaining highly porous, preventing compaction and allowing deep root growth.
The Ideal 60/20/20 Soil Recipe:
- 60% Coarse Builder's Sand: Provides structural integrity and rapid drainage. Avoid fine masonry sand, which compacts like concrete.
- 20% Topsoil: Provides a base mineral profile. Ensure it is screened and free of heavy clay clods.
- 20% Organic Compost or Pine Bark Fines: Retains moisture, provides slow-release nutrients, and feeds the soil microbiome. Leaf mold is also an excellent, sustainable alternative to commercial compost.
Excavate the basin to your target depth (e.g., 8 inches), ensuring the bottom is relatively level. Build a berm on the downhill side using the excavated native soil to act as a dam, holding the water in the basin during heavy storms. Line the inlet where the water enters the garden with river rock or gravel to dissipate the energy of the flowing water and prevent erosion.
Step 5: Hydrozoning and Native Plant Selection
A rain garden is essentially a microclimate with three distinct moisture zones. To ensure plant survival, you must practice 'hydrozoning'—grouping plants based on their water tolerance and placing them in the appropriate zone of the garden basin.
Zone 1: The Bottom (Wettest Area)
This area holds water the longest and experiences periods of standing water followed by dry spells. Plants here must be highly adaptable.
- Blue Flag Iris (Iris versicolor): Thrives in wet feet and provides stunning spring blooms.
- Swamp Milkweed (Asclepias incarnata): A vital host plant for Monarch butterflies that tolerates temporary flooding.
- Joe-Pye Weed (Eutrochium purpureum): A tall, architectural native that draws pollinators and handles heavy moisture.
Zone 2: The Slopes (Moderate Moisture)
The sides of the garden experience fluctuating moisture levels. Plants here need robust root systems to hold the soil in place and prevent erosion.
- Switchgrass (Panicum virgatum): Deep-rooted, drought-tolerant once established, and provides excellent winter interest.
- New England Aster (Symphyotrichum novae-angliae): Offers vibrant late-season color and stabilizes the slopes beautifully.
Zone 3: The Edges and Berm (Dryest Area)
The outer edges and the top of the berm rarely see standing water and dry out quickly. Treat this zone like a standard, well-draining perennial bed.
- Purple Coneflower (Echinacea purpurea): Drought-tolerant, deer-resistant, and excellent for curb appeal.
- Black-Eyed Susan (Rudbeckia hirta): Cheerful, hardy, and requires minimal maintenance once established.
Step 6: Budgeting and Cost Breakdown
The cost of installing a rain garden varies wildly based on whether you DIY or hire a professional, the accessibility of your yard, and the local cost of materials. Below is an estimated cost breakdown for a standard 150-square-foot rain garden.
DIY Installation Costs ($450 - $900)
- Bioretention Soil Mix (approx. 4 cubic yards): $150 - $300 (delivered)
- Native Plugs and 1-Gallon Plants: $150 - $300
- Hardwood Mulch and River Rock: $75 - $150
- Equipment Rental (Mini-excavator or Tiller): $75 - $150 per day
Professional Installation Costs ($1,500 - $3,500+)
Hiring a landscape architect or specialized drainage contractor includes site surveying, heavy machinery excavation, soil engineering, and plant installation. If your design requires extensive hardscaping, such as dry-laid stone retaining walls, underground PVC downspout extensions, or decorative overflow weirs, expect costs to push toward the higher end of the spectrum or beyond.
Step 7: Long-Term Maintenance Plan
While rain gardens are designed to be low-maintenance sustainable landscapes, they are not 'no-maintenance.' The first two years are critical as the native plants establish their deep root systems.
- Watering: Water deeply once or twice a week during the first two summers. After year three, native plants should survive entirely on natural rainfall.
- Mulching: Maintain a 2-to-3-inch layer of double-shredded hardwood mulch. Avoid pine bark nuggets, as they will float away during heavy rain events.
- Sediment Removal: Annually inspect the inlet and the basin floor. If sediment from the roof or driveway has built up, carefully scrape it off to maintain the soil's infiltration rate.
- Weeding: Hand-pull invasive weeds early in the spring before native perennials break dormancy. Avoid using chemical herbicides, as they will wash into the garden and defeat the eco-friendly purpose of the bioretention system.
Conclusion
Planning and designing a rain garden is a highly rewarding landscaping project that merges ecological responsibility with striking garden design. By carefully assessing your site, engineering the right soil mix, and selecting native plants suited to the unique hydrozones of your basin, you can transform a problematic, soggy yard into a thriving, self-sustaining habitat. Not only will you solve your drainage issues and protect your home's foundation, but you will also dramatically boost your property's curb appeal while doing your part to protect local watersheds.

