Tree Care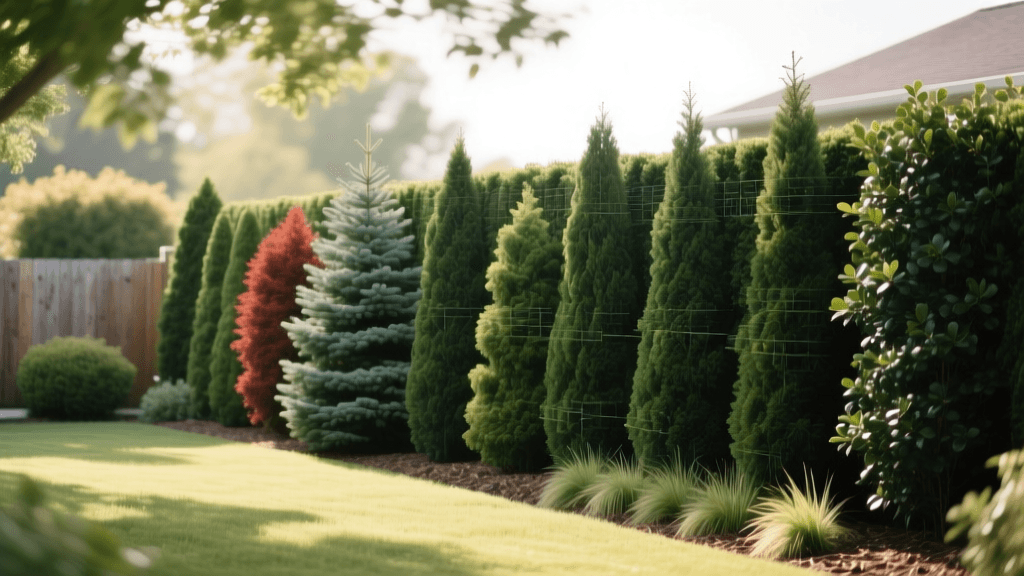
How to Design and Plant an Evergreen Privacy Screen
Designing the Perfect Evergreen Privacy Screen
Creating a living privacy screen is one of the most rewarding landscape design projects a homeowner can undertake. Unlike wooden fences or vinyl barriers, an evergreen tree screen provides year-round seclusion, acts as a natural windbreak, reduces noise pollution, and softens the hardscaping of your property. However, a successful privacy screen requires meticulous planning, proper species selection, and precise spacing. If you simply dig holes and plant trees in a straight line without considering their mature dimensions or site conditions, you risk overcrowding, disease, and stunted growth. This comprehensive guide will walk you through the design, planning, and planting phases to ensure your evergreen screen thrives for decades.
Step 1: Site Assessment and Landscape Planning
Before selecting your trees, you must evaluate the environmental conditions of your planting zone. Evergreens are particularly sensitive to poor drainage and heavy shade. Begin by observing the sunlight patterns across your property line. Most privacy screen evergreens require full sun (at least six hours of direct sunlight daily) to maintain dense, lower-branch foliage. If your planting area is heavily shaded by existing structures or larger deciduous trees, you will need to select shade-tolerant species like the Canadian Hemlock or certain Yew varieties, though these grow much slower.
Next, assess the soil drainage. Dig a test hole about 12 inches deep and fill it with water. If the water does not drain within 24 hours, you have heavy clay soil that retains too much moisture, which can lead to fatal root rot in evergreens. In these cases, planning must include raising the planting bed or installing a French drain system. Finally, always call 811 before you dig to have underground utility lines marked, ensuring your planting design avoids gas, water, and electrical lines.
Step 2: Selecting the Right Evergreen Species
Choosing the right tree is the cornerstone of your design. You must balance your desire for rapid privacy with the long-term maintenance and mature size of the tree. Planting a species that outgrows its space will lead to constant, expensive pruning and eventual removal. Below is a comparison chart of the most popular evergreen trees used for privacy screens in North America.
| Species | Mature Height | Mature Width | Growth Rate | USDA Hardiness Zones |
|---|---|---|---|---|
| Thuja 'Green Giant' | 40 - 60 ft | 12 - 18 ft | Fast (3-5 ft/yr) | 5 - 8 |
| Leyland Cypress | 50 - 70 ft | 15 - 20 ft | Fast (3-4 ft/yr) | 6 - 10 |
| Nellie Stevens Holly | 20 - 30 ft | 10 - 15 ft | Medium (1-2 ft/yr) | 7 - 9 |
| Eastern Redcedar | 40 - 50 ft | 8 - 20 ft | Medium (1-2 ft/yr) | 2 - 9 |
| Norway Spruce | 50 - 60 ft | 25 - 30 ft | Medium (1-2 ft/yr) | 3 - 7 |
For most suburban properties, the Thuja 'Green Giant' is the gold standard. It offers rapid growth, excellent disease resistance, and a relatively narrow footprint compared to spruces. For warmer, southern climates, the Nellie Stevens Holly provides a beautiful, dense screen with the added bonus of winter berries.
Step 3: Calculating Spacing and Layout Design
The most common mistake in privacy screen planning is planting trees too closely together. While you may want immediate privacy, overcrowding forces trees to compete for water, nutrients, and sunlight, leading to bare interiors and increased susceptibility to fungal diseases. The golden rule of spacing is to plant trees at a distance equal to half of their mature width.
Single Row vs. Staggered Double Row
- Single Row Layout: Best for narrow property lines. If planting Thuja Green Giants (mature width of 15 feet), space the trunks 7 to 8 feet apart. This allows the canopies to eventually touch and form a solid wall without suffocating the root systems.
- Staggered Double Row (Zig-Zag): Ideal for wider spaces and faster visual screening. Plant two parallel rows spaced 6 to 8 feet apart. Stagger the trees so that each tree in the back row is planted directly behind the gap between two trees in the front row. Within each row, space the trees 8 to 10 feet apart.
From a design perspective, avoid planting your screen in a rigid, straight line if your property allows for it. A gently curving layout mimics natural forest edges and creates a much more aesthetically pleasing landscape design.
Step 4: Soil Preparation and Planting Execution
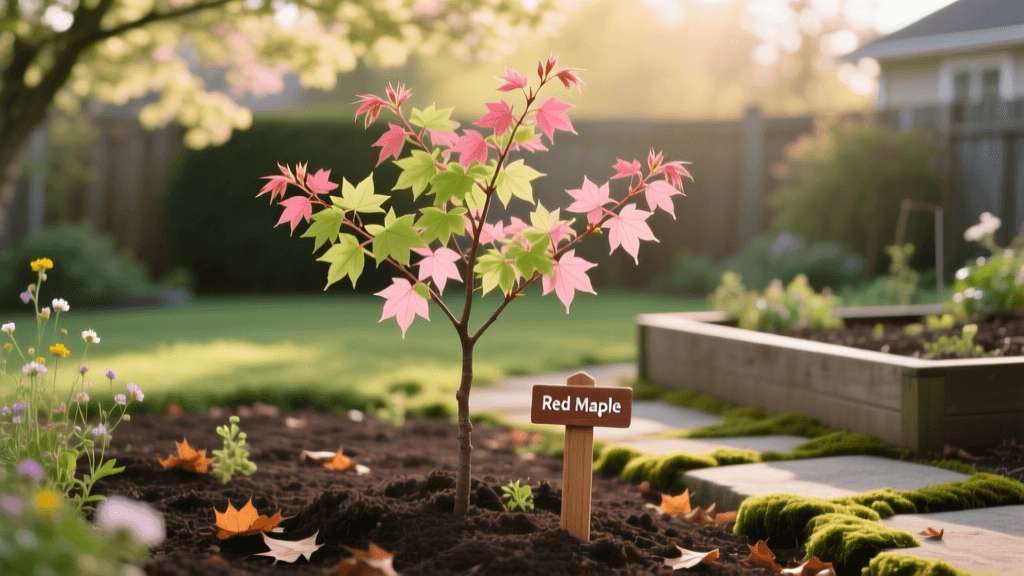
Timing is critical. The optimal planting window for evergreens is early fall, roughly six weeks before your region's first hard frost. This allows the root system to establish before the stress of summer heat. Early spring is the second-best option. Expect to invest between $80 and $150 per tree for a 6-to-8-foot balled-and-burlapped (B&B) specimen, or $40 to $70 for a 3-gallon container-grown tree.
- Digging the Hole: Dig a hole that is 2 to 3 times wider than the root ball, but no deeper. The root flare (where the trunk widens at the base) must sit slightly above the surrounding soil grade to prevent water from pooling around the trunk.
- Soil Amendment: Do not completely replace the native soil with potting mix, as this creates a 'bathtub effect' where water pools in the loose soil. Instead, mix 20% organic compost with 80% native soil. Incorporate a slow-release organic fertilizer like Espoma Bio-tone Starter Plus (approx. $12 per 4lb bag) into the backfill to encourage mycorrhizal root development.
- Positioning and Backfilling: Place the tree in the hole, ensuring it is perfectly vertical. If it is a B&B tree, cut away the synthetic burlap and wire basket once the tree is positioned. Backfill the soil, tamping it down gently with your hands to remove large air pockets.
- Watering In: Immediately water the newly planted tree with 10 to 15 gallons of water to settle the soil around the roots.
Step 5: Post-Planting Care and Maintenance Schedule
A well-planned screen requires dedicated care during its first two growing seasons. Evergreens do not show drought stress by wilking like deciduous plants; instead, they suffer from internal desiccation, often turning brown from the inside out only after the damage is irreversible.
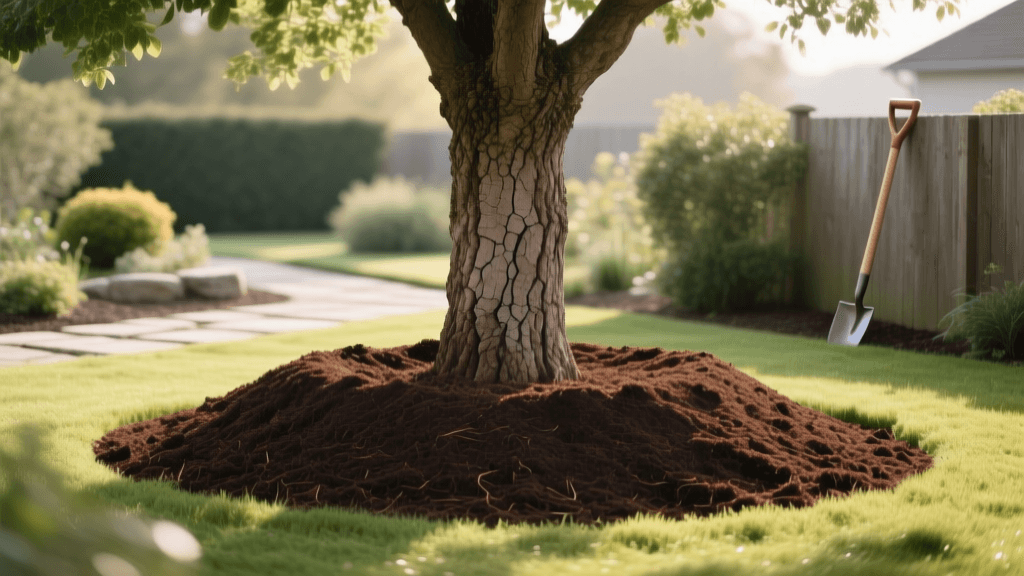
- Mulching: Apply a 3-inch layer of shredded hardwood mulch in a wide ring around the base of the tree. Keep the mulch at least 3 inches away from the trunk itself to prevent rodent damage and bark rot. Mulch retains soil moisture and regulates root temperature.
- Irrigation: Install a Rain Bird 1/4-inch drip irrigation line snaking through the planting bed. Evergreens need roughly 1 to 1.5 inches of water per week during their first two summers. Drip systems deliver water directly to the root zone, minimizing waste and keeping the foliage dry, which prevents fungal blights.
- Pruning: For the first three years, limit pruning to the removal of dead or crossed branches. Once the screen reaches your desired height, you can lightly shear the terminal leader (the topmost vertical branch) in early summer to encourage lateral branching and a denser canopy.
Expert Insights and Authoritative Guidelines
Proper planning extends beyond just the physical planting; it involves understanding the long-term ecological impact of your design. According to the Penn State Extension, when designing evergreen windbreaks and privacy screens, homeowners must account for the 'snow drift' effect. Dense evergreen screens slow down wind velocity, which can cause snow to drop and accumulate heavily on the leeward side of the trees. Penn State recommends planting the screen at least 50 to 100 feet away from driveways or walkways to prevent massive snow drifts from blocking access during winter storms.
'When planting evergreen screens, avoid the temptation to plant trees too deeply. The root flare must be visible at the soil surface. Planting too deeply is the number one cause of premature decline and failure in landscape evergreens.' - Penn State University Extension, Department of Ecosystem Science and Management.
By following these design principles, spacing calculations, and care protocols, your evergreen privacy screen will transform from a row of vulnerable saplings into a majestic, impenetrable green wall that enhances your property value and provides tranquil seclusion for years to come.