Tree Care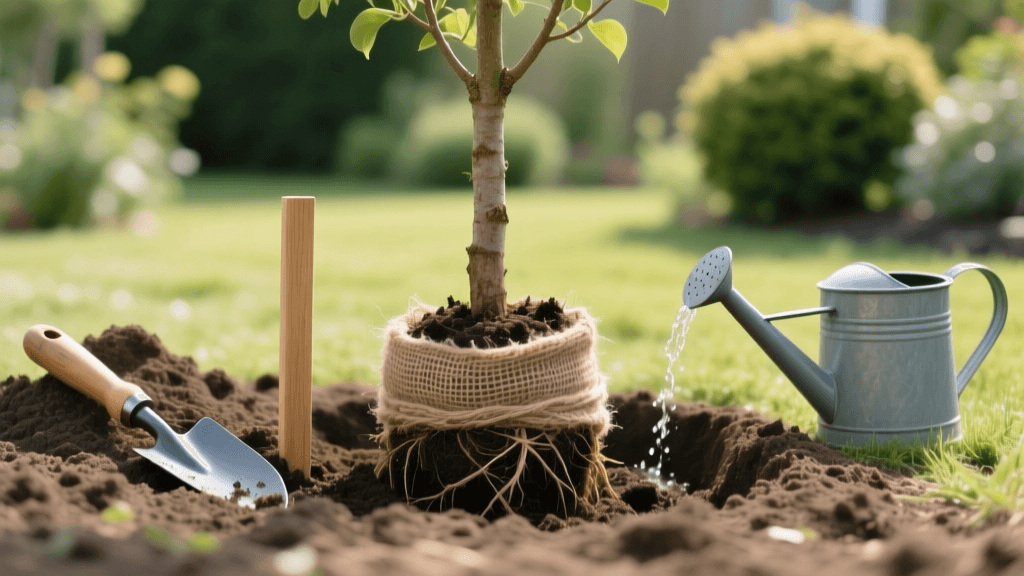
Step-by-Step Guide to Planting Balled and Burlapped Trees
The Ultimate Guide to Planting Balled and Burlapped Trees
Planting a tree is one of the most impactful, long-term investments you can make in your home landscape. Among the various types of nursery stock available, balled and burlapped (B&B) trees offer a distinct advantage: they provide a mature head start with a robust, established root system encased in soil. However, this added weight and the specific nature of the root ball demand precise planting techniques. If planted too deeply or handled improperly, a B&B tree can suffer from girdling roots, oxygen deprivation, and eventual decline. This practical, step-by-step guide will walk you through the exact measurements, tools, and techniques required to plant a B&B tree correctly, ensuring it thrives for decades to come.
Essential Tools and Materials
Before breaking ground, gather the following equipment to ensure a smooth planting process:
- Round-point spade: Ideal for cutting through tough soil and digging clean edges.
- Heavy-duty tarp: Used to pile excavated soil, making backfilling significantly easier.
- Wire cutters and tin snips: Essential for removing the heavy wire basket surrounding the root ball.
- Utility knife: For slicing away synthetic or natural burlap and twine.
- Measuring tape: To verify hole depth and width accurately.
- Garden hose with a slow-flow nozzle: For deep, gentle watering.
- Organic hardwood mulch: 3 to 5 cubic feet, depending on the tree size.
- Work gloves and safety glasses: To protect against sharp wire edges and debris.
Step 1: Choose the Right Time and Location
Timing is critical for transplant success. The optimal windows for planting B&B trees are early spring (after the ground thaws but before bud break) and late fall (after leaf drop but before the ground freezes). During these dormant periods, the tree can focus its energy on establishing roots rather than supporting foliage. When selecting a location, consider the tree's mature canopy spread and root zone. Ensure the site is free from overhead power lines and underground utilities. Always call your local utility locating service (such as 811 in the United States) at least 48 hours before digging to mark underground gas, water, and electrical lines.
Step 2: Locate the Root Flare (The Most Critical Step)
The root flare (or trunk flare) is the area at the base of the trunk where the trunk widens and transitions into the primary structural roots. In many nursery-grown B&B trees, the root flare is buried under several inches of excess soil accumulated during the tree's years in the field. Planting a tree with a buried root flare is the number one cause of transplant failure, leading to stem girdling roots and trunk rot.
Before digging your hole, gently brush away the top layer of soil from the root ball using your hands or a small hand trowel until you expose the root flare. Measure the distance from the bottom of the root ball to the exposed root flare. This exact measurement will dictate the depth of your planting hole. If the root flare is buried under 4 inches of soil, you must remove that 4 inches of soil from the top of the root ball before planting.
Step 3: Dig the Perfect Hole
Contrary to old gardening myths, a planting hole should not be deep and narrow. It should be wide and shallow to mimic natural soil horizons and encourage lateral root growth.
- Width: Dig the hole 2 to 3 times wider than the diameter of the root ball. If the root ball is 24 inches wide, your hole should be 48 to 72 inches across. This loosens the surrounding soil, allowing tender new roots to expand easily.
- Depth: The hole should be slightly shallower than the height of the root ball. Specifically, the depth should equal the distance from the bottom of the root ball to the root flare (which you measured in Step 2). The root flare must sit 1 to 2 inches above the surrounding grade to account for soil settling.
- Base: Leave the soil at the bottom of the hole undisturbed and solid. Do not loosen the dirt at the base, as this will cause the heavy root ball to sink below grade after watering.
Step 4: Handle the Root Ball and Remove Packaging
Never lift or drag a B&B tree by its trunk; the sheer weight of the soil ball can snap the trunk or tear the critical structural roots. Always roll the root ball onto a tarp and drag it to the hole, or use machinery for larger specimens. Carefully roll the tree into the center of the hole. Use your measuring tape to ensure the root flare is positioned 1 to 2 inches above the surrounding soil line.
Once the tree is perfectly positioned, it is time to remove the packaging. Using your wire cutters, snip the ties holding the wire basket. Cut away the top third to half of the wire basket and peel it back. Next, use your utility knife to slice the burlap and twine away from the trunk and the top third of the root ball. While natural burlap will eventually decompose, it can wick moisture away from the root ball if left exposed to the air. Synthetic burlap will not decompose and must be entirely removed. Pull all packaging materials away from the roots and out of the hole.
Step 5: Backfill and Apply Mulch Correctly
Backfill the hole using the native soil you excavated earlier. Research consistently shows that amending backfill soil with heavy compost or peat moss creates a 'bathtub effect,' where water pools in the loose amended soil and drowns the roots, while discouraging roots from expanding into the native clay or sand. Break up large clods of dirt and shovel the soil around the root ball, tamping it down gently with your hands or the blunt end of your shovel to eliminate large air pockets. Water the hole halfway through backfilling to help settle the soil.
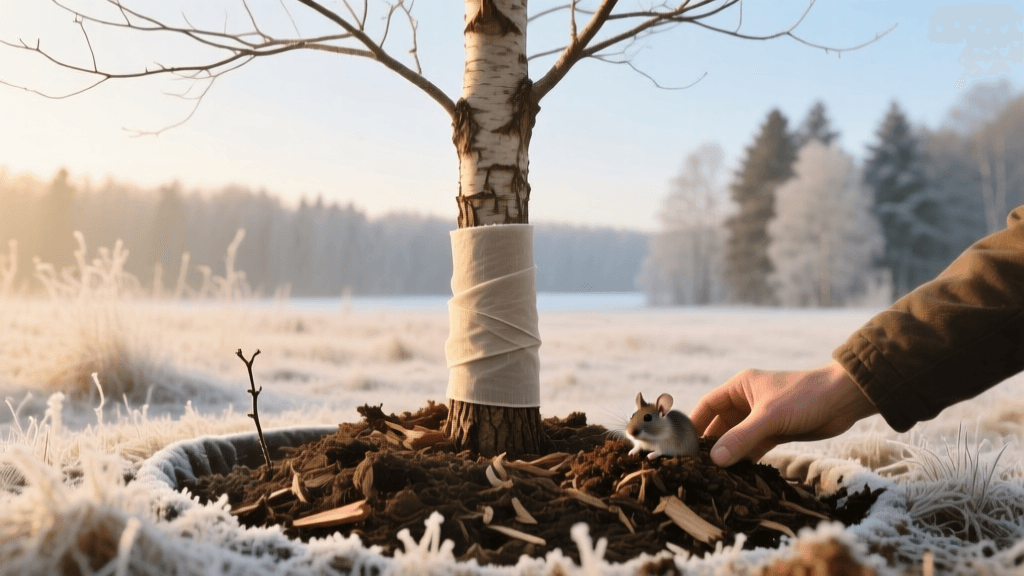
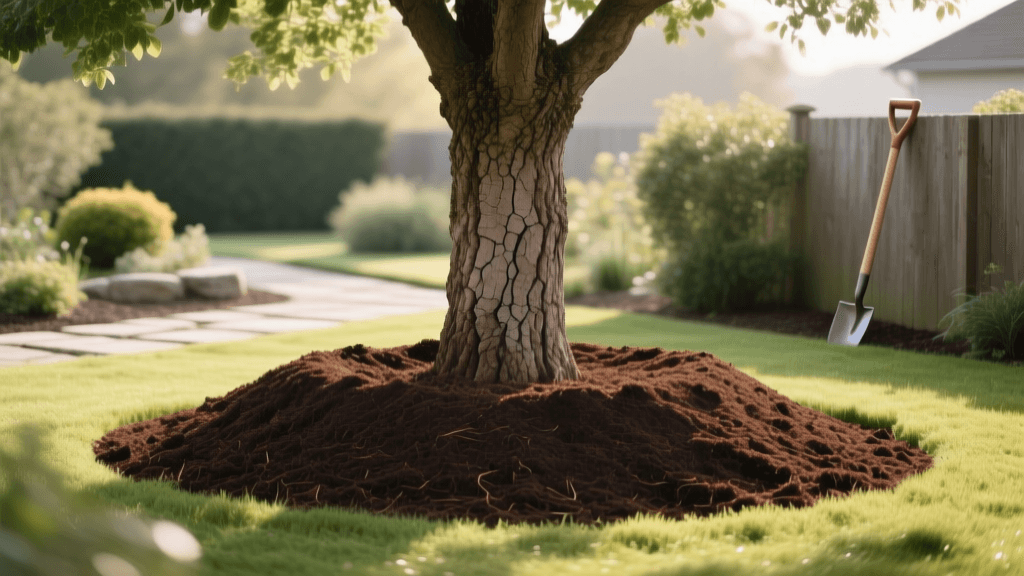
After backfilling, apply a 2 to 3-inch layer of organic hardwood mulch over the planting area, extending out to the tree's drip line if possible. Crucially, keep the mulch at least 3 to 4 inches away from the trunk itself. Piling mulch against the bark (often called 'volcano mulching') traps moisture, invites fungal pathogens, and encourages secondary roots to grow into the mulch, which eventually girdle the trunk.
Step 6: Establish a Watering Schedule
Newly planted B&B trees require consistent, deep watering to establish their root systems. The root ball must remain moist but not waterlogged. Use a slow-flowing garden hose or a drip irrigation bag (like a Treegator) to deliver water directly to the root zone.
| Tree Trunk Caliper (Diameter) | Weekly Water Requirement | Watering Frequency | Establishment Time |
|---|---|---|---|
| 1 to 2 inches | 10 to 15 gallons | 2 to 3 times per week | 1 to 1.5 years |
| 2 to 3 inches | 15 to 20 gallons | 2 to 3 times per week | 1.5 to 2 years |
| 3 to 4 inches | 20 to 25 gallons | 2 to 3 times per week | 2 to 3 years |
| 4+ inches | 25+ gallons | 2 to 3 times per week | 3+ years |
Note: Adjust watering based on rainfall and local soil drainage. Check soil moisture by digging 4 inches down near the root ball; if it feels dry, it is time to water.
Comparison: B&B vs. Container vs. Bare-Root Trees
Understanding how B&B trees compare to other nursery stock can help you make informed purchasing decisions for your landscape projects.
| Feature | Balled & Burlapped (B&B) | Container-Grown | Bare-Root |
|---|---|---|---|
| Weight & Handling | Extremely heavy; requires equipment or multiple people | Moderate; easy to transport | Lightweight; highly portable |
| Root Structure | Intact field soil; some root loss during harvesting | Prone to circling/girdling roots if left in pot too long | Requires immediate soaking; minimal soil disruption |
| Best Planting Season | Early spring or late fall (dormant) | Spring through early fall | Strictly early spring before bud break |
| Cost | Moderate to High | Moderate | Low |
Common Planting Mistakes to Avoid
Even experienced homeowners make critical errors when planting B&B trees. Avoid these common pitfalls:
- Leaving the wire basket on: While some contractors leave the bottom of the basket, the top half must be removed to prevent trunk girdling as the tree grows.
- Over-amending the soil: Adding rich potting soil to the hole creates a textural interface that restricts water movement and root expansion into native soil.
- Staking the tree unnecessarily: Trees develop stronger trunks and root systems when allowed to sway in the wind. Only stake a tree if it is top-heavy, planted in a high-wind area, or on a severe slope. Remove stakes after one year.
- Fertilizing at planting time: High-nitrogen fertilizers can burn tender new roots. Wait until the second growing season to apply a slow-release, balanced fertilizer based on a soil test.
Expert Insights and Authoritative Citations
The techniques outlined in this guide are heavily based on peer-reviewed horticultural research. According to Dr. Edward Gilman, a leading urban forestry expert at the University of Florida IFAS Extension, improper planting depth and inadequate hole width are the primary culprits behind urban tree mortality. Dr. Gilman's extensive research demonstrates that excavating soil from the top of the root ball to expose the root flare, and digging wide, shallow holes, increases tree survival rates by over 40% compared to traditional deep-planting methods.
'The vast majority of transplanting failures can be traced back to the root flare being buried below grade. Exposing the flare and ensuring the root ball sits slightly above the surrounding soil is the single most important step a landscaper or homeowner can take.' - Dr. Edward Gilman, University of Florida IFAS Extension.
For further reading on root collar excavation and soil management, consult your local university cooperative extension office or the International Society of Arboriculture (ISA) best management practices.
Conclusion
Planting a balled and burlapped tree requires physical effort, attention to detail, and a commitment to proper aftercare. By taking the time to locate the root flare, digging a wide and shallow hole, removing restrictive packaging, and adhering to a strict watering schedule, you set the foundation for a majestic, healthy tree. A well-planted tree will not only enhance your property's curb appeal and value but will also provide shade, ecological benefits, and beauty for generations to come.