Tree Care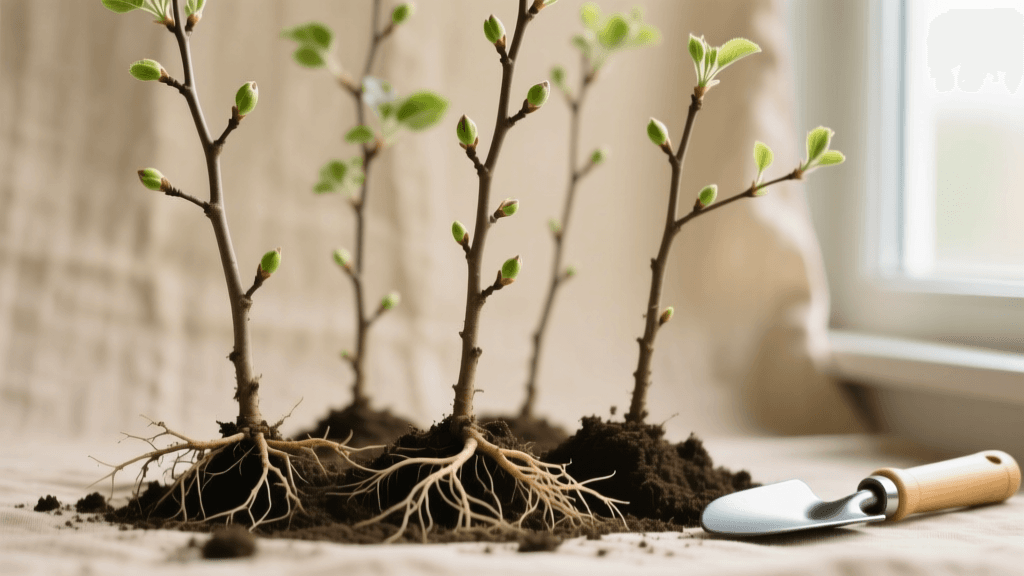
A Beginner's Guide to Planting Bare-Root Apple Trees
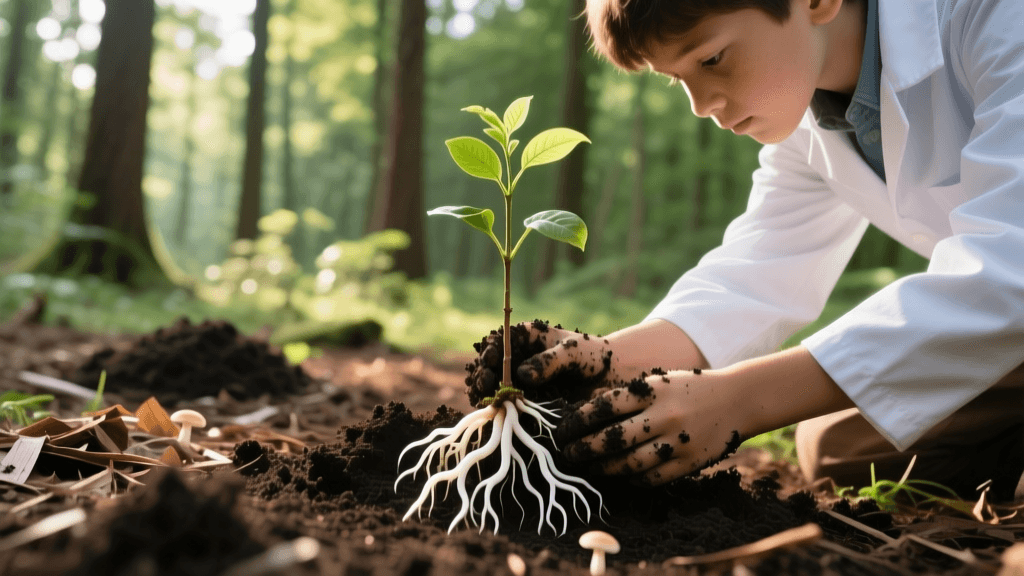
Growing your own apples is a rewarding endeavor that transforms a standard backyard into a productive, edible landscape. For beginners, the sheer number of options at the local nursery can be overwhelming. However, one of the most cost-effective and successful ways to start your home orchard is by planting bare-root apple trees. Unlike container-grown trees that are available year-round, bare-root trees are harvested and shipped while they are fully dormant, offering massive benefits to both your wallet and your tree's long-term health. According to the Penn State Extension, bare-root fruit trees often establish faster than their potted counterparts because their root systems are not confined or circling within a plastic nursery pot.
In this comprehensive, beginner-friendly guide, we will walk you through everything you need to know about selecting, planting, and caring for a bare-root apple tree. From understanding rootstocks to mastering the crucial first-year watering schedule, you will have all the actionable details required to cultivate a thriving, fruit-bearing tree.
Why Choose Bare-Root Apple Trees?
The primary advantage of purchasing bare-root trees is the cost. A high-quality bare-root apple tree typically costs between $20 and $40, whereas a comparable potted tree from a big-box store can easily exceed $60 to $100. Furthermore, bare-root trees are significantly lighter and easier to transport, plant, and handle. Because they are dug up directly from the field and shipped without heavy soil, you get a more extensive, natural root system. When planted correctly during their dormancy window, these trees wake up in their new location and immediately push energy into establishing new feeder roots in your native soil.
Understanding Apple Tree Rootstocks
Before you buy a tree, you must understand rootstocks. Apple trees are not grown from seed; instead, a desired fruiting variety (the scion) is grafted onto a specific root system (the rootstock). The rootstock dictates the mature size of your tree, its disease resistance, and how many years it will take to produce fruit. Choosing the right size for your yard is critical.
| Rootstock Type | Mature Height | Years to First Fruit | Spacing Required | Best For |
|---|---|---|---|---|
| Dwarf (e.g., M.9, Budagovsky 9) | 8 to 10 feet | 2 to 3 years | 8 to 10 feet apart | Small yards, container growing, easy harvesting |
| Semi-Dwarf (e.g., M.26, MM.106) | 12 to 15 feet | 4 to 5 years | 12 to 15 feet apart | Standard suburban backyards, moderate space |
| Standard (Seedling) | 18 to 25+ feet | 6 to 10 years | 20 to 25 feet apart | Large properties, shade, traditional orchards |
For most residential beginners, a semi-dwarf rootstock offers the perfect balance of manageable size, decent fruit production timelines, and structural stability without needing permanent staking.
When to Plant Your Bare-Root Tree
Timing is everything when dealing with dormant trees. You must plant your bare-root apple tree in late winter or early spring, typically between March and April, depending on your hardiness zone. The goal is to get the tree into the ground just before the buds break and the tree begins its active spring growth cycle. The soil should be workable—not frozen and not waterlogged. If your ground is still frozen when the tree arrives, you must keep the roots moist and cold (in a garage or shaded shed) until you can dig.
Step-by-Step Planting Instructions
Step 1: Hydrate the Roots
When your tree arrives, the roots will look dry and lifeless. Do not panic; this is normal. Before planting, submerge the entire root system in a bucket of clean water for 12 to 24 hours. This rehydrates the cambium layer and prepares the tree for the shock of transplanting. Never let the roots dry out or sit in direct sunlight, even for a few minutes.
Step 2: Site Selection and Preparation
Apple trees require full sun, which means a minimum of six to eight hours of direct, unfiltered sunlight daily. Avoid low-lying areas where cold air settles (frost pockets) or where water pools after a heavy rain. Test your drainage by digging a test hole and filling it with water; if it takes longer than 24 hours to drain, you need to choose a different site or plant on a raised berm.
Step 3: Digging the Hole
Dig a hole that is twice as wide as the spread of the root system, but no deeper than the roots themselves. A common beginner mistake is digging the hole too deep, which causes the tree to settle below the soil grade over time. The hole should resemble a wide, shallow bowl rather than a deep post-hole. Rough up the smooth sides of the hole with your shovel to help lateral roots penetrate the native soil.
Step 4: Positioning and the Graft Union
Locate the graft union on your tree. This is a distinct, swollen bump or bend on the lower trunk where the fruiting variety was attached to the rootstock. According to the Arbor Day Foundation, it is absolutely critical that the graft union remains at least two to three inches above the final soil line. If the graft union is buried, the scion variety will sprout its own roots, completely negating the dwarfing or disease-resistant benefits of the rootstock. Create a small cone of soil at the bottom of the hole, spread the roots evenly over the cone, and ensure the tree is straight.
Step 5: Backfilling and Watering
Begin backfilling with the native soil you just dug out. Do not add heavy fertilizers, compost, or peat moss directly into the planting hole. Amending the backfill soil creates a bathtub effect, where water pools in the loose amended soil and rots the roots, or the roots refuse to expand into the denser native clay outside the hole. As you fill the hole halfway, gently water the soil to eliminate large air pockets. Finish filling the hole, tamp the soil down gently with your boots, and create a shallow watering basin around the drip line.
First-Year Care and Maintenance
Watering Schedule
A newly planted bare-root tree has no established root system to seek out moisture. For the first growing season, you must act as its lifeline. Provide roughly 10 gallons of water per week during the growing season. Use a slow-trickling garden hose left at the base of the tree for 20 to 30 minutes to ensure deep soil penetration. Shallow, frequent sprinkling encourages weak surface roots that will perish during summer droughts.
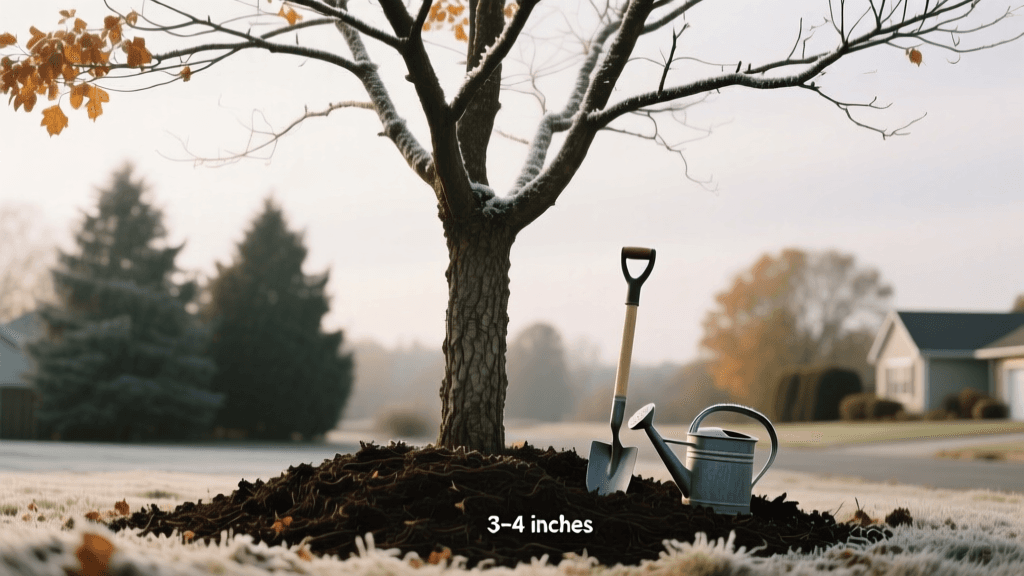
Proper Mulching Technique
Mulch is vital for retaining moisture and suppressing competing weeds, but improper mulching can kill your tree. Apply a two to three-inch layer of organic wood chips or shredded bark in a three-foot radius around the tree. Crucially, keep the mulch at least three inches away from the actual trunk, creating a donut shape. Piling mulch against the bark (volcano mulching) traps moisture, invites fungal rot, and provides a winter hiding spot for bark-gnawing voles.
First-Year Pruning
It feels counterintuitive to cut a brand-new tree, but pruning is essential for structural development. If you purchased an unbranched tree (a whip), the University of Maine Extension recommends heading the central leader to about 30 to 36 inches above the ground. Make a clean, angled cut just above a bud. This forces the tree to push out lateral branches at a height that is easy to manage and harvest from in future years.
Common Beginner Mistakes to Avoid
- Fertilizing too early: Do not apply synthetic fertilizers during the first year. The tree needs to focus on root growth, not explosive top growth. Wait until year two to apply a balanced, slow-release fertilizer based on a soil test.
- Letting grass grow to the trunk: Turf grass is an aggressive competitor for water and nutrients. Maintain a grass-free, mulched circle around the tree for at least the first three years.
- Ignoring wildlife protection: Deer, rabbits, and voles love tender young apple bark. Invest in a rigid plastic tree guard or wire mesh cylinder to protect the lower trunk during the winter months.
Planting a bare-root apple tree is an investment in the future of your landscape. By following these precise, actionable steps, you bypass the common pitfalls that plague novice orchardists. With proper hydration, careful attention to the graft union, and a disciplined first-year watering regimen, your new apple tree will reward you with decades of beautiful spring blossoms and crisp, homegrown autumn harvests.