Tree Care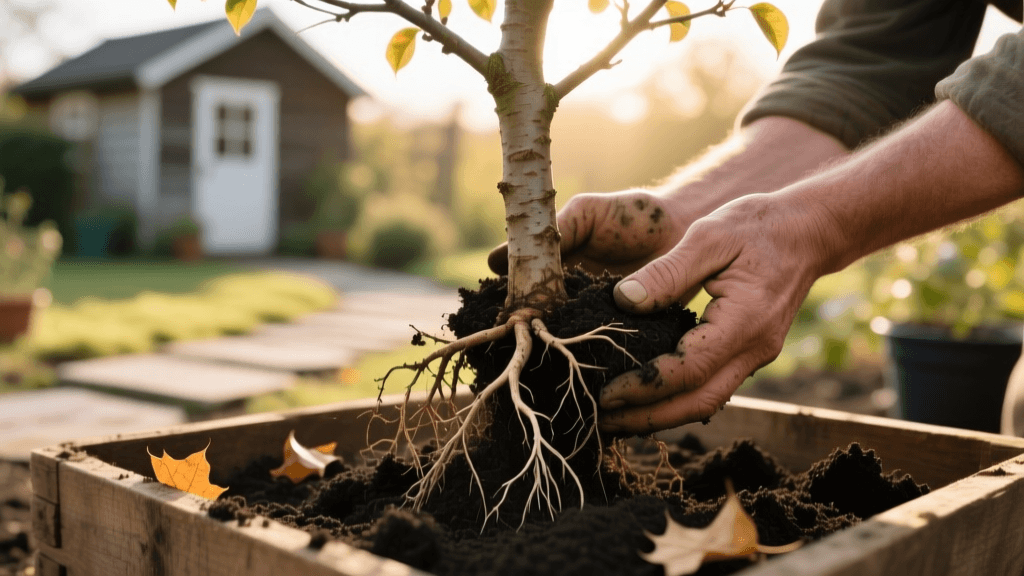
How to Plant Bare-Root Fruit Trees: A Beginner Guide
Why Choose Bare-Root Fruit Trees?
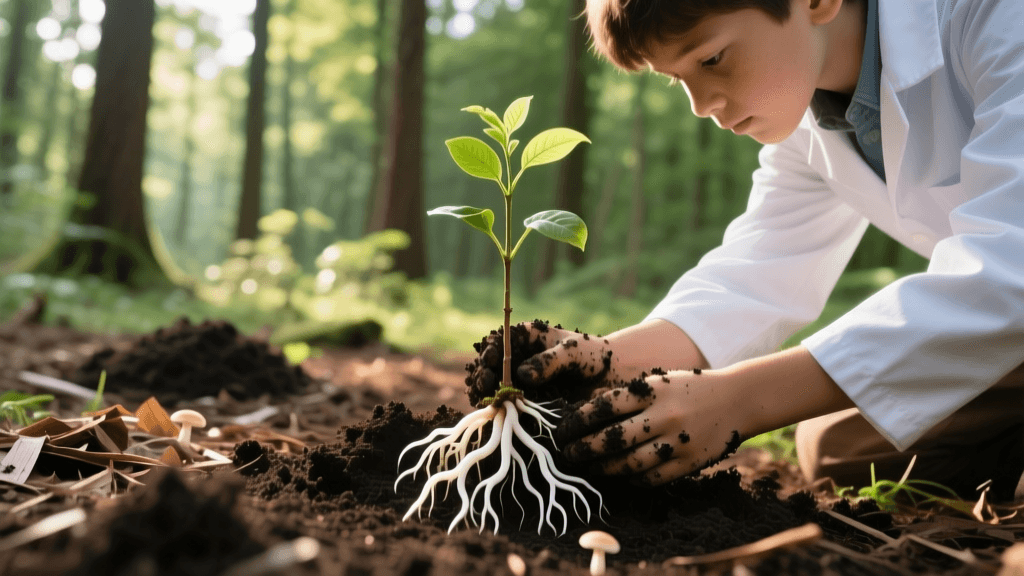
Starting a home orchard is one of the most rewarding investments you can make in your landscape. For beginners, the sheer variety of trees at local nurseries can be overwhelming, and the price tags on large, potted fruit trees can quickly drain your gardening budget. Enter the bare-root fruit tree: a dormant, soil-free sapling that offers massive benefits for both your wallet and your future harvest.
Bare-root trees are dug up from nursery fields in the late fall after they drop their leaves and enter dormancy. They are then stored in cold conditions and shipped directly to your door in late winter or early spring. Because you are not paying for the heavy soil and the plastic container, bare-root trees typically cost between $25 and $45, compared to $60 to $120 for a potted equivalent. Furthermore, according to the University of California Agriculture and Natural Resources (UC ANR), bare-root trees often establish faster and develop better root structures because their roots are not constrained by a pot and can be spread out naturally during planting.
Bare-Root vs. Container-Grown: A Quick Comparison
Before you commit to a bare-root tree, it is helpful to understand how they stack up against the container-grown trees you see at your local garden center in the summer.
| Feature | Bare-Root Trees | Container-Grown Trees |
|---|---|---|
| Average Cost | $25 - $45 | $60 - $120 |
| Planting Window | Late winter to early spring (dormant) | Spring through fall |
| Root Structure | Natural, radial spread | Often circling or pot-bound |
| Shipping Weight | Very light (3 - 8 lbs) | Heavy (25 - 50+ lbs) |
| Establishment Speed | Fast (roots adapt immediately to native soil) | Slower (roots must transition from potting mix) |
When to Order and Plant
Timing is everything when it comes to bare-root trees. You should place your orders with reputable nurseries in mid-winter (January or February) for early spring delivery. The goal is to plant the tree as soon as the ground thaws and can be worked, but before the tree breaks dormancy and begins to leaf out. In USDA Hardiness Zones 5 through 7, this usually falls between late March and mid-April. If your tree arrives and the ground is still frozen, you can "heel it in" by burying the roots in a shallow trench of moist soil or sawdust in a shady spot until you can dig the permanent hole.
Pre-Planting Preparation
When your tree arrives, it will look like a dead stick with a tangled mess of roots. Do not panic; this is perfectly normal. Open the package immediately and inspect the roots. They should be firm and moist, not slimy or brittle. If the roots feel dry, rehydrate them by submerging the entire root system in a bucket of water for 12 to 24 hours before planting. Adding a liquid seaweed extract or a vitamin B1 root stimulator to the soaking water can help reduce transplant shock.
Step-by-Step Planting Guide
Proper planting technique is the difference between a tree that struggles for years and one that thrives. Follow these steps to ensure your bare-root fruit tree gets the best possible start.
1. Select the Right Site
Fruit trees require full sun, which means at least 6 to 8 hours of direct sunlight daily. Avoid low-lying areas where cold air settles (frost pockets) or where water pools after heavy rain. Good drainage is critical; apple, cherry, and peach trees will quickly succumb to root rot in waterlogged soil.
2. Dig the Hole
Dig a hole that is twice as wide as the spread of the root system, but no deeper than the roots themselves. The University of Minnesota Extension emphasizes that the hole should have rough, loose sides to encourage roots to penetrate the native soil. Create a small cone or mound of soil at the bottom center of the hole.
3. Position the Tree and Find the Graft Union
Most fruit trees are grafted onto a dwarfing or semi-dwarfing rootstock. You will see a distinct bump or scar on the lower trunk, usually 2 to 6 inches above the root flare. This is the graft union. It is absolutely critical that the graft union remains 2 to 3 inches above the final soil line. If you bury the graft union, the scion (the top part of the tree) will sprout its own roots, completely defeating the purpose of the dwarfing rootstock and resulting in a massive, unmanageable tree.
4. Spread the Roots and Backfill
Drape the roots evenly over the soil mound. As you backfill with native soil, gently lift the tree and shake it slightly to allow soil to settle between the roots and eliminate air pockets. Do not add heavy fertilizers or excessive compost directly into the hole, as this can burn the tender new roots and discourage them from expanding outward. If your soil is exceptionally poor, mix in no more than 10% well-rotted compost. Dusting the roots with a mycorrhizal fungi inoculant, such as Espoma Organic Bio-tone Starter Plus, is highly recommended to boost nutrient uptake.
5. Water and Settle
Once the hole is half-filled, water it thoroughly to settle the soil. Finish filling the hole, tamp it down gently with your foot, and create a shallow berm (a raised ring of soil) around the outer edge of the planting hole to help capture and direct water down to the root zone.
The First Prune: The Heading Cut
This is the step that terrifies most beginners. Your new tree is likely a "whip"—a single, unbranched trunk about 4 to 6 feet tall. To build a strong, low-branching tree that is easy to harvest and prune in the future, you must make a heading cut.
Using a pair of sterilized, sharp bypass pruners, cut the main trunk at a 45-degree angle, about 24 to 36 inches above the ground. Make the cut just above a plump, outward-facing bud. While it feels wrong to chop off the top third of your new tree, this single cut breaks apical dominance and forces the tree to push out 3 to 4 strong, well-spaced lateral branches during its first summer, forming the primary scaffold of your tree.
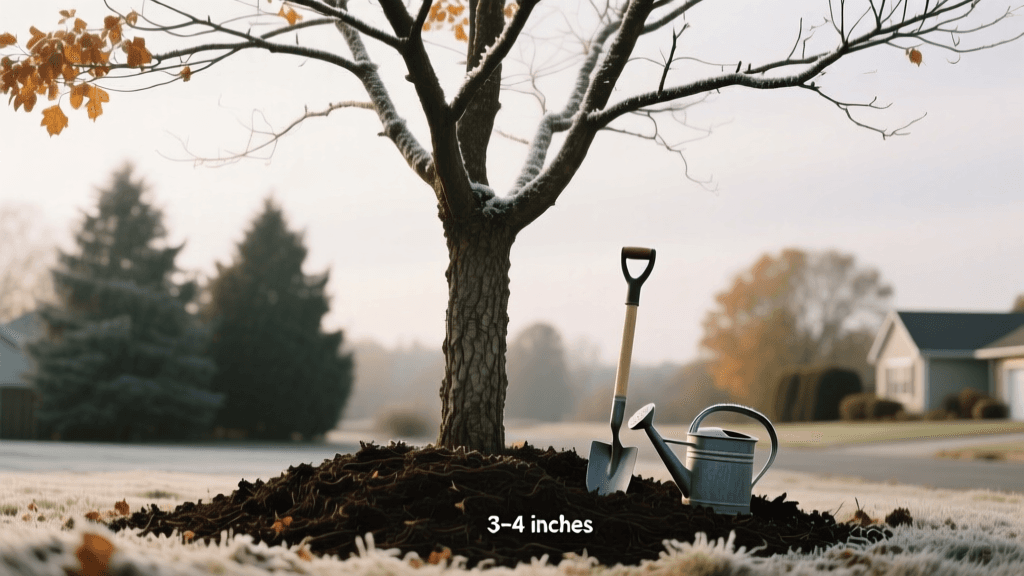
Mulching and Protection
Apply a 3-inch layer of organic mulch, such as shredded hardwood or wood chips, in a 3-foot diameter circle around the tree. Mulch regulates soil temperature, retains moisture, and suppresses weeds. However, keep the mulch at least 3 inches away from the trunk itself. Piling mulch against the bark (often called "volcano mulching") invites rot, fungal diseases, and rodent damage.
Speaking of rodents, bare-root trees are highly vulnerable to voles and rabbits, especially in winter. Install a corrugated plastic tree guard or a cylinder of 1/4-inch hardware cloth around the base of the trunk to protect the tender bark.
First-Year Watering Schedule
Newly planted bare-root trees lack a widespread root system and rely entirely on you for moisture during their first year. The Arbor Day Foundation recommends deep, infrequent watering over light, daily sprinklings. Provide 1 to 2 gallons of water per week during the growing season. During hot, dry summer weeks, increase this to 3 gallons. Always check the soil moisture by digging down 3 inches near the root zone; if it feels dry, it is time to water.
Common Beginner Mistakes to Avoid
- Planting too deep: Burying the graft union or the root flare will suffocate the tree and negate dwarfing rootstocks.
- Skipping the heading cut: Failing to prune the whip will result in weak, spindly branches that form too high up on the trunk.
- Over-fertilizing: Avoid high-nitrogen synthetic fertilizers in the first year. Focus on root development with water, mulch, and mycorrhizae instead of forcing top growth.
- Letting the tree bear fruit too soon: Pluck off any blossoms or tiny fruit that form in the first two years. The tree needs to spend its energy establishing a robust root system and wood structure, not producing apples or peaches.
"The best time to plant a tree was twenty years ago. The second best time is now." — Chinese Proverb
Planting a bare-root fruit tree is an exercise in patience and faith. You are putting a dormant stick into the ground and trusting the biology within it. By following these precise steps, providing adequate water, and protecting your investment from pests, you will be rewarded with a vigorous, heavy-bearing tree that will provide fresh, homegrown fruit for decades to come.