Tree Care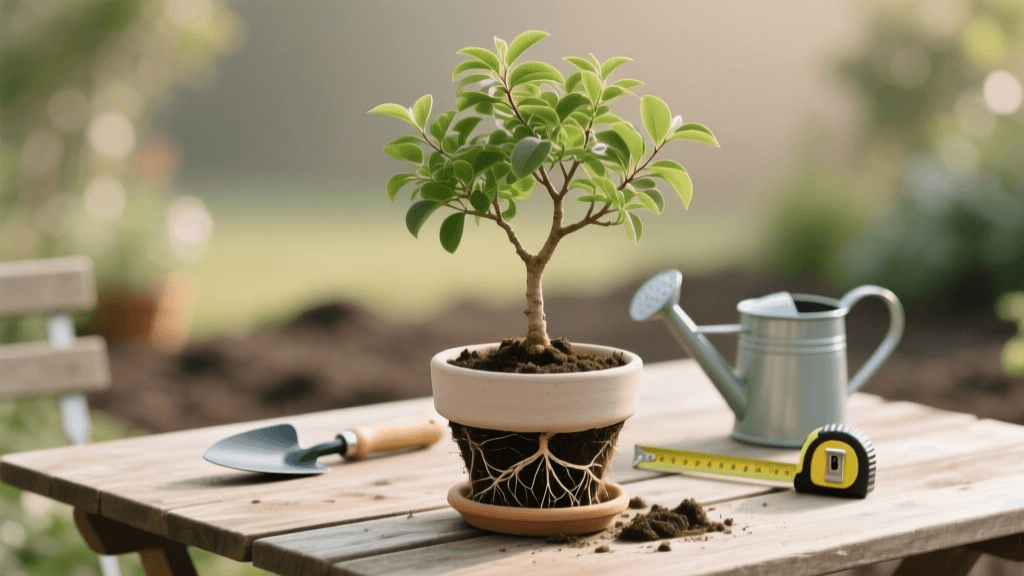
How to Plant a Container-Grown Tree: Step-by-Step Guide
Why Proper Planting Technique is Crucial
Planting a container-grown tree seems straightforward: dig a hole, drop the tree in, and cover it with dirt. However, this overly simplified approach is the leading cause of premature tree decline, girdling roots, and structural failure. When you invest $50 to $300 in a quality shade or ornamental tree, taking the extra hour to plant it correctly ensures it will thrive for decades rather than struggle for a few seasons.
In this practical, step-by-step guide, we will walk you through the exact arboricultural techniques required to plant a container-grown tree. From identifying the critical root flare to the controversial but highly recommended practice of root shaving, you will learn the professional methods used by certified arborists to guarantee long-term tree health.
Tools and Materials Checklist
Before breaking ground, gather the necessary tools. Having the right equipment makes the process efficient and prevents damage to the tree.
- Round-point shovel or spade: For cutting through turf and digging ($30-$45).
- Hand saw or pruning shears: Essential for root shaving and pruning circling roots ($25-$50).
- Tarp or wheelbarrow: To hold excavated native soil.
- Garden hose: For hydrating the root ball and settling the backfill.
- Organic wood chip mulch: 2 to 3 cubic feet per tree ($5-$10 per bag).
- Measuring tape: To verify hole width and depth.
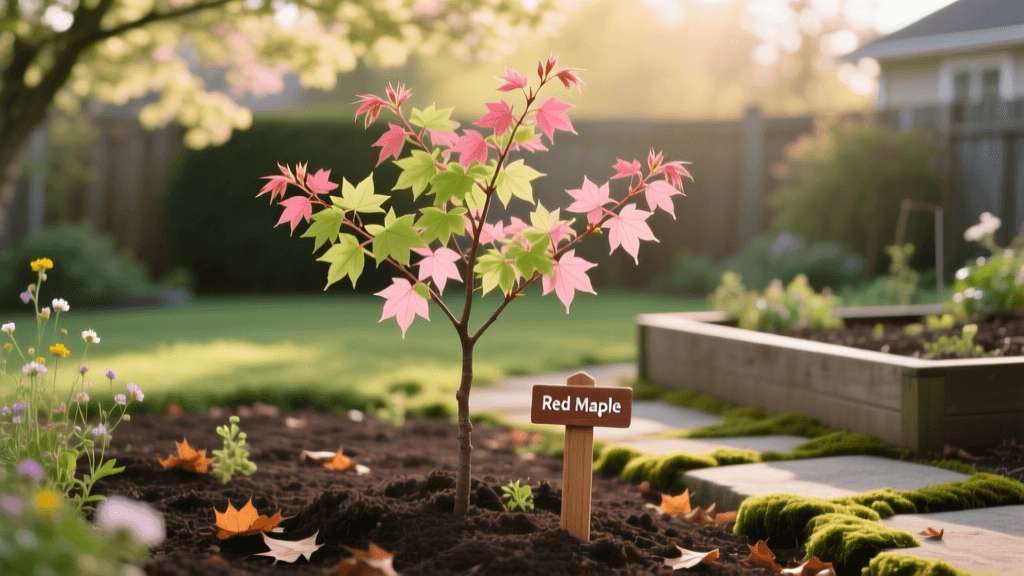
Step 1: Timing and Site Selection
When to Plant
The optimal time to plant a container-grown tree is during the dormant season or early spring, just before bud break. In most temperate climates, this falls between late October and early April. Planting during cooler months allows the tree to focus its energy on establishing a robust root system rather than supporting top-growth and foliage.
Evaluating the Site
Match the tree species to your site conditions. Check the soil drainage by digging a test hole 12 inches deep and filling it with water. If it drains slower than one inch per hour, you may need to select a water-tolerant species or plant on a slight berm. Always call your local utility locating service (like 811 in the United States) at least three days before digging to ensure you do not strike underground gas, water, or electrical lines.
Step 2: Digging the Hole (The Saucer Method)
The most common mistake homeowners make is digging a hole that is too deep and too narrow. Tree roots grow horizontally, not vertically. The vast majority of a tree's absorbing roots will eventually reside in the top 12 to 18 inches of soil. Therefore, your planting hole should resemble a wide, shallow saucer rather than a deep bucket.
Measuring for Width and Depth
Measure the height of the root ball from the bottom of the container to the top of the soil line inside the pot. Your hole should be no deeper than this measurement. In fact, on heavy clay soils, it is often beneficial to dig the hole one or two inches shallower than the root ball and mound soil up to the trunk flare.
For the width, dig the hole two to three times wider than the container. This loosens the surrounding soil, making it much easier for new roots to penetrate and establish.
| Container Size | Approx. Root Ball Depth | Minimum Hole Width | Estimated Soil Volume |
|---|---|---|---|
| 5 Gallon | 10 - 12 inches | 30 inches | 2.5 cubic feet |
| 15 Gallon | 14 - 16 inches | 45 inches | 5.0 cubic feet |
| 30 Gallon | 18 - 22 inches | 60 inches | 9.0 cubic feet |
| 45 Gallon | 22 - 26 inches | 75 inches | 14.0 cubic feet |
Step 3: Extracting the Tree and Prepping the Roots
This is the most critical step in the entire planting process. Trees grown in containers often develop circling or girdling roots as they hit the smooth plastic walls of the pot. If left uncorrected, these roots will eventually strangle the trunk, killing the tree 5 to 15 years after planting.
Finding the Root Flare
Before removing the tree from the pot, brush away the top inch or two of soil to locate the root flare (also known as the trunk flare). This is the area where the trunk widens and transitions into the root system. The root flare must be visible and sit slightly above the final grade level. If the tree is buried too deep in the nursery container, gently scrape away the excess soil until the flare is exposed.
The Root Shaving Technique
Once the tree is out of the container, inspect the outer edges of the root ball. If you see a dense mat of roots circling the perimeter, take your hand saw or sharp pruning shears and shave off the outer 1 to 2 inches of the entire root ball. This includes the sides and the bottom.
According to Dr. Ed Gilman, Professor Emeritus at the University of Florida IFAS Extension, 'Shaving the outside 1 to 2 inches of the root ball removes circling roots and stimulates the growth of new, straight roots that will establish quickly in the surrounding landscape soil. This practice significantly reduces the incidence of girdling roots and trunk decay in mature trees.'
While shaving the root ball feels aggressive, it is a proven horticultural practice that forces the tree to generate new, outward-growing roots rather than continuing the circling pattern that leads to structural failure.
Step 4: Positioning and Backfilling
Setting the Tree
Place the tree in the center of the saucer-shaped hole. Step back and look at it from multiple angles to ensure it is straight. Verify the depth: the root flare should sit 1 to 2 inches above the surrounding soil grade. This accounts for natural settling over the first few months. Planting too deep is a fatal error that deprives the trunk of oxygen and invites fungal pathogens and rot.
Backfilling with Native Soil
Use the native soil you excavated to backfill the hole. Do not amend the backfill with compost, peat moss, or potting soil. While it seems counterintuitive, creating a highly enriched pocket of soil in the planting hole creates a 'bathtub effect.' Water will pool in the loose, amended soil rather than draining into the surrounding native earth, and the roots will refuse to leave the nutrient-rich pocket, leading to a confined and unstable root system.
Add the native soil in 4-inch layers, tamping it down gently with your hands or the blunt end of your shovel to eliminate large air pockets. Stop when the soil level is flush with the root flare.
Step 5: Mulching and Watering
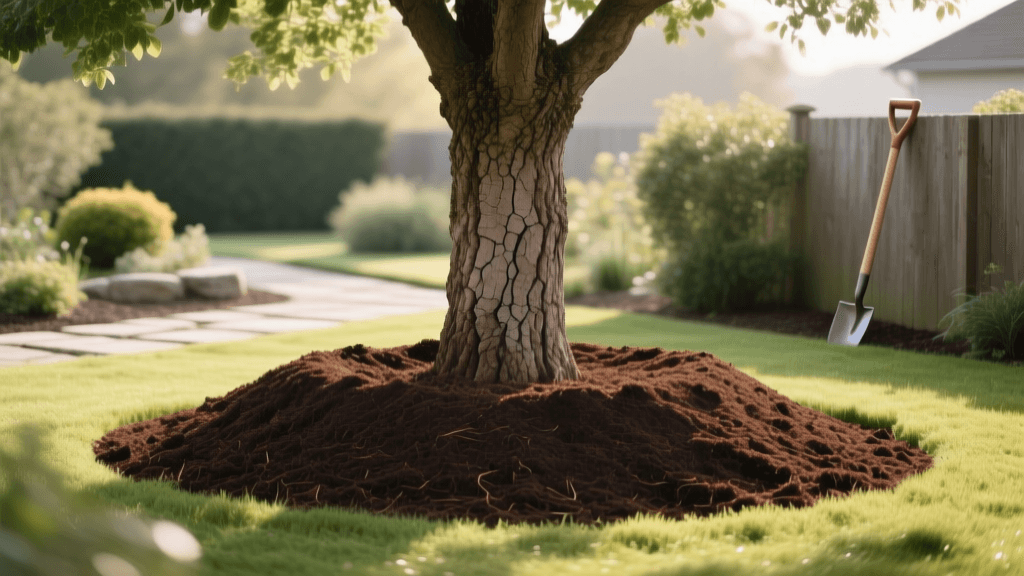
Applying Mulch Correctly
Mulch is essential for retaining moisture, regulating soil temperature, and suppressing weed competition. However, improper mulching—specifically 'volcano mulching'—can kill a tree. Apply a 2 to 4-inch layer of organic wood chip mulch in a wide ring around the tree, extending out to the drip line if possible.
The Golden Rule of Mulching: Keep the mulch at least 3 to 4 inches away from the actual trunk of the tree. Piling mulch against the bark keeps it constantly moist, which encourages rot, invites boring insects, and provides a hiding place for rodents that chew on the bark during winter.
Deep Watering Protocol
Immediately after backfilling and mulching, water the tree deeply. Use a slow trickle from a garden hose for 20 to 30 minutes to ensure the water penetrates the entire root ball and the surrounding backfill. This settles the soil and eliminates hidden air pockets.
Step 6: Staking and Post-Planting Care
To Stake or Not to Stake?
Contrary to popular belief, most container-grown trees do not need to be staked. Trees develop stronger, more resilient trunks when they are allowed to sway slightly in the wind. Only stake the tree if it is in a highly exposed, windy location, if the root ball is loose in the soil, or if the tree is top-heavy and cannot support its own canopy. If you must stake, use wide, flexible canvas straps and remove the stakes after one year.
First-Year Watering Schedule
A newly planted tree requires consistent moisture to establish. For the first two weeks, water the tree every other day. For the next two months, water it twice a week. After that, provide a deep soaking once a week during the growing season. Always check the soil moisture by digging down 4 inches near the root ball; if it feels dry, it is time to water.
Summary
Planting a container-grown tree correctly requires a departure from old habits. By digging a wide, shallow hole, aggressively shaving circling roots, refusing to amend the backfill, and keeping mulch away from the trunk, you set your tree up for a lifetime of vigorous growth and structural stability. The extra 30 minutes of effort on planting day will save you hundreds of dollars in corrective pruning, disease management, and eventual tree replacement down the road.