Tree Care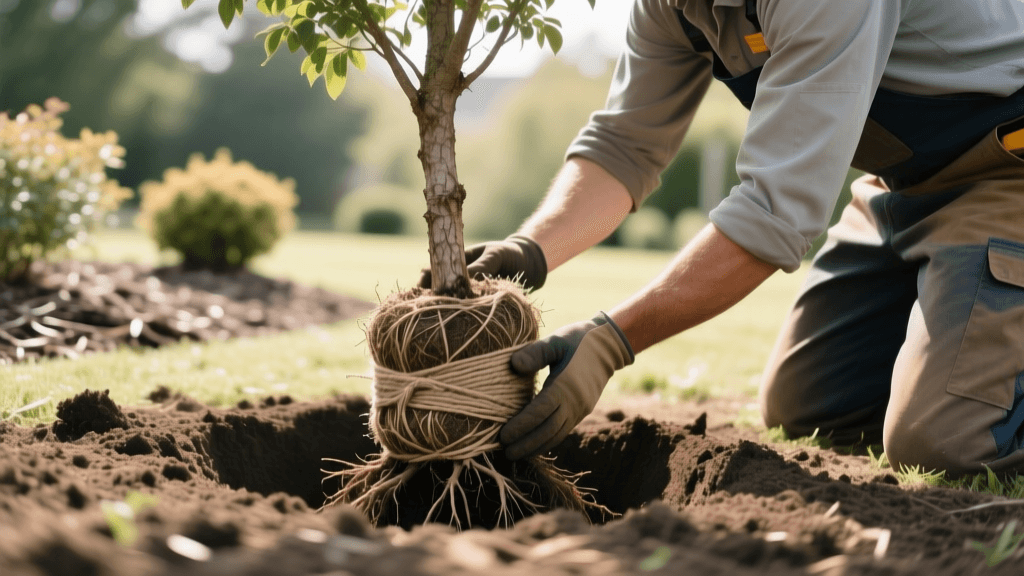
Step-by-Step Guide to Planting Balled and Burlapped Trees
Why Choose Balled and Burlapped (B&B) Trees?
When it comes to establishing a lasting landscape, Balled and Burlapped (B&B) trees offer a distinct advantage over container-grown or bare-root specimens. B&B trees are typically dug from the ground during their dormant season, preserving a robust, mature root system encased in soil, burlap, and a wire basket. This method reduces transplant shock and provides immediate structural stability. However, the sheer weight and specific planting requirements of B&B trees mean that improper installation can lead to slow decline, girdling roots, or outright death. This practical how-to guide will walk you through the exact measurements, tools, and techniques required to plant a B&B tree correctly, ensuring it thrives for decades to come.
Tools and Materials Required
Before breaking ground, gather the following equipment to ensure a smooth installation process:
- Sharp, flat-edged nursery spade: For cutting clean edges in the soil.
- Heavy-duty tarp: To stage excavated soil and protect the lawn.
- Bolt cutters and tin snips: Essential for removing the wire basket.
- Utility knife or scissors: For cutting away twine and burlap.
- Hand trowel or soft brush: To gently expose the root flare.
- Garden hose with a gentle spray nozzle: For deep watering and soil settling.
- Organic hardwood mulch: 2 to 3 cubic feet, depending on the tree size.
- Staking kit (optional): Only if the tree is in a high-wind area or has a top-heavy canopy.
Step 1: Site Selection and Utility Check
Proper placement is the first critical step in tree care. Assess the planting site for sunlight exposure, soil drainage, and overhead clearance. Most B&B ornamental and shade trees require at least six hours of direct sunlight daily. To test drainage, dig a small test hole about 12 inches deep and fill it with water. If it takes longer than 24 hours to drain completely, you may need to select a different location or choose a water-tolerant species like a River Birch or Bald Cypress.
Crucial Safety Step: Always call your local utility locating service (such as 811 in the United States) at least three business days before digging. This free service will mark underground gas, water, and electrical lines, preventing catastrophic damage and personal injury.
Step 2: Digging the Perfect Hole
The dimensions of your planting hole dictate how quickly the tree will establish. A common mistake is digging a hole that is too deep and too narrow. Instead, you want to create a wide, shallow basin that encourages lateral root growth.
- Width: Dig the hole 2 to 2.5 times wider than the diameter of the root ball. For a 24-inch root ball, the hole should be at least 48 to 60 inches across. This loosens the surrounding soil, making it easier for new feeder roots to penetrate.
- Depth: The hole should be slightly shallower than the height of the root ball. Specifically, the hole depth should be 2 inches less than the root ball height. This ensures that when the tree settles, the critical root flare remains above grade.
- Base: Leave the bottom of the hole undisturbed. Do not loosen the soil at the base, as this can cause the heavy root ball to sink over time, burying the trunk.
Step 3: Transporting and Positioning the Tree
B&B trees are incredibly heavy; a tree with a 2.5-inch caliper trunk can easily weigh over 300 pounds. Never lift or carry the tree by its trunk, as this can snap the roots away from the soil ball, causing severe internal damage. Instead, roll the root ball onto a heavy-duty tarp and drag it to the planting site, or use a wheelbarrow. When lowering the tree into the hole, always lift by the root ball itself. Position the tree so that its best-facing side is oriented toward your primary viewing angle.
Step 4: Exposing the Root Flare and Removing Wrappings
This is the most vital step for long-term tree health. The root flare (the area where the trunk widens and transitions into the structural roots) must be visible at or slightly above the final soil grade. Often, B&B trees are dug too deeply in the nursery, burying the flare under inches of excess soil.
Use a hand trowel or soft brush to gently scrape away the top layer of soil from the root ball until you clearly see the root flare. If the flare is buried 3 inches deep, you must dig your planting hole 3 inches shallower to compensate.
Once positioned and leveled, you must remove the synthetic materials:
- Cut the twine: Snip all nylon or synthetic twine wrapped around the trunk and root ball. If left on, it will girdle and strangle the trunk as it grows.
- Remove the burlap: If the burlap is synthetic (it will melt if touched with a lighter), it must be completely removed. If it is natural, untreated jute burlap, you can leave the bottom intact, but pull it away from the top third of the root ball to allow water penetration.
- Cut the wire basket: Using bolt cutters, remove the top one-third to one-half of the wire basket. While some arborists debate leaving the bottom of the basket, removing the top rings prevents future girdling roots and allows for easier staking if necessary.
Step 5: Backfilling with Native Soil
Resist the urge to amend the backfill soil with heavy compost, peat moss, or potting mix. Amending the soil in the planting hole creates a "bathtub effect." Water will easily drain into the loose, amended soil but will pool there because the surrounding native soil is denser, leading to root rot. Instead, use the exact native soil you excavated from the hole to backfill around the root ball.
Shovel the soil in layers, tamping it down gently with your hands or the blunt end of the spade to remove large air pockets. As you backfill, periodically use your garden hose to soak the soil. This water-in method settles the soil naturally without compacting it too tightly, ensuring intimate contact between the roots and the earth.
Step 6: Mulching and Staking
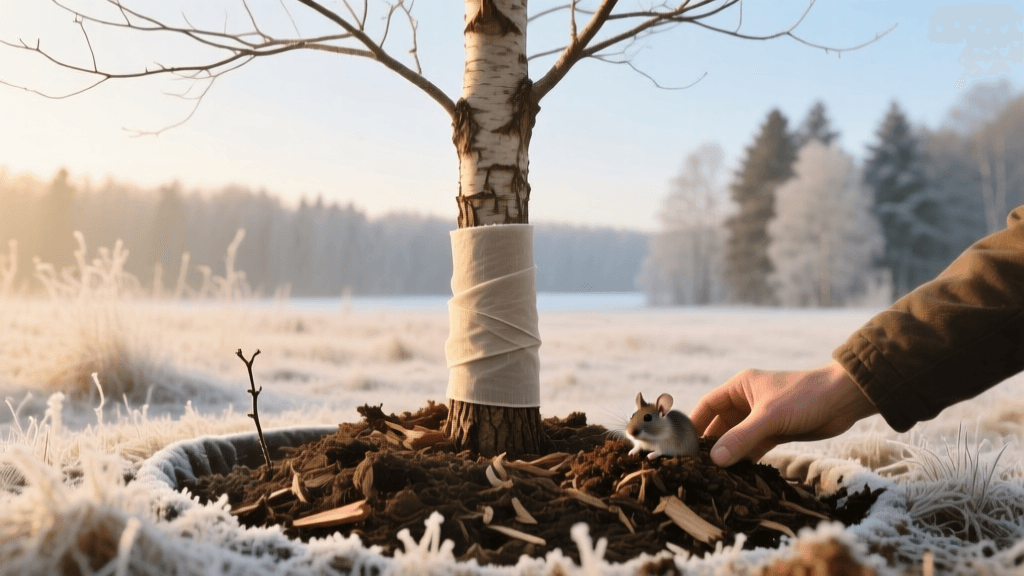
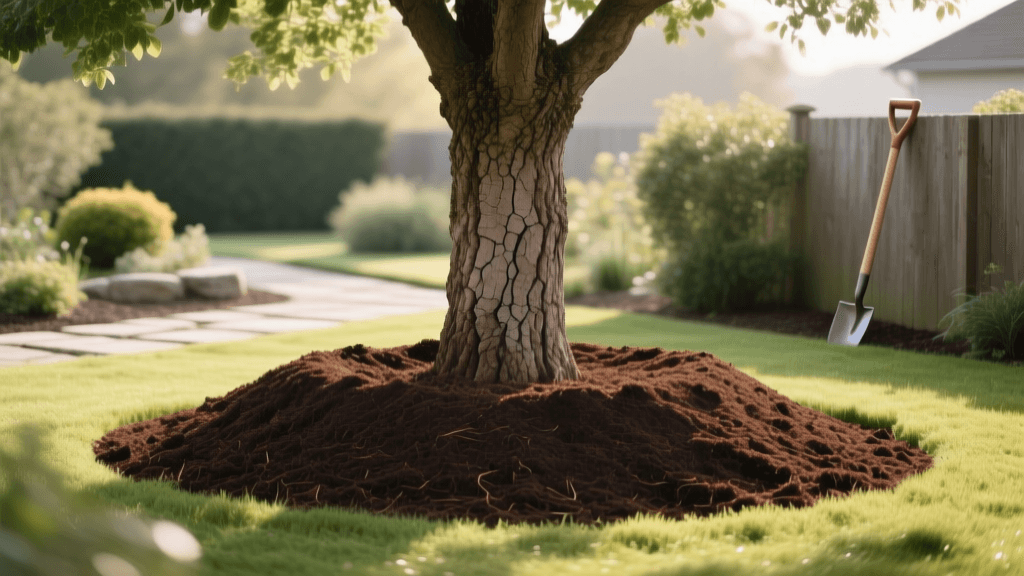
Proper mulching conserves moisture, regulates soil temperature, and suppresses weeds. Apply a 2 to 3-inch layer of organic hardwood mulch in a wide "donut" shape around the tree. The mulch ring should extend at least 3 feet from the trunk. Never pile mulch against the trunk (a practice known as "volcano mulching"), as this traps moisture against the bark, inviting fungal pathogens and rodent damage. Keep the mulch 2 inches away from the trunk base.
Staking is generally unnecessary for B&B trees because their heavy root balls anchor them well. However, if the site is exceptionally windy or the canopy is disproportionately large, use two flexible stakes driven outside the root ball. Attach the trunk with wide, soft canvas straps that allow for a slight amount of movement, which is essential for developing trunk taper and strength. Remove stakes after one year.
B&B Tree Sizing and Hole Dimensions Chart
Use the following reference chart to estimate the physical footprint and weight of your B&B tree based on nursery standards. This will help you plan for equipment needs and hole dimensions.
| Trunk Caliper | Root Ball Diameter | Hole Width (2.5x) | Hole Depth (Flare Exposed) | Estimated Weight |
|---|---|---|---|---|
| 1.5 - 2.0 inches | 18 inches | 45 inches | 15 inches | 150 - 200 lbs |
| 2.5 - 3.0 inches | 24 inches | 60 inches | 21 inches | 300 - 450 lbs |
| 3.5 - 4.0 inches | 32 inches | 80 inches | 28 inches | 700 - 900 lbs |
| 4.5 - 5.0 inches | 42 inches | 105 inches | 36 inches | 1,200 - 1,500 lbs |
Post-Planting Watering Schedule
Newly planted B&B trees require consistent, deep watering to establish their root systems. The root ball will dry out faster than the surrounding native soil during the first year. Follow this practical watering schedule:
- Weeks 1-2: Water daily. Apply 1.5 gallons of water per inch of trunk caliper.
- Weeks 3-12: Water every 2 to 3 days. Gradually increase the volume while decreasing the frequency to encourage deep root growth.
- Months 4-12: Water weekly with a deep soak. A slow trickle from a garden hose left at the base for 30-45 minutes is ideal.
- Dormant Season: Continue to water during dry winter spells when the ground is not frozen, especially for evergreens.
Expert Insights and Citations
Adhering to university-backed arboricultural standards is the best way to guarantee transplant success. Improper planting depth remains the primary culprit behind urban tree mortality.
"Planting trees too deeply is the most common and fatal mistake made by landscapers and homeowners. The root flare must be visible at the soil surface to prevent stem girdling roots and trunk rot. Furthermore, amending the backfill soil is discouraged, as roots will often circle within the amended zone rather than expanding into the native soil."
— Dr. Ed Gilman, Professor Emeritus, University of Florida IFAS Extension
By following these precise measurements, respecting the root flare, and utilizing native backfill, your B&B tree will bypass common transplant pitfalls. Patience and consistent aftercare during the first two growing seasons will reward you with a magnificent, structurally sound shade tree that enhances your property for generations.