Tree Care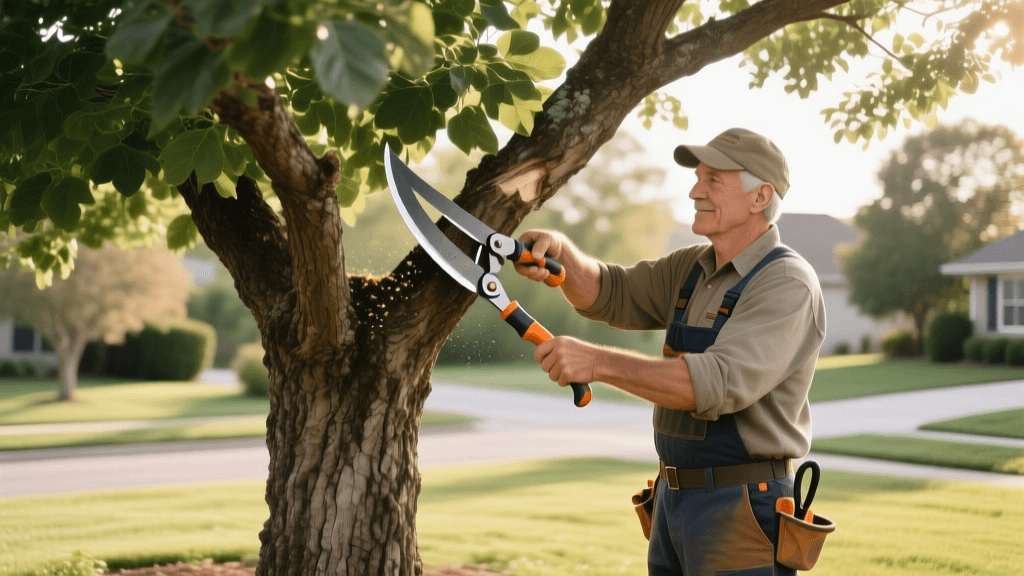
How to Prune Mature Shade Trees Using the Three-Cut Method
Pruning mature shade trees is one of the most impactful maintenance tasks you can perform on your landscape. A well-pruned oak, maple, or elm not only looks more aesthetically pleasing but also withstands severe weather, resists disease, and enjoys a significantly longer lifespan. However, when you are dealing with heavy, mature limbs that measure several inches in diameter, a single incorrect cut can cause catastrophic damage to the tree. The weight of a mature branch can easily strip the bark all the way down the trunk if it snaps before the cut is complete. This is where the three-cut method becomes an absolute necessity for any home gardener or landscaping professional.
The three-cut method, heavily endorsed by certified arborists worldwide, is a systematic approach to removing heavy branches without tearing the bark or damaging the vital trunk tissue. By breaking the pruning process into three distinct, manageable cuts, you relieve the branch's weight gradually, ensuring a clean, precise final cut that the tree can efficiently compartmentalize and heal. According to the International Society of Arboriculture (ISA), proper pruning techniques are essential for maintaining tree health and structural integrity, and the three-cut method is the gold standard for limbs larger than two inches in diameter.
Essential Tools for Pruning Mature Trees
Before you make a single cut, you must assemble the right equipment. Using dull or improper tools will crush the tree's vascular tissue, inviting pests and fungal pathogens. Here is a breakdown of the tools required for mature tree pruning, along with their specific use cases and estimated costs.
| Tool | Max Branch Diameter | Average Cost | Best Use Case |
|---|---|---|---|
| Bypass Hand Pruners | Up to 0.75 inches | $30 - $60 | Final cleanup, small twigs, and water sprouts. |
| Bypass Loppers | Up to 2.0 inches | $40 - $90 | Medium branches and relieving secondary weight. |
| Pruning Saw (Curved) | 2.0 to 6.0 inches | $25 - $75 | The primary tool for the three-cut method on mature limbs. |
| Pole Pruner / Pole Saw | Up to 4.0 inches | $60 - $150 | Reaching high canopy branches safely from the ground. |
| Chainsaw | Over 6.0 inches | $200+ | Massive limbs; requires professional experience and safety gear. |
Always sterilize your cutting tools between trees using a solution of 70% isopropyl alcohol or a 10% bleach solution. This prevents the transmission of devastating diseases like oak wilt or fire blight. The University of Florida IFAS Extension strongly recommends tool sanitation as a primary defense against the spread of vascular diseases during pruning operations.
Identifying Which Branches to Remove
Mature trees should not be pruned haphazardly. Every cut removes energy-producing foliage and creates a wound that the tree must spend energy to seal. Follow the 'Three Ds' rule to identify your primary targets:
- Dead: Branches that are completely devoid of leaves, brittle, and lack green tissue under the bark. These are prime entry points for wood-boring insects.
- Damaged: Limbs cracked by winter storms, lightning strikes, or improper previous pruning cuts.
- Diseased: Branches showing signs of cankers, fungal conks, or severe dieback.
Additionally, look for crossing branches that rub against one another, creating friction wounds, and water sprouts (vigorous, vertical shoots) that clutter the inner canopy and restrict airflow.
Understanding Tree Anatomy: The Branch Collar
To execute the three-cut method properly, you must understand the anatomy of a branch union. Where a branch meets the trunk, there are two critical features:
- The Branch Bark Ridge: The raised line of bark that forms in the angle where the branch meets the trunk.
- The Branch Collar: The swollen, trunk-like tissue that wraps around the base of the branch. This collar contains specialized cells that initiate the tree's natural defense mechanism, known as Compartmentalization of Decay in Trees (CODIT).
Your final cut must preserve the branch collar entirely. Cutting into the collar damages the trunk tissue, while leaving a long stub prevents the collar from growing over the wound, leaving a permanent entry point for decay.
Step-by-Step Guide to the Three-Cut Method
This method is designed for branches larger than two inches in diameter. Ensure you are wearing safety glasses, heavy-duty gloves, and a hard hat if working beneath a canopy.
Cut 1: The Undercut (The Notch)
Measure roughly 12 to 18 inches away from the trunk. Using your pruning saw, make a shallow cut on the underside of the branch. This cut should go about one-third of the way through the branch's diameter. The purpose of this undercut is to sever the bark and the outer vascular tissue. If the branch splits under its own weight later in the process, the tear will stop at this notch rather than stripping down the trunk.
Cut 2: The Relief Cut (The Weight Removal)
Move about two to three inches further out on the branch (away from the trunk) from your first undercut. Cut completely through the branch from the top down. Because the undercut is holding the bark in place, the heavy outer portion of the branch will fall cleanly to the ground without tearing. You have now relieved the weight of the branch, leaving only a manageable 12-to-18-inch stub attached to the tree.
Cut 3: The Final Collar Cut
Now that the heavy weight is gone, you can make the final, precise cut. Locate the branch collar and the branch bark ridge. Make a clean, smooth cut just outside the branch collar, angling slightly to match the angle of the collar. Do not cut flush with the trunk. A proper final cut will look like a slightly oval wound, not a perfect circle, because the collar is wider on the top and bottom than on the sides. The Arbor Day Foundation emphasizes that preserving this collar is the single most important factor in rapid wound closure and long-term tree health.
Post-Pruning Care and Wound Dressings
A common myth in lawn and garden care is the belief that pruning wounds must be painted or sealed with commercial wound dressings, tar, or pruning paint. Decades of arboricultural research have proven this practice to be harmful. Wound dressings trap moisture against the exposed wood, creating an ideal breeding ground for decay fungi and wood-rotting bacteria. Furthermore, these sealants inhibit the tree's natural CODIT response, preventing the formation of wound wood (callus tissue).
“Trees are highly capable of sealing their own wounds. Applying pruning paint or sealants does not prevent decay and can actually interfere with the tree's natural healing process. The best practice is to make a clean, precise cut and let nature take its course.” — International Society of Arboriculture (ISA)
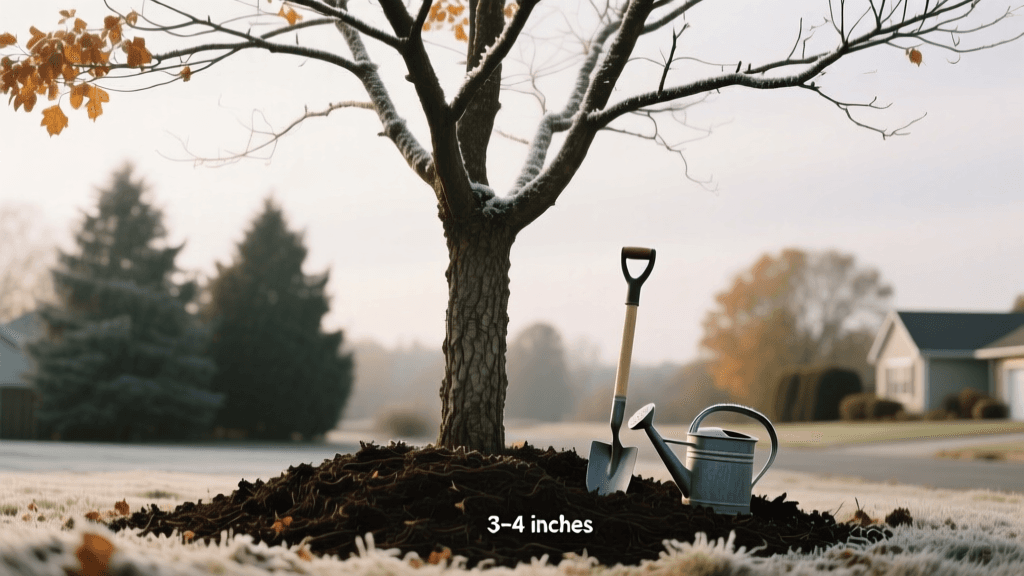
After pruning, your primary aftercare duties involve proper hydration and mulching. A mature tree that has just lost a significant portion of its canopy will experience a shift in its root-to-shoot ratio. Water the tree deeply, providing roughly 10 gallons of water per inch of trunk diameter at breast height (DBH). Apply a two-to-three-inch layer of organic wood chip mulch in a wide ring around the tree's drip line, ensuring the mulch does not touch the trunk (avoiding the dreaded 'mulch volcano').
When to Call a Certified Arborist
While the three-cut method is highly effective for accessible branches, safety must always be your top priority. If a branch is located near power lines, overhanging a roof, or requires you to climb a ladder with a chainsaw or hand saw, stop immediately. These scenarios require the expertise of an ISA Certified Arborist who possesses the rigging equipment, cranes, and specialized training necessary to dismantle hazardous limbs safely. Investing in professional tree care is always cheaper than repairing a crushed roof or paying for emergency room bills.
By mastering the three-cut method, you empower yourself to maintain the majestic shade trees on your property with confidence. Proper pruning ensures that your trees remain safe, structurally sound, and beautifully shaped for generations to come.