Tree Care
How to Prune Young Trees for Strong Branch Structure
Why Structural Pruning Matters for Young Trees
Planting a tree is only the first step in a decades-long relationship with your landscape. While many homeowners focus on watering and fertilizing, one of the most critical yet frequently overlooked practices is structural pruning. When left to their own devices in a nursery environment, trees often develop multiple competing leaders, weak branch attachments, and crowded canopies. If these issues are not corrected while the tree is young, they can lead to catastrophic limb failure, storm damage, and a significantly shortened lifespan.
According to the University of Florida IFAS Extension, a leading authority on urban forestry, structural pruning in the first 25 years of a tree's life is the single most effective practice to ensure long-term stability and health. By subordinating competing branches and establishing a dominant central leader, you guide the tree's architecture to withstand heavy winds, ice loads, and the natural stresses of maturity.
Essential Tools for Pruning Young Trees
Using the correct, sharply maintained tools is non-negotiable. Dull blades crush plant tissue rather than slicing it cleanly, which delays the tree's natural compartmentalization process and invites disease. Below is a breakdown of the essential tools you will need, along with specific recommendations and estimated costs.
| Tool Type | Max Branch Diameter | Recommended Model | Average Cost |
|---|---|---|---|
| Bypass Hand Pruners | Up to 3/4 inch | Felco F-2 Classic | $55 - $65 |
| Bypass Loppers | 3/4 to 1.5 inches | Corona Compound Action | $40 - $50 |
| Curved Pruning Saw | 1.5 to 4 inches | Silky Gomboy 240 | $45 - $60 |
| Safety Glasses & Gloves | N/A | Any ANSI-rated gear | $15 - $25 |
Sanitization Protocol: Before moving from one tree to the next, you must sanitize your tools to prevent the spread of pathogens like fire blight or oak wilt. Wipe the blades with a cloth soaked in 70% isopropyl alcohol or a 10% bleach solution. Allow the blades to dry completely before making the next cut to prevent chemical damage to the living cambium layer.
When to Prune: Timing is Everything
For most deciduous trees, the optimal time for structural pruning is during the late dormant season, typically late winter or very early spring before bud break. Pruning during dormancy offers several distinct advantages:
- Visibility: Without leaves obstructing your view, you can clearly see the branching architecture, making it easier to identify crossing limbs, weak crotches, and competing leaders.
- Disease Prevention: Many tree diseases and wood-boring insects are inactive during the winter. Fresh pruning cuts are less likely to attract pests or become infected by fungal spores.
- Vigor: Trees store energy in their roots during the winter. When spring arrives, the tree directs this stored energy into the remaining buds, resulting in a vigorous flush of growth that quickly seals over the pruning wounds.
Exception: Trees that bleed heavily sap, such as maples, birches, and walnuts, can be pruned in mid-summer after their leaves have fully matured to minimize sap loss, though the bleeding itself is primarily cosmetic and rarely harms the tree.
Understanding Tree Anatomy: The Branch Collar
Before making a single cut, you must understand the branch collar and the branch bark ridge. The branch collar is the swollen area at the base of a branch where it connects to the trunk or a larger parent branch. It contains specialized chemicals that trigger the tree's Compartmentalization of Decay in Trees (CODIT) system. The branch bark ridge is the dark, rough line of bark that forms in the crotch between the branch and the trunk.
Your final cut must be made just outside the branch collar, without damaging the bark ridge. Cutting flush with the trunk removes the collar and creates a massive wound that the tree cannot effectively seal, leading to internal rot. Leaving a stub prevents the collar from growing over the wound, leaving an open gateway for decay organisms.
Step-by-Step Guide to Structural Pruning
Follow this systematic approach to evaluate and prune your young tree. Limit your pruning to removing no more than 15% to 20% of the live canopy in a single season to avoid stressing the tree.
Step 1: Identify and Protect the Central Leader
Locate the central leader, which is the main, upward-growing stem that will form the primary trunk of the tree. Choose the straightest, most vigorous stem that aligns with the center of the root system. This leader will remain untouched and protected throughout the pruning process.
Step 2: Remove the Three D's
Before addressing structural issues, remove any wood that is Dead, Damaged, or Diseased. Cut these branches back to healthy tissue or the branch collar. Next, remove any suckers growing from the root flare or water sprouts shooting straight up from the main branches, as these sap energy and clutter the canopy.
Step 3: Subordinate Competing Leaders
If your tree has multiple stems competing with the central leader, you must subordinate them. Do not remove them entirely, as the foliage is needed for photosynthesis and trunk taper. Instead, reduce the length of the competing leaders by one-third to one-half, making the cut just above a lateral branch that is less than half the diameter of the stem being cut. This suppresses their upward growth and forces the tree to prioritize the chosen central leader.
Step 4: Space the Scaffold Branches
Scaffold branches are the permanent lateral limbs that will form the mature canopy. On a young tree, select scaffolds that are well-spaced both vertically and radially.
- Vertical Spacing: Ensure there is at least 12 to 18 inches of vertical space between major scaffold branches along the trunk.
- Radial Spacing: Branches should not grow directly on top of one another. Look down at the tree from above; the branches should radiate outward like the spokes of a wheel.
- Attachment Angle: Favor branches with wide, U-shaped attachment angles (ideally between 45 and 90 degrees). Remove or subordinate branches with narrow, V-shaped crotches, as these often contain included bark, which creates a structurally weak union prone to splitting.
The 3-Cut Method for Larger Limbs
When removing a lateral branch that is larger than 1.5 inches in diameter, the weight of the falling limb can strip the bark down the trunk, causing severe, long-lasting damage. Always use the 3-cut method to prevent this:
- The Undercut: Make a shallow cut on the underside of the branch, about 6 to 12 inches away from the trunk. Cut about one-third of the way through the wood.
- The Relief Cut: Move two inches further out on the branch and cut completely through it from the top down. The branch will snap off cleanly at the relief cut, removing the weight without tearing the bark.
- The Final Collar Cut: Now that the heavy wood is gone, make the final, precise cut just outside the branch collar to allow for proper wound sealing.
Common Mistakes to Avoid
Even with the best intentions, improper techniques can ruin a tree's structure. Avoid these common pitfalls:
- Flush Cutting: Cutting flush with the trunk removes the branch collar and exposes the tree to heartwood decay.
- Lion-Tailing: Stripping all the inner foliage and small branches from a limb, leaving only a tuft of leaves at the very end. This shifts the weight to the tips of the branches, increasing the risk of sunburn on the exposed bark and mechanical failure during high winds.
- Topping: Indiscriminately cutting off the tops of branches to reduce height. This destroys the tree's apical dominance, triggers a panic response resulting in weakly attached epicormic shoots, and drastically reduces the tree's photosynthetic capacity.
Post-Pruning Care and Maintenance
Once the structural pruning is complete, your tree needs proper aftercare to recover and seal the wounds. Do not apply pruning paint or wound sealants; research has conclusively shown that these products trap moisture and accelerate decay rather than preventing it.
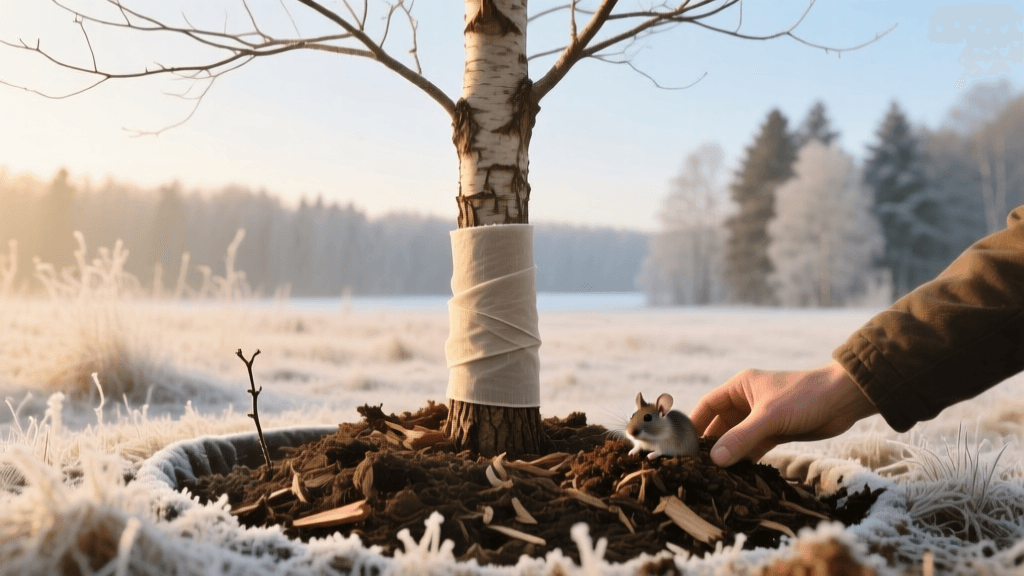
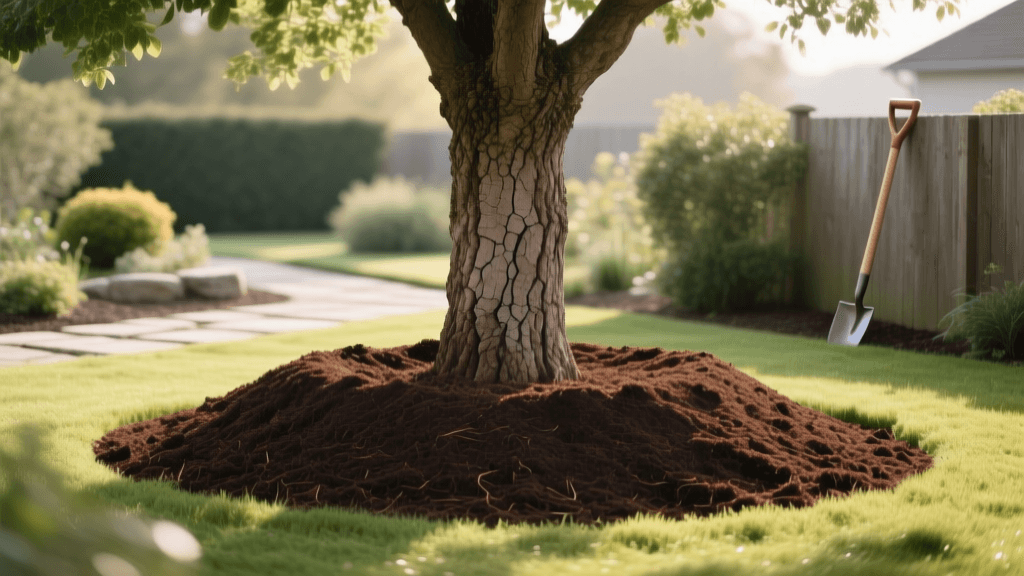
Instead, focus on the root zone. Apply a 2 to 4-inch layer of organic wood chip mulch in a wide ring around the tree, extending out to the drip line if possible. Keep the mulch at least 3 inches away from the trunk flare to prevent 'volcano mulching,' which causes stem girdling roots and bark rot. Finally, ensure the tree receives deep, infrequent watering. A general rule of thumb is to provide 10 gallons of water per inch of trunk diameter every week during the growing season, adjusting for natural rainfall.
By dedicating a few hours each winter to structural pruning during the tree's formative years, you will cultivate a resilient, safe, and beautifully structured shade tree that will enhance your landscape for generations to come.