
Landscaping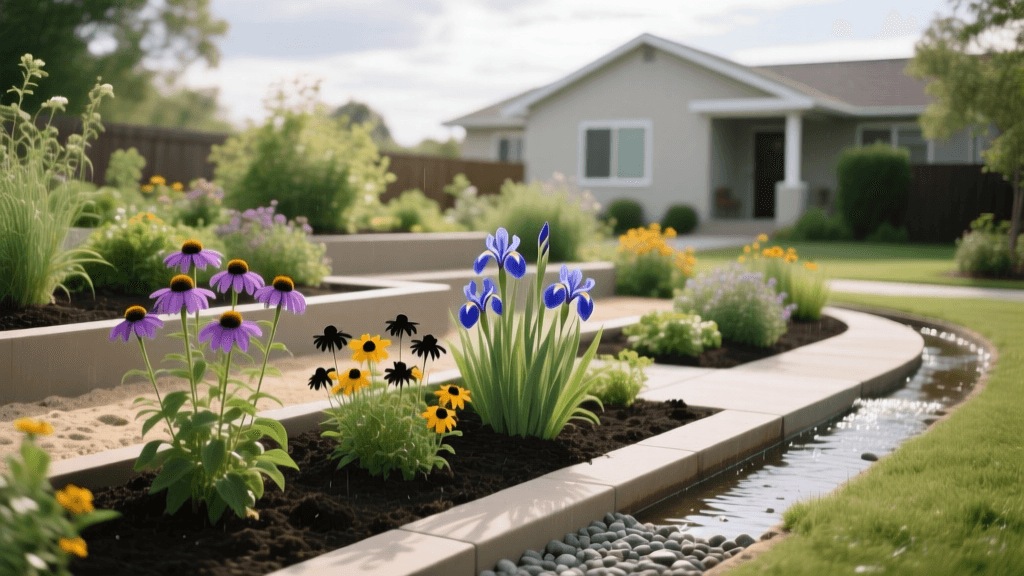
Designing a Rain Garden: Planning, Plants, and Costs
Transforming Yard Drainage with Rain Garden Design
Water pooling in your yard after a heavy storm is more than just a nuisance; it can compromise your home's foundation, drown your turfgrass, and create breeding grounds for mosquitoes. For homeowners seeking an elegant, eco-friendly solution to landscape drainage, designing a rain garden is the ultimate intersection of form and function. A rain garden is a shallow, vegetated depression designed to capture, filter, and slowly absorb stormwater runoff from impervious surfaces like roofs, driveways, and patios. Unlike a traditional French drain that simply moves water away, a rain garden treats the water, removing pollutants while adding stunning curb appeal to your property. In this comprehensive planning guide, we will walk you through the exact measurements, soil engineering, plant selection, and costs required to build a thriving rain garden.
Step 1: Site Selection and the Percolation Test
The success of your rain garden hinges entirely on proper placement. You must locate the garden in a naturally low-lying area of your yard where water already tends to collect, or where you can easily direct runoff via a shallow swale or corrugated downspout extender. However, safety and structural integrity dictate strict boundaries. The United States Environmental Protection Agency (EPA) strongly recommends keeping rain gardens at least 10 feet away from your home’s foundation to prevent basement flooding and structural settling. Additionally, avoid placing them directly over septic drain fields or under the heavy canopy of large, water-loving trees like weeping willows, as the excavation will damage root systems and the shade will limit plant choices.
How to Perform a Percolation Test
Before you grab a shovel, you must determine your soil's infiltration rate through a simple percolation test. Dig a hole 12 inches deep and 6 inches wide in your proposed location. Fill it completely with water and let it drain overnight to saturate the surrounding soil. The next day, fill it again and measure the water level. If the water drops at least one inch per hour, your native soil has adequate drainage. If the water sits stagnant for hours, you have heavy clay soil. In clay-heavy yards, you will need to excavate deeper and incorporate a gravel underdrain connected to a daylighted pop-up emitter to prevent the garden from becoming a permanent bog.
Step 2: Engineering the Bioretention Soil Mix
Native soil is rarely ideal for a rain garden. Even if you have decent drainage, you need a specialized bioretention soil mix that balances rapid water infiltration with nutrient retention. According to the Rutgers Cooperative Extension, a highly effective, industry-standard bioretention mix consists of 50 to 60 percent coarse builder’s sand, 20 to 30 percent topsoil, and 20 to 30 percent organic compost. When ordering topsoil, ensure it is screened and free of heavy clay clumps. The compost should be fully decomposed leaf litter or mushroom compost, avoiding high-nitrogen manure blends that can cause excessive, floppy vegetative growth and leach nutrients into the groundwater.
This specific ratio prevents the soil from compacting over time, ensures water percolates within 24 to 48 hours (crucial for drowning mosquito larvae), and provides a nutrient-rich environment for deep-rooted native plants. Excavate your designated area to a depth of 12 to 18 inches, removing the native clay, and backfill with your engineered mix, mounding the edges to create a 3-inch high berm to hold water.
Step 3: Plant Selection Across Three Hydrologic Zones
The true magic of a rain garden lies in its plant palette. To ensure survival and minimize maintenance, you must select native perennials, grasses, and shrubs adapted to your specific hardiness zone. A well-designed rain garden is divided into three distinct hydrologic zones, each requiring plants with different moisture tolerances. The center of the garden (Zone 1) experiences the deepest, longest-lasting pooling. The slopes (Zone 2) experience fluctuating moisture levels, while the upper edges and berms (Zone 3) remain relatively dry and rely mostly on natural rainfall. Below is a structured planting guide for a temperate climate rain garden.
| Hydrologic Zone | Moisture Level | Recommended Native Plants | Mature Height |
|---|---|---|---|
| Zone 1 (Center) | Saturated / Standing Water | Swamp Milkweed, Blue Flag Iris, Cardinal Flower | 2 to 4 feet |
| Zone 2 (Slopes) | Alternately Wet and Dry | New England Aster, Switchgrass, Joe-Pye Weed | 3 to 6 feet |
| Zone 3 (Edges) | Dry / Standard Rainfall | Black-eyed Susan, Little Bluestem, Purple Coneflower | 1.5 to 3 feet |
Step 4: Mulching, Edging, and Long-Term Maintenance
Once planted, applying the correct mulch is critical to the garden's hydraulic function and weed suppression. Avoid standard pine bark nuggets or lightweight cedar shavings, as these will float away during the first heavy storm, potentially clogging your overflow drain. Instead, use double-shredded hardwood mulch or aged wood chips. Apply a uniform layer 2 to 3 inches thick. The interlocking nature of shredded hardwood keeps the mulch anchored in place during high-flow water events.
During the first two growing seasons, your primary maintenance tasks will be aggressive weeding and supplemental watering during dry spells exceeding 14 days. Furthermore, inspect the garden after major downpours to ensure the berm is intact and sediment from the roof gutters isn't burying the crown of your Zone 1 plants. If sediment buildup occurs, gently rake it away to maintain the soil's permeability. Once the deep taproots of native prairie plants establish themselves, your rain garden will become largely self-sustaining, requiring only an annual cutback of dead foliage in early spring.
Cost Breakdown: DIY vs. Professional Installation
Budgeting for a rain garden depends heavily on whether you choose to tackle the excavation yourself or hire a licensed landscaping contractor. The primary cost drivers are the volume of soil to be removed, the delivery of the engineered bioretention mix, and the maturity of the nursery plants you select. Below is an estimated cost comparison for a standard 100-square-foot residential rain garden.
| Project Component | DIY Estimate | Professional Estimate |
|---|---|---|
| Excavation & Haul-away | $0 (Sweat Equity) | $500 - $1,200 |
| Bioretention Soil Mix | $150 - $300 | $400 - $800 |
| Native Plants (Plugs & 1-Gal) | $200 - $450 | $600 - $1,500 |
| Hardwood Mulch & Edging | $50 - $100 | $150 - $300 |
| Total Estimated Cost | $400 - $850 | $1,650 - $3,800 |
Conclusion
Planning and designing a rain garden is a highly rewarding landscaping project that pays dividends for both your property and the local ecosystem. By carefully selecting your site, engineering the correct soil profile, and utilizing deep-rooted native plants across three hydrologic zones, you can permanently eliminate soggy yard patches. Not only will you reduce the burden on municipal stormwater systems and filter out lawn fertilizer runoff, but you will also create a vibrant, ever-changing habitat that attracts pollinators and elevates your outdoor living space. Furthermore, many local municipalities and watershed authorities offer financial rebates or grant programs for homeowners who install verified stormwater management features, which can significantly offset your initial material costs. With proper upfront planning, your rain garden will transition from a functional drainage solution to the crown jewel of your landscape design.

