Lawn Care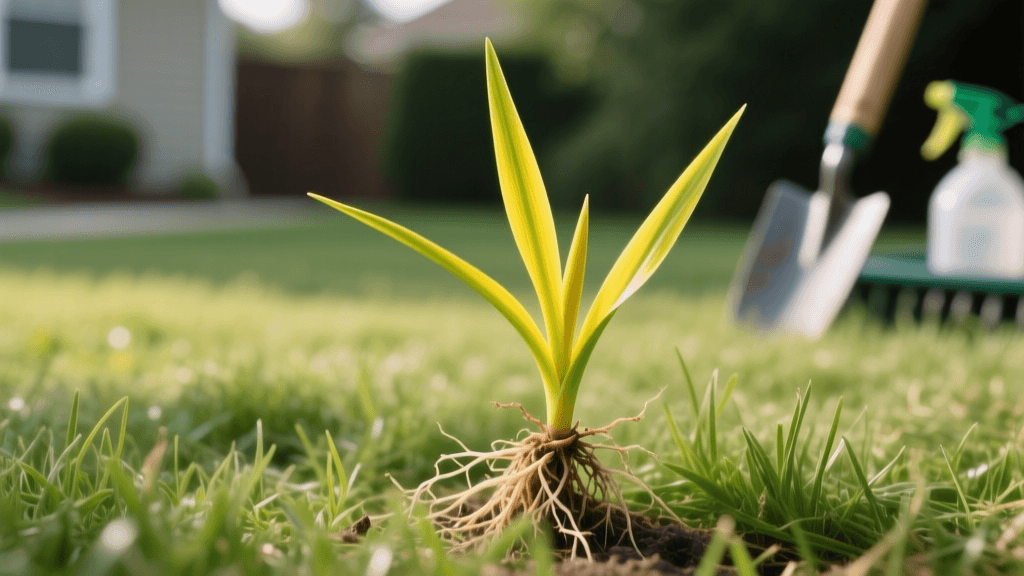
How to Identify and Eliminate Yellow Nutsedge in Your Lawn
Introduction: The "Weed from Hell"
If you have ever battled a weed that seems to multiply overnight, survive droughts, and laugh at your standard weed killers, you have likely encountered yellow nutsedge. Often mistakenly referred to as "nutgrass," yellow nutsedge (Cyperus esculentus) is not a grass at all, nor is it a broadleaf weed. It is a sedge, a completely different botanical category that requires a highly specialized approach to eradicate.
Homeowners and lawn care professionals alike often dub yellow nutsedge the "weed from hell" due to its aggressive growth habit and incredible resilience. During the heat of summer, it can outgrow your turfgrass by several inches in a matter of days, creating unsightly, light-green patches that ruin the uniform appearance of a manicured lawn. Standard broadleaf herbicides containing 2,4-D or dicamba will have absolutely zero effect on this weed, leaving many gardeners frustrated and ready to give up.
However, with proper identification, an understanding of its unique reproductive biology, and the right chemical and cultural strategies, you can successfully reclaim your turf. This comprehensive guide will walk you through everything you need to know about identifying, treating, and preventing yellow nutsedge in your lawn.
How to Identify Yellow Nutsedge
Before you can treat nutsedge, you must confirm its presence. Because it resembles grass when young, many homeowners misidentify it until it is fully mature. There is an old adage among turfgrass managers: "Sedges have edges." This is the easiest way to distinguish nutsedge from your actual lawn grass.
- Stem Shape: If you roll the stem of the weed between your thumb and index finger, you will feel a distinct triangular shape. True grasses have round or flattened stems.
- Color and Texture: Yellow nutsedge is typically a lighter, almost yellowish-green color compared to the surrounding turf. The leaves are thicker, stiffer, and have a prominent, glossy midrib.
- Growth Rate: Nutsedge grows significantly faster than most cool-season and warm-season turfgrasses. If you mow your lawn and notice light-green spikes poking up above the canopy just two or three days later, nutsedge is likely the culprit.
- Seedheads: If left unmowed, it will produce a distinctive, umbrella-like seedhead (an inflorescence) composed of multiple spikelets that turn golden-brown as they mature.
Comparison Chart: Turfgrass vs. Yellow Nutsedge
| Feature | Standard Turfgrass | Yellow Nutsedge |
|---|---|---|
| Stem Shape | Round or flat | Triangular (3-sided) |
| Leaf Color | Medium to dark green | Light, yellowish-green |
| Growth Habit | Bunching or stoloniferous | Upright, rapid vertical growth |
| Root System | Fibrous roots | Rhizomes with tubers (nutlets) |
Why is Nutsedge So Hard to Kill?
The secret to yellow nutsedge's legendary stubbornness lies beneath the soil. Nutsedge reproduces primarily through small, underground tubers known as "nutlets," as well as through rhizomes and seeds. A single mature nutsedge plant can produce hundreds of these tubers in a single growing season. According to research from NC State Extension, these tubers can remain dormant in the soil for up to three years, waiting for the right conditions to sprout.
When you attempt to pull yellow nutsedge by hand, the brittle rhizome usually snaps off just below the soil surface. While you may remove the visible leaves and the primary basal bulb, the chain of dormant tubers remains safely underground. Worse yet, the physical trauma of pulling the plant breaks the apical dominance of the tuber chain, signaling multiple dormant tubers to sprout simultaneously. This means that pulling one nutsedge plant often results in three or four new plants emerging in its place a few weeks later.
Pro Tip: Never hand-pull yellow nutsedge unless the infestation is incredibly small and the soil is heavily saturated, allowing you to dig deep enough to extract the entire tuber chain. Otherwise, you are actively making the problem worse by stimulating dormant nutlets.
Best Herbicides for Yellow Nutsedge Removal
Because nutsedge is a sedge, you must use herbicides specifically formulated to target this plant family. The two most effective active ingredients for post-emergent nutsedge control are Halosulfuron-methyl and Sulfentrazone. For more detailed information on herbicide modes of action, the Texas A&M AgriLife Extension provides excellent resources on turfgrass weed management.
1. Halosulfuron-methyl (Systemic Control)
Halosulfuron-methyl is widely considered the gold standard for nutsedge control. It is a systemic herbicide, meaning it is absorbed through the leaves and translocated down into the root system and tubers. It works by inhibiting the ALS enzyme, effectively starving the weed of essential amino acids.
- Popular Product: SedgeHammer (available in consumer-friendly 13.5-gram packets).
- Cost: Approximately $15 to $20 per packet, which treats up to 1,000 square feet.
- Pros: Excellent at killing the entire plant, including the tubers, reducing future flare-ups.
- Cons: Slow-acting. It can take 2 to 3 weeks to see significant yellowing and necrosis of the weed.
2. Sulfentrazone (Contact/Systemic Control)
Sulfentrazone offers a faster burn-down effect. It acts primarily as a contact herbicide but has some systemic soil activity, disrupting cell membranes and causing rapid tissue desiccation.
- Popular Product: Dismiss Turf Herbicide.
- Cost: Approximately $70 to $90 for a 12 oz bottle, but it is highly concentrated and can treat multiple acres.
- Pros: Very fast results; nutsedge often shows browning within 24 to 48 hours.
- Cons: Because the top growth dies so quickly, the herbicide may not fully translocate to the deepest tubers, sometimes requiring a follow-up application.
Step-by-Step Nutsedge Treatment Plan
To achieve maximum control, follow this precise application protocol using a halosulfuron-methyl product like SedgeHammer.
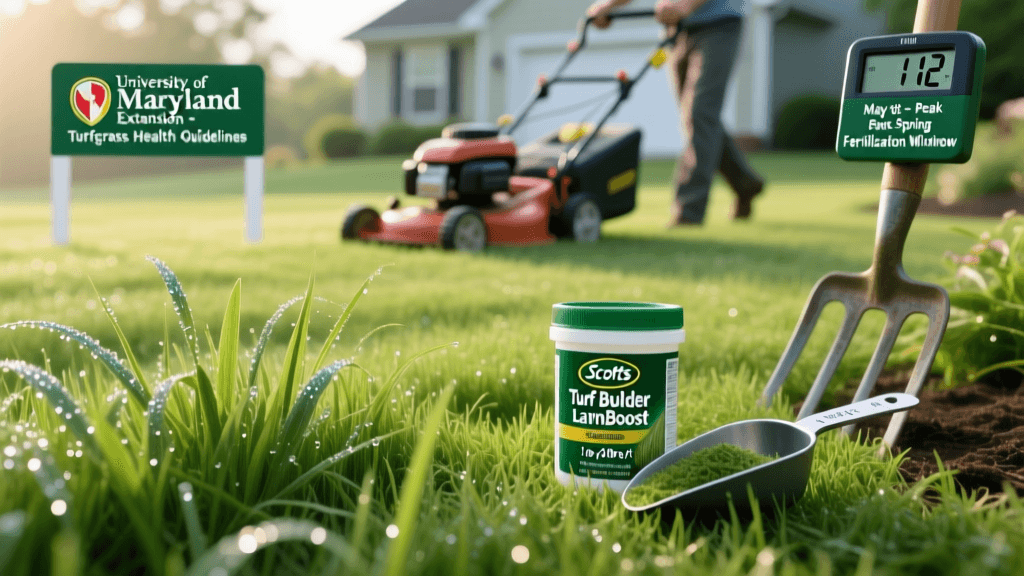
Step 1: Timing is Everything
The best time to treat yellow nutsedge is in late spring or early summer (typically May or June, depending on your climate). You want to target the weed when it is young, actively growing, and in the 3-to-8 leaf stage. More importantly, treating early prevents the plant from forming its underground tubers, which usually begin to develop in mid-to-late summer when day lengths start to shorten.
Step 2: Add a Non-Ionic Surfactant (NIS)
Nutsedge leaves are thick, waxy, and highly water-repellent. If you spray herbicide without a surfactant, the droplets will simply bead up and roll off onto the soil. You must add a Non-Ionic Surfactant (NIS) to your tank mix. If you are using SedgeHammer packets, the manufacturer often includes a small packet of surfactant. If not, add 1/4 teaspoon of a high-quality NIS per gallon of water.
Step 3: Mixing and Application
- Fill your pump sprayer halfway with clean water.
- Add the halosulfuron-methyl product (e.g., one 13.5g packet per 1 to 2 gallons of water for spot treatment).
- Add the Non-Ionic Surfactant.
- Fill the rest of the sprayer with water and agitate gently to mix.
- Spray the nutsedge foliage thoroughly until the leaves are wet, but avoid spraying to the point of runoff. Do not spray the soil directly; the herbicide needs to be absorbed through the leaf tissue.
Step 4: Post-Application Rules
Do not mow your lawn for at least 48 hours before and 48 hours after application. This ensures maximum leaf surface area is available to absorb the chemical. Additionally, avoid watering or irrigating the lawn for at least 24 hours after spraying to prevent washing the herbicide off the leaves. Expect the nutsedge to stop growing immediately, though visible yellowing may take up to 14 days.
Step 5: The Inevitable Follow-Up
Because of the dormant tuber bank in your soil, a single application is rarely enough to achieve 100% eradication. Plan to inspect your lawn 4 to 6 weeks after your initial treatment. You will likely see a second, smaller flush of nutsedge emerge. Apply a second treatment using the same protocol to catch these late sprouts before they can establish new tubers.
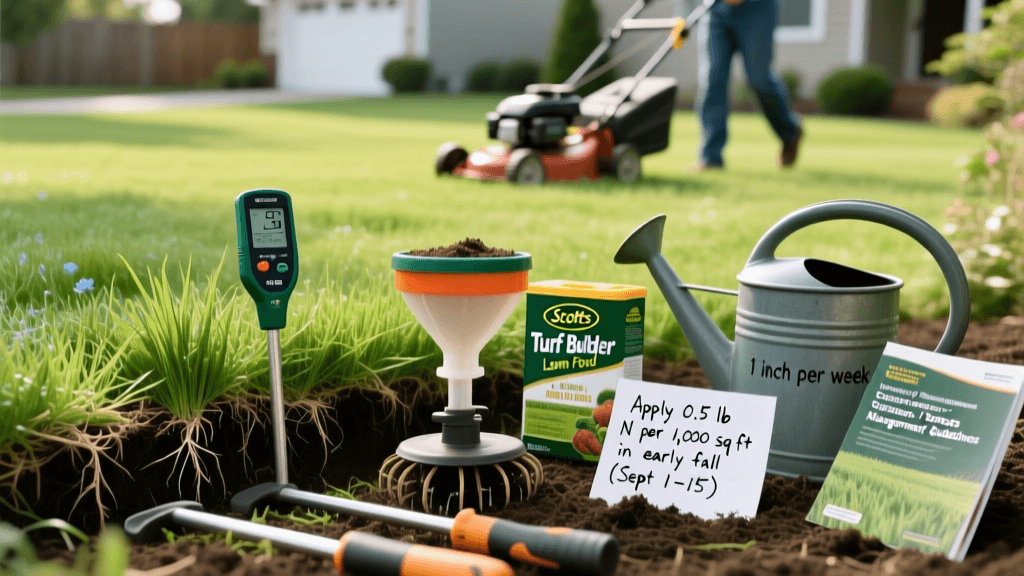
Cultural Practices to Prevent Nutsedge
Chemical control is only half the battle. Yellow nutsedge thrives in specific environmental conditions, particularly areas with excessive soil moisture, poor drainage, and compacted soil. By altering the environment, you can make your lawn inhospitable to nutsedge.
Manage Soil Moisture and Drainage
Nutsedge is an indicator weed for overwatering or poor drainage. If you have low-lying areas where water pools after a rainstorm, or if your irrigation system is running too frequently, you are inviting nutsedge to take over. Adjust your sprinkler heads to avoid overwatering specific zones, and consider installing a French drain or regrading areas that suffer from chronic standing water.
Core Aeration
Compacted soil prevents water from penetrating deeply, leading to shallow, soggy topsoil conditions that nutsedge loves. Core aeration, performed in the fall for cool-season grasses or late spring for warm-season grasses, pulls plugs of soil from the ground, relieving compaction and improving subsurface drainage. This promotes deep, healthy turfgrass roots that can outcompete weeds.
Optimize Mowing Height
Scalping your lawn or mowing too short stresses your turfgrass and allows sunlight to reach the soil surface, triggering the germination of nutsedge seeds and tubers. Raise your mower deck to the highest recommended setting for your specific grass type (usually between 3 and 4 inches for cool-season fescues and bluegrasses). A taller, denser turf canopy will shade the soil, significantly inhibiting nutsedge emergence.
Conclusion
Yellow nutsedge is undeniably one of the most frustrating weeds a homeowner can face, but it is not invincible. By correctly identifying the triangular stems, resisting the urge to hand-pull, and utilizing systemic herbicides like halosulfuron-methyl paired with a non-ionic surfactant, you can break the reproductive cycle of the tubers. Combine these chemical treatments with improved drainage and proper mowing heights, and you will eventually starve out the tuber bank, restoring your lawn to a pristine, uniform carpet of healthy turfgrass.