Landscaping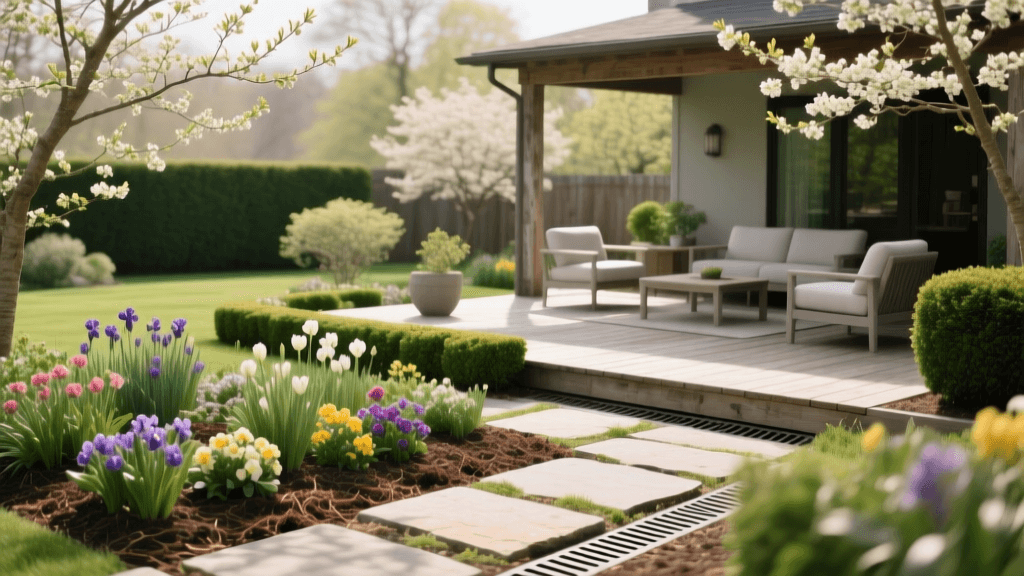
Spring Landscape Bed And Hardscape Maintenance Checklist
The Importance of a Structured Spring Landscape Schedule
As the frost thaws and soil temperatures begin to rise, homeowners often rush to focus exclusively on lawn fertilization and mowing. However, a truly stunning property requires a comprehensive approach that extends far beyond the turf. Your landscape beds, hardscaping elements, and drainage systems have endured months of freezing temperatures, snow loads, and winter debris. Without a structured spring landscape maintenance schedule, minor winter damage can quickly escalate into costly structural failures or widespread plant diseases.
This comprehensive checklist and scheduling guide is designed to help you systematically restore your outdoor living spaces, garden beds, and hardscapes. By breaking down the work into manageable phases from early March through late May, you can ensure your landscape is structurally sound, properly drained, and biologically primed for the growing season.
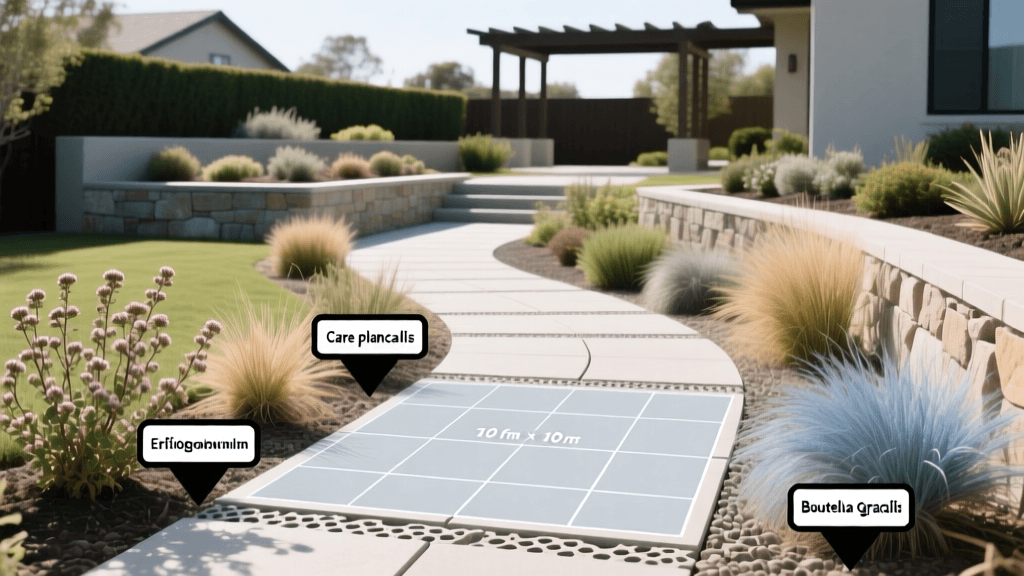
Phase 1: Hardscape and Structural Inspection (Early Spring)
Before you begin planting or mulching, you must address the bones of your landscape. Hardscapes such as patios, walkways, and segmental retaining walls are highly susceptible to frost heave and the expansion of trapped moisture.
Inspecting Pavers and Walkways
Walk all paved surfaces and look for uneven joints or shifted pavers. Freeze-thaw cycles often push pavers upward, creating tripping hazards and pooling water. If you find shifted pavers, carefully lift them, re-level the crushed stone base, and sweep in fresh polymeric sand. Polymeric sand typically costs between $25 and $40 per 50-pound bag and is essential for locking joints together and preventing weed germination.
Checking Retaining Walls
Segmental retaining walls rely on proper drainage to prevent hydrostatic pressure buildup. Inspect the base of your walls for bulging or leaning. Ensure that all weep holes and toe drains are completely clear of soil, mulch, and winter debris. If water cannot escape from behind the wall, the structural integrity will fail, leading to repairs that can cost upwards of $50 to $100 per square foot.
Phase 2: Drainage and Grading Assessment (Mid-Spring)
Spring rains will quickly expose any flaws in your landscape drainage. Addressing these issues early prevents soil erosion and protects your home's foundation.
- Clean Catch Basins and French Drains: Remove all grates and clear out accumulated leaves, silt, and winter grit. Flush the corrugated pipes with a garden hose to ensure water flows freely to the discharge point.
- Evaluate Swales and Grading: Ensure that the soil grading around your home slopes away from the foundation at a minimum 5% grade (a 6-inch drop over the first 10 feet). Fill in any low spots in your landscape beds that have settled over the winter using a well-draining topsoil blend.
- Inspect Dry Creek Beds: If you utilize decorative dry creek beds for surface drainage, reposition any displaced river rocks and remove organic debris that could dam the water flow during heavy spring storms.
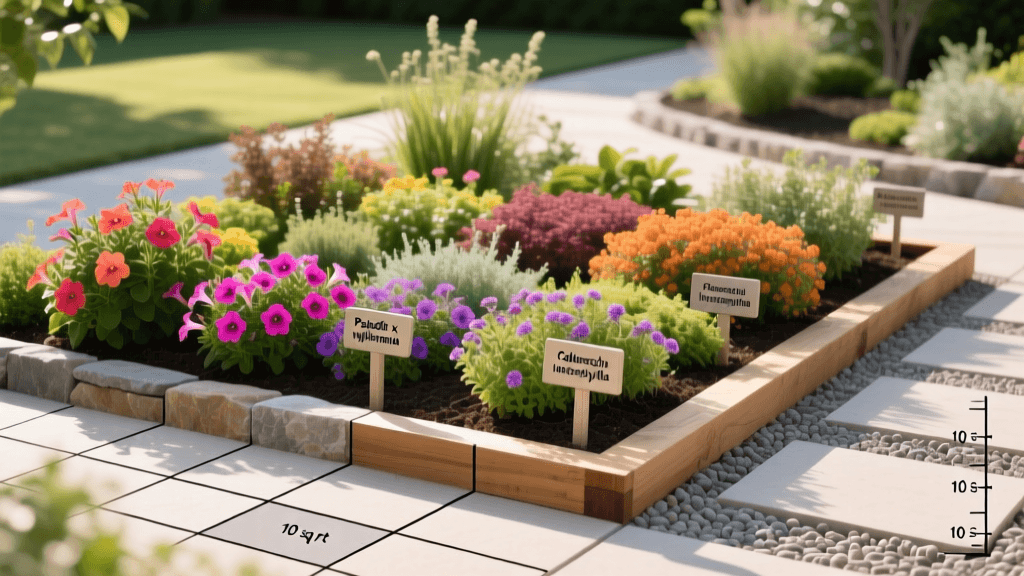
Phase 3: Garden Bed Preparation and Soil Health (Mid to Late Spring)
Healthy landscape beds start from the ground up. Before adding new plants or mulch, you must prepare the soil ecosystem.
Cleanup and Pruning
Cut back ornamental grasses to about 4 to 6 inches above the ground before new green shoots emerge. Remove winter-damaged branches from shrubs using clean, sharp bypass pruners. For mature shade trees, proper pruning is vital to allow light to reach the understory plants. According to the International Society of Arboriculture's tree owner guidelines, pruning should focus on removing dead, diseased, or crossing branches to improve air circulation and structural safety.
Soil Testing and Amending
Do not blindly apply fertilizers to your landscape beds. Conduct a soil test to determine the pH and nutrient profile. Most ornamental plants thrive in a slightly acidic pH of 6.0 to 6.5. If your soil is compacted or lacking organic matter, apply a 1/4-inch layer of screened compost as a top-dressing over the beds. This improves the Cation Exchange Capacity (CEC) of the soil, allowing it to hold onto vital nutrients longer.
Phase 4: Sustainable Mulching and Planting (Late Spring)
Mulch is the unsung hero of the landscape bed, regulating soil temperature, retaining moisture, and suppressing weeds. However, improper application can harm your plants.
The Right Way to Mulch
Apply a fresh layer of natural hardwood or pine bark mulch, aiming for a depth of 2 to 3 inches. Never pile mulch against the trunks of trees or the stems of shrubs—a practice known as 'volcano mulching'—as this traps moisture and invites rot and rodent damage. Instead, leave a 2-inch mulch-free buffer around the base of all woody plants. For sustainable landscaping, consider integrating native plants that support local ecosystems. The National Wildlife Federation's Garden for Wildlife program highly recommends selecting region-specific native perennials, which require less water and provide essential habitats for native pollinators.
Phase 5: Irrigation System Reactivation (Early May)
Once the threat of hard freezes has passed, it is time to wake up your irrigation system. Landscape beds typically require different watering strategies than turfgrass.
- Flush Drip Lines: Open the end caps of your drip irrigation zones and let the water run for a minute to flush out any debris or mineral buildup.
- Check Emitters: Inspect individual emitters to ensure they are delivering water at the correct rate. Standard shrub emitters usually deliver 1 to 2 Gallons Per Hour (GPH). Replace any clogged drippers.
- Upgrade to Smart Controllers: To maximize efficiency, consider upgrading to a Weather-Based Irrigation Controller (WBIC). The EPA WaterSense program notes that smart irrigation controllers can save the average home nearly 7,600 gallons of water annually by adjusting watering schedules based on real-time local weather data.
The Ultimate Spring Landscaping Schedule & Checklist
Use the table below to track your progress, gather the right tools, and budget for your spring landscape restoration.
| Maintenance Task | Target Timing | Tools Required | Estimated Cost |
|---|---|---|---|
| Inspect & Level Hardscape Pavers | Early March | Pry bar, level, polymeric sand | $30 - $50 |
| Clear Retaining Wall Weep Holes | Early March | Wire brush, shop vac, gloves | $0 |
| Flush Catch Basins & French Drains | Mid-March | Garden hose, shovel | $0 |
| Prune Trees & Summer Shrubs | Mid-March | Bypass pruners, loppers, saw | $25 - $60 |
| Conduct Soil Testing in Beds | Late March | Soil probe, testing kit | $15 - $30 |
| Apply Compost Top-Dressing | Early April | Wheelbarrow, landscaping rake | $50 - $100 |
| Apply Pre-Emergent Weed Control | Mid-April | Backpack sprayer, granular spreader | $40 - $80 |
| Refresh Garden Bed Mulch (2-3 in.) | Late April | Mulch fork, tarp, wheelbarrow | $150 - $300 |
| Plant Native Perennials & Annuals | Early May | Trowel, soil knife, compost | $100+ |
| Activate & Audit Drip Irrigation | Early May | Valve key, emitter cleaning tool | $20 - $40 |
Conclusion
A beautiful landscape is the result of intentional, scheduled maintenance rather than reactive fixes. By following this spring hardscape and garden bed checklist, you protect your structural investments, optimize your soil health, and create a vibrant, sustainable outdoor environment. Stick to the schedule, address drainage issues early, and your landscape will thrive beautifully from spring through the late fall.