Landscaping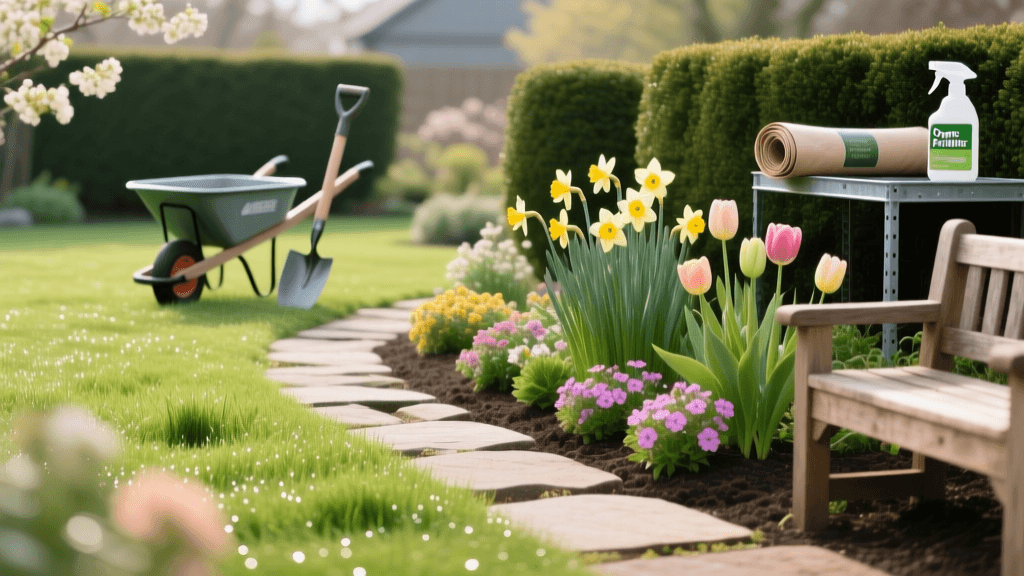
The Ultimate Spring Landscaping and Lawn Care Checklist
Introduction: The Spring Landscape Reset
Spring is the crucial reset button for your entire outdoor living space. After months of freezing temperatures, snow loads, and winter dormancy, your property requires a systematic approach to recover and thrive. A successful spring landscape revival goes far beyond simply mowing the grass; it requires a synchronized schedule that addresses hardscape integrity, garden bed preparation, drainage solutions, and precise turf management. For homeowners managing cool-season grasses like Kentucky Bluegrass, Tall Fescue, or Perennial Ryegrass, timing is everything. Applying the right products at the wrong soil temperature can waste money and harm your ecosystem. This comprehensive spring landscaping and lawn care checklist provides actionable, phase-by-phase instructions, complete with product recommendations, measurements, and cost estimates to help you achieve professional-grade curb appeal.
Phase 1: Early Spring Hardscape and Drainage Inspection (March)
Before you touch a single blade of grass, you must address the structural bones of your landscape. Winter's freeze-thaw cycles cause 'frost heave,' which can severely displace paver patios, walkways, and retaining walls. Start your spring checklist by inspecting all hardscaped areas.
Paver and Walkway Repair
Walk your patio and driveway edges. If you find sunken or raised pavers, carefully pry them up using a flathead screwdriver or specialized paver extractor. Remove the old base material and replace it with coarse, angular leveling sand (not play sand, which lacks interlocking properties). A 50-pound bag of paver base sand typically costs around $5 to $8. Use a rubber mallet to tap the pavers back into place, ensuring they sit flush with the surrounding surface. Finally, sweep polymeric sand ($30 to $40 per bag) into the joints and mist with water to lock them together and prevent weed growth.
Drainage and Retaining Wall Maintenance
Spring snowmelt and heavy rains will quickly expose drainage flaws. Inspect the weep holes at the base of your retaining walls. These small gaps are designed to let hydrostatic pressure escape. Use a wire brush or compressed air to clear out mud, debris, and dead leaves that may have clogged them over winter. Additionally, open all French drain and dry well catch basins. Remove accumulated silt and organic matter to ensure water can flow freely away from your home's foundation and landscape beds.
Phase 2: Garden Bed Preparation and Weed Prevention (April)
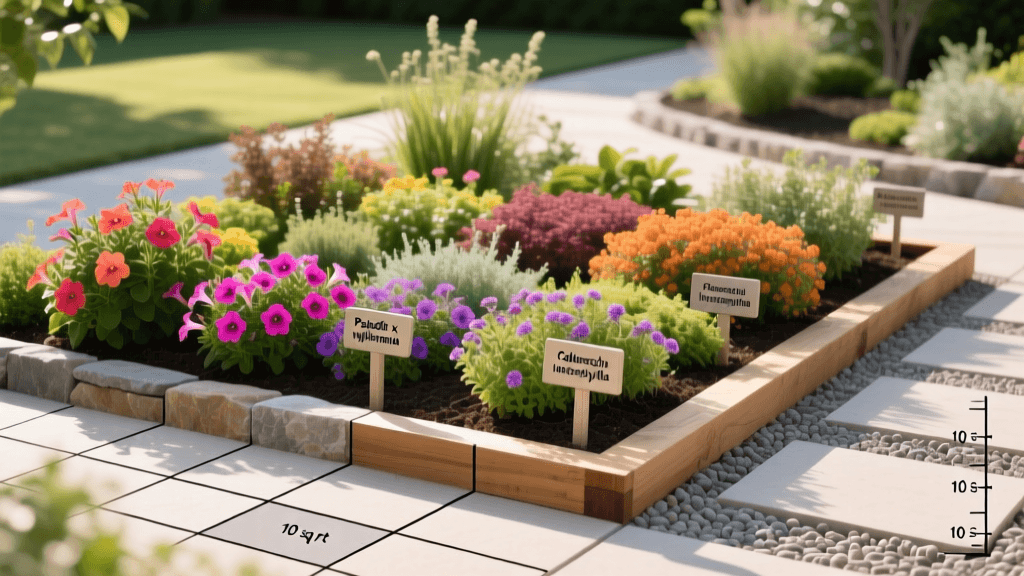
With the hardscape secured, shift your focus to your ornamental garden beds. Proper bed preparation in early spring sets the tone for a low-maintenance summer.
Edging and Bed Definition
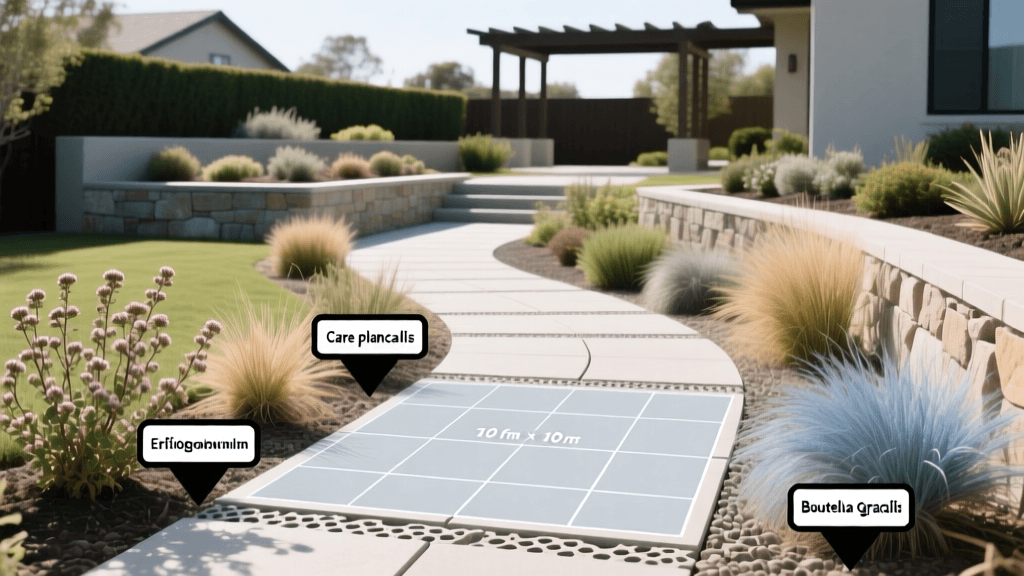
Crisp, defined edges instantly elevate the look of your landscape and create a physical barrier against encroaching turf grass. Using a half-moon edger or a motorized bed edger, cut a trench that is exactly 4 inches deep and 4 inches wide along the perimeter of your beds. This 'V-trench' method is highly effective at stopping rhizomatous grasses like Kentucky Bluegrass from invading your mulch beds. Leave the excavated soil in the bed to slightly elevate the planting area, which improves drainage for your ornamentals.
Pre-Emergent Weed Control and Mulching
Before applying fresh mulch, you must address weed seeds lying dormant in the soil. Apply a granular pre-emergent herbicide specifically formulated for ornamental beds, such as Preen Garden Weed Preventer. A standard 13-pound bag costs approximately $25 and covers up to 5,000 square feet. Apply it evenly using a handheld broadcast spreader and water it in lightly to activate the chemical barrier.
Next, refresh your mulch. According to Penn State Extension, maintaining a 2 to 3-inch layer of organic hardwood or pine bark mulch is ideal for conserving soil moisture and regulating temperature. However, avoid the common mistake of 'volcano mulching'—piling mulch high against the trunks of trees and shrubs. This traps moisture against the bark, leading to fatal fungal rot and inviting vole damage. Keep mulch at least 3 inches away from all woody stems.
Phase 3: The Cool-Season Turf Revival Schedule (April to May)
Managing cool-season turf in the spring requires a delicate balance. Your goal is to encourage deep root growth and prevent weeds without pushing excessive, weak top growth that will struggle during summer heat stress.
Tracking Soil Temperature for Crabgrass Prevention
Do not apply crabgrass pre-emergent based on the calendar or the blooming of forsythia bushes; rely on soil science. Crabgrass seeds germinate when soil temperatures reach 50°F to 55°F at a 2-inch depth for three consecutive days. Purchase a digital soil thermometer ($15 to $20) to monitor your lawn. Once the threshold is met, apply a pre-emergent containing dithiopyr (commonly sold as Dimension). Unlike older chemicals, dithiopyr offers early post-emergent control, meaning it will kill crabgrass even if it has just begun to sprout. Expect to pay around $60 to $80 for a commercial-grade bag covering 10,000 square feet.
Spring Fertilization and Mowing
According to turf specialists at the University of Minnesota Extension, spring fertilization for cool-season grasses should be light and carefully timed. Heavy nitrogen applications in May cause rapid blade growth at the expense of root development, leaving your lawn vulnerable to summer drought. Apply a slow-release, low-nitrogen fertilizer in late April or early May, aiming for no more than 0.5 to 1.0 pound of actual nitrogen per 1,000 square feet. Organic options like Milorganite ($25 for 5,000 sq ft) are excellent choices as they release nutrients slowly and contain iron for deep greening.
Begin mowing as soon as the grass reaches 3.5 inches. Set your mower deck to 2.5 inches for the first two cuts to remove winter-damaged tips and allow sunlight to reach the soil. By mid-May, raise your deck to a minimum of 3.5 inches. Taller grass shades the soil, naturally suppressing weed seed germination and retaining vital moisture.
Spring Landscaping and Lawn Care Cost and Timing Table
To help you budget and schedule your weekend projects, refer to the structured checklist below. Costs are estimates based on national averages for standard residential properties.
| Landscape Task | Ideal Timing | Recommended Product / Tool | Estimated Cost |
|---|---|---|---|
| Paver Leveling & Jointing | Early March | Polymeric Sand & Leveling Base | $45 - $60 |
| Garden Bed Edging | Late March | Half-Moon Manual Edger | $35 (Tool) |
| Ornamental Pre-Emergent | Early April | Preen Garden Weed Preventer | $25 / 5k sq ft |
| Hardwood Mulch Application | Mid April | Shredded Hardwood (Bulk) | $40 / cubic yard |
| Turf Crabgrass Preventer | Soil hits 50°F | Dithiopyr (Dimension) | $75 / 10k sq ft |
| Light Spring Fertilizer | Early May | Slow-Release Organic (Milorganite) | $25 / 5k sq ft |
Phase 4: Sustainable Upgrades and Irrigation (May)
As the weather warms and your landscape comes alive, May is the perfect time to implement sustainable landscaping practices that conserve water and reduce long-term maintenance.
Smart Irrigation and Drip Systems
If you rely on an in-ground sprinkler system, upgrade your standard timer to an EPA WaterSense-labeled smart controller. Devices like the Rachio or B-hyve use local weather data and soil moisture sensors to automatically adjust watering schedules, preventing overwatering during spring rain events. The EPA WaterSense program notes that smart irrigation can save the average home nearly 7,600 gallons of water annually. For your newly prepped garden beds, install a drip irrigation system. Drip lines deliver water directly to the root zone of your shrubs and perennials, reducing evaporation by up to 50% compared to overhead spray heads.
Rainwater Harvesting
Capitalize on spring showers by installing a rain barrel beneath your primary downspouts. A standard 50-gallon rain barrel ($80 to $120) can capture hundreds of gallons of free, chlorine-free water over the course of the season. Ensure your barrel is placed on a level, elevated base (like stacked concrete blocks) to provide adequate gravity-fed water pressure for your garden hose.
Conclusion
A pristine landscape is not the result of luck; it is the product of strategic timing, proper material selection, and consistent execution. By following this comprehensive spring checklist—starting with hardscape repairs, moving through precise garden bed preparation, and finishing with science-based turf management—you will build a resilient outdoor space. Stick to the schedule, monitor your soil temperatures, and invest in sustainable watering technologies to ensure your lawn and landscape remain the envy of the neighborhood from spring through the peak of summer.