Gardening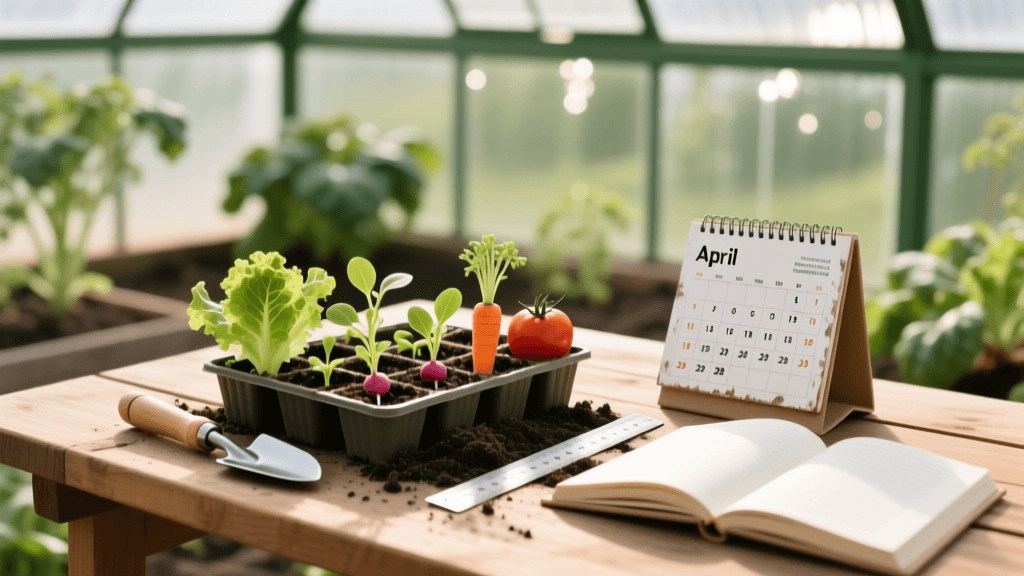
When to Start Spring Vegetable Seeds Indoors and Outdoors
The Foundation: Finding Your Last Spring Frost Date
Success in the vegetable garden is rarely an accident; it is the direct result of precise timing and careful observation. For home gardeners, the single most critical metric for spring planting is the average last spring frost date. This date acts as the anchor for your entire gardening calendar, dictating when seeds should be sown indoors under lights and when they can safely be transplanted or direct-sown into the garden soil. Planting too early risks losing tender seedlings to a surprise late freeze, while planting too late can result in stunted growth, reduced yields, or crops that fail to mature before the summer heat sets in or the first autumn frost arrives.
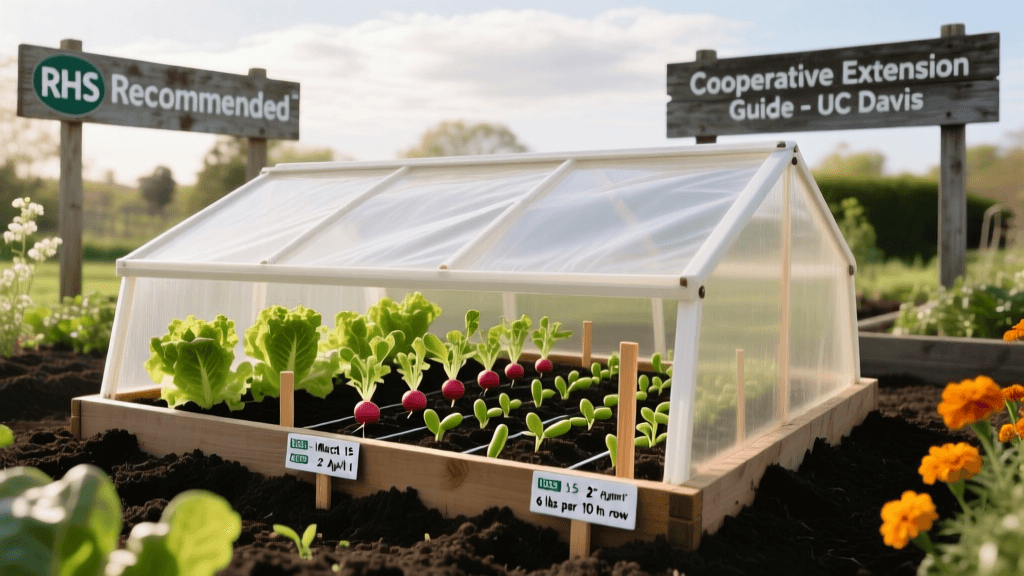
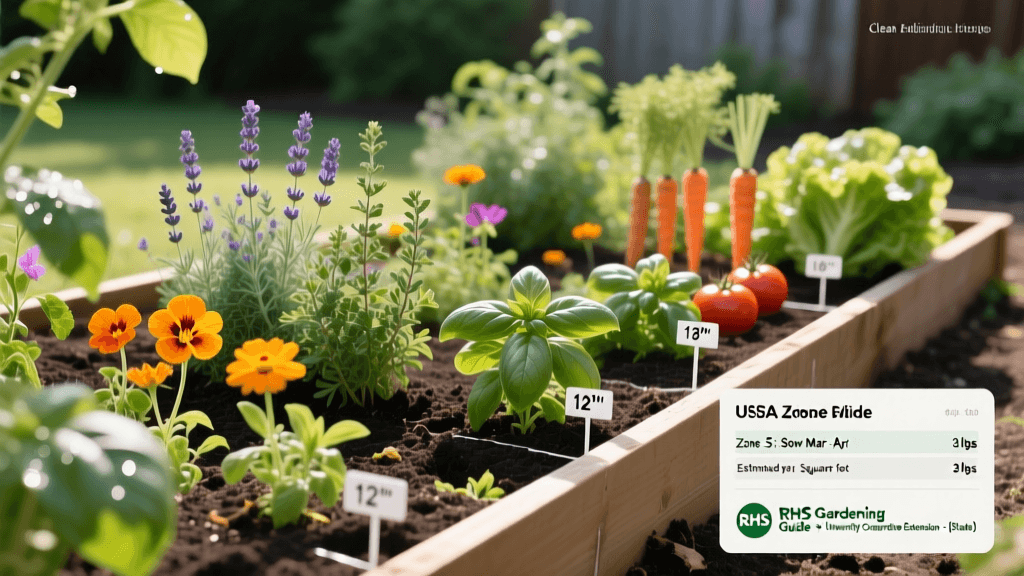
To find your specific last frost date, you must first understand your local climate zone. The USDA Plant Hardiness Zone Map is the standard reference tool used by gardeners and growers across the United States to determine which plants are most likely to thrive at a given location. However, hardiness zones primarily indicate minimum winter temperatures. For frost dates, local meteorological data or university cooperative extension offices provide the most accurate historical averages. Keep in mind that these dates are statistical averages, meaning there is always a slight risk of frost occurring after the projected date. Many experienced gardeners use a ten-day buffer after the last frost date before transplanting highly sensitive warm-season crops like tomatoes and peppers into unprotected garden beds.
Indoor Seed Starting: Beating the Clock
Starting seeds indoors allows you to artificially lengthen your growing season, giving warm-weather crops the necessary head start they need to produce a full harvest in regions with shorter summers. According to the University of Minnesota Extension, timing your indoor sowing correctly is vital to prevent seedlings from becoming root-bound or excessively leggy before the outdoor weather is suitable for transplanting.
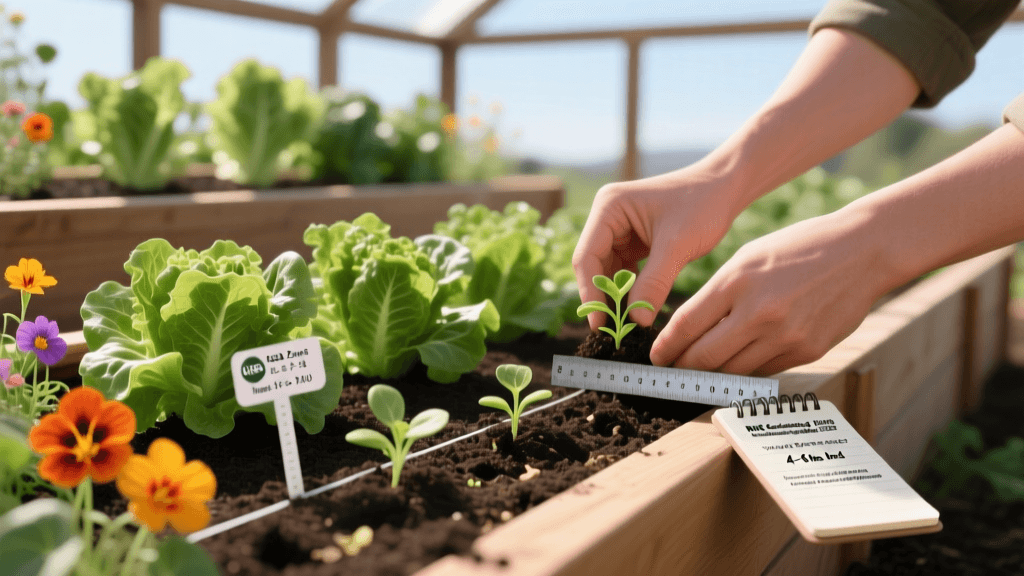
The general rule of thumb is to count backward from your last expected spring frost date based on the specific crop's required indoor growing time. Below is a structured timing guide for popular spring vegetables:
| Crop | Start Indoors (Weeks Before Last Frost) | Ideal Germination Temp | Transplant Outdoors |
|---|---|---|---|
| Onions (Seeds) | 10 to 12 weeks | 65-75°F | 4 weeks before last frost |
| Broccoli & Cabbage | 6 to 8 weeks | 65-75°F | 2 to 3 weeks before last frost |
| Tomatoes | 6 to 8 weeks | 70-80°F | 1 to 2 weeks after last frost |
| Peppers & Eggplant | 8 to 10 weeks | 75-85°F | 2 to 3 weeks after last frost |
| Lettuce & Spinach | 4 to 6 weeks | 60-70°F | 2 to 4 weeks before last frost |
| Zucchini & Cucumbers | 3 to 4 weeks | 70-85°F | 1 to 2 weeks after last frost |
Adhering to this schedule prevents the common mistake of starting seeds too early. Overgrown seedlings that sit in small cellular trays for too long will suffer from nutrient deficiencies, tangled roots, and transplant shock. Conversely, starting them too late means you will be planting small, vulnerable seedlings into the garden that may struggle to compete with early summer weeds and pests.
Essential Indoor Seed Starting Gear
Timing is only half the battle; providing the correct environment is the other. Seeds require specific conditions to break dormancy. A sterile, soilless seed-starting mix is highly recommended over garden soil or standard potting mix, as it provides the perfect balance of moisture retention and drainage while minimizing the risk of soil-borne diseases.
Temperature is a crucial trigger for germination. Using a seedling heat mat can significantly speed up germination times, especially for heat-loving crops like peppers and eggplants. Once the seeds have sprouted, the heat mat should be removed to prevent the delicate roots from cooking and to encourage the seedlings to focus energy on top growth rather than rapid, weak root expansion.
Lighting is the final critical component. A sunny windowsill is rarely sufficient for growing robust vegetable seedlings, as the light intensity is too low and the directional light causes seedlings to stretch and become 'leggy.' Utilizing adjustable LED or T5 fluorescent grow lights placed just two to three inches above the seedling canopy, and keeping them on a timer for fourteen to sixteen hours a day, will produce stocky, vigorous transplants ready for the garden.
Direct Sowing Outdoors: Timing by Soil Temperature
Not all vegetables benefit from being started indoors. In fact, many crops resent the transplanting process and perform much better when direct-sown into the garden bed. Root vegetables like carrots, radishes, parsnips, and beets should always be direct-sown, as disturbing their taproots can result in forked, deformed, or stunted harvests. Similarly, legumes like peas and beans, as well as large-seeded cucurbits, often thrive when planted directly in the earth.
When direct sowing, air temperature is less important than soil temperature. Seeds will not germinate in cold, wet mud; they will simply rot. Investing in a simple soil thermometer is one of the best purchases a gardener can make for accurate spring timing.
- Cool-Season Direct Sowing (Soil temps 40-50°F): Peas, spinach, radishes, carrots, and lettuce can be sown outdoors as soon as the soil is workable and has thawed, often two to four weeks before the last frost date.
- Mid-Season Direct Sowing (Soil temps 55-65°F): Beets, Swiss chard, and potatoes can be planted a couple of weeks before the last frost.
- Warm-Season Direct Sowing (Soil temps 65-75°F): Beans, corn, cucumbers, and squash must wait until all danger of frost has passed and the soil has thoroughly warmed, usually one to three weeks after the last frost date.
The Hardening Off Process: A 10-Day Timeline
When the calendar indicates it is time to move your indoor seedlings to the garden, you cannot simply take them from the protected, climate-controlled indoor environment and place them in full sun and wind. They must be 'hardened off.' This process acclimates the plant's cellular structure to handle ultraviolet light, wind, and temperature fluctuations. The Penn State Extension emphasizes that skipping this step will result in severe sunburn, windburn, and potentially the death of your carefully nurtured seedlings.
Follow this structured ten-day timeline for a successful transition:
- Days 1-3: Place seedlings in a fully shaded, sheltered outdoor location (like a covered porch) for two to three hours in the afternoon. Bring them back indoors at night.
- Days 4-6: Gradually increase outdoor time to four to six hours. Introduce them to dappled sunlight or morning sun, but protect them from harsh midday rays and strong winds.
- Days 7-8: Leave the seedlings outdoors in their future garden location for most of the day, including direct sunlight. Bring them in only if nighttime temperatures are forecasted to drop near or below freezing.
- Days 9-10: Leave the seedlings outdoors overnight in their garden beds, provided nighttime temperatures are safely above 45°F. They are now ready to be transplanted into the soil.
Common Seed Starting Mistakes to Avoid
Even with perfect timing, a few cultural mistakes can derail your spring garden. 'Damping off' is a fatal fungal disease that causes seedlings to pinch at the soil line and topple over. It is caused by overly wet conditions, poor air circulation, and contaminated soil. To prevent this, ensure your seed-starting mix is moist but never soggy, utilize a small oscillating fan to provide gentle airflow over the seedlings, and always use sterilized trays.
Another frequent issue is planting seeds at the incorrect depth. A reliable rule of thumb is to plant seeds at a depth equal to two or three times their width. Tiny seeds like lettuce and celery require light to germinate and should be barely pressed into the surface of the soil, while larger seeds like beans and squash should be buried an inch or more deep. Overwatering is the final major pitfall; water your seedlings from the bottom by placing the trays in a shallow basin of water, allowing the soil to wick moisture upward. This encourages deep root growth and keeps the surface of the soil dry, further deterring fungal pathogens.
By mastering the 'when-to' of seed starting, utilizing soil temperature data, and respecting the hardening-off period, you transition from simply hoping for a good harvest to actively engineering a highly productive, resilient spring vegetable garden.