Pest Control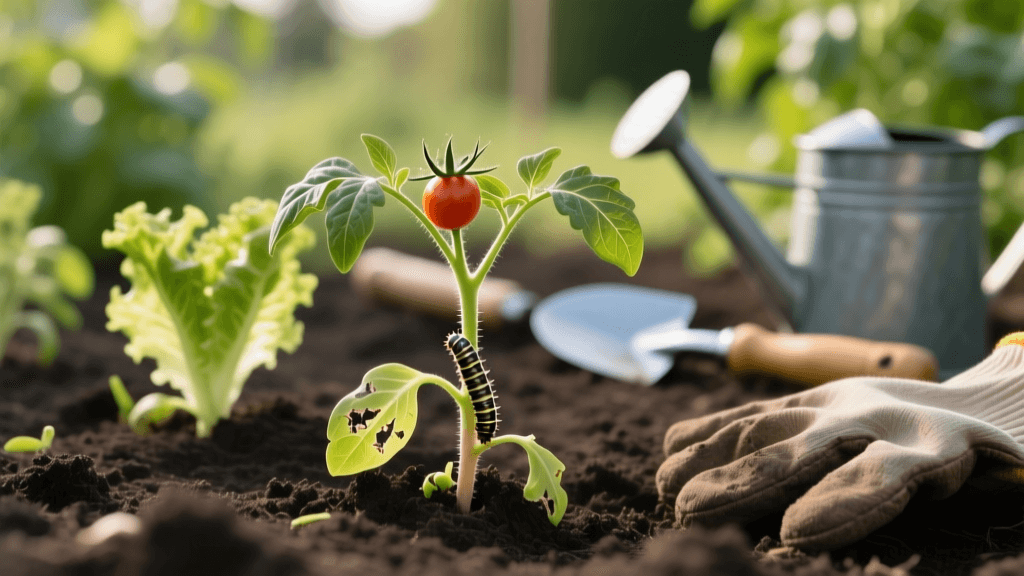
Beginner Guide to Stopping Cutworms in Vegetable Gardens
The Heartbreak of Severed Seedlings: Meet the Cutworm
Starting your first vegetable garden is an exciting milestone. You spend weekends building raised beds, carefully select heirloom tomato and pepper seeds, and diligently nurture your seedlings indoors. Finally, the day comes to transplant them into the garden. But then, the unthinkable happens: you walk out to your garden the very next morning to find your prized seedlings severed cleanly at the soil line, lying limp and dead on the dirt. As a beginner gardener, it is easy to feel defeated and blame yourself for poor planting techniques. However, you are likely the victim of one of the most notorious garden villains: the cutworm.
Cutworms are notorious for destroying young, tender transplants overnight. Because they hide in the soil during the day and feed under the cover of darkness, they are rarely seen by new gardeners, making them seem like a mysterious and frustrating force of nature. Fortunately, with a basic understanding of their behavior and a few inexpensive, beginner-friendly Integrated Pest Management (IPM) strategies, you can easily protect your vulnerable plants and ensure a thriving harvest.
Identifying the Culprit: What Exactly is a Cutworm?
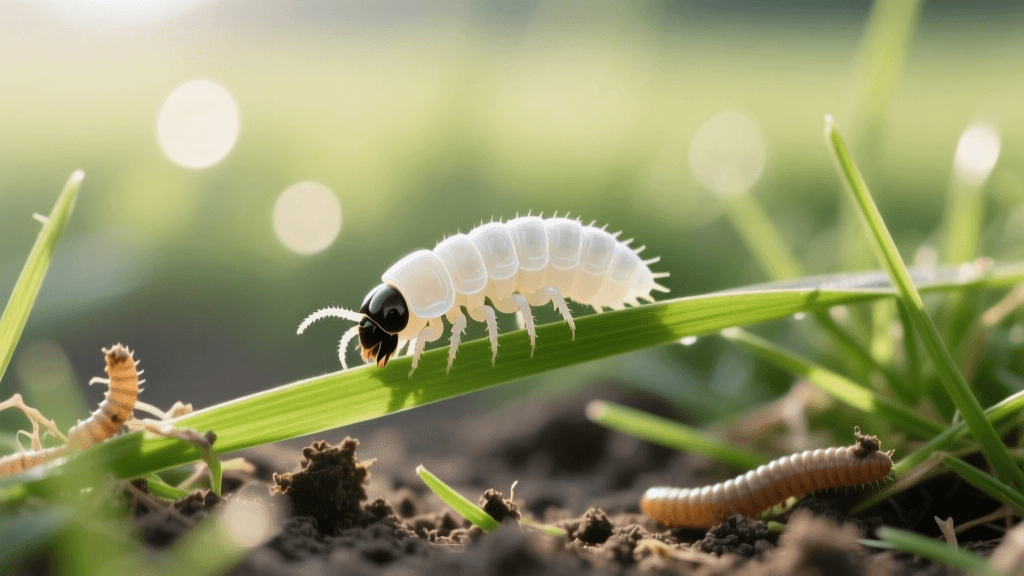
Despite their name, cutworms are not actually worms. They are the larval stage (caterpillars) of various species of night-flying moths belonging to the family Noctuidae. The most common offenders in home gardens include the black cutworm (Agrotis ipsilon), the variegated cutworm (Peridroma saucia), and the army cutworm (Euxoa auxiliaris).
Physical Characteristics
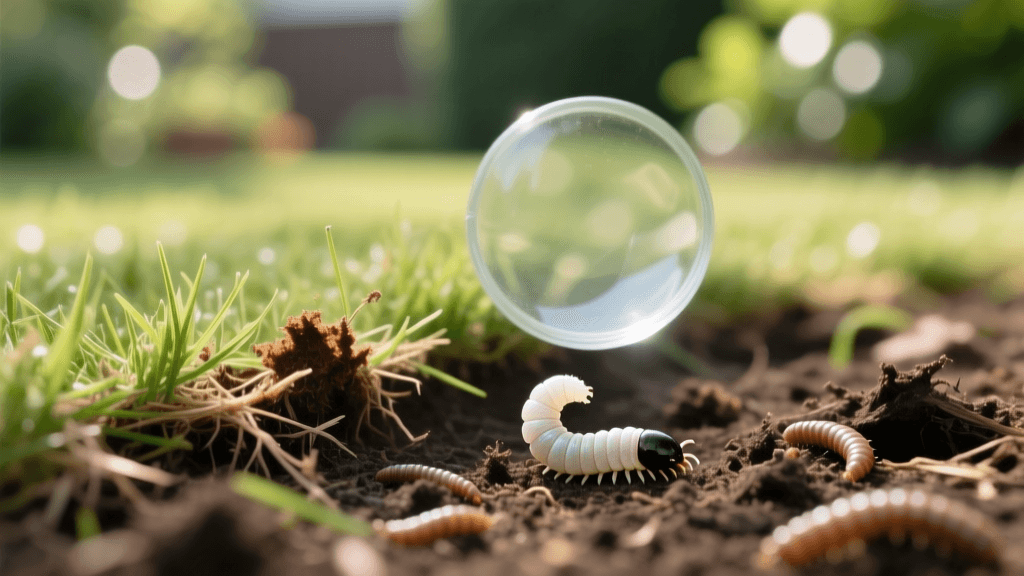
If you dig an inch or two into the soil near a damaged plant, you will likely find the culprit. Cutworms are typically plump, smooth-skinned caterpillars ranging from one to two inches in length. Depending on the species, they can be gray, brown, black, or even greenish, often with faint stripes or spots down their backs. The most defining behavioral trait of a cutworm is its defensive posture: when disturbed, it immediately curls up into a tight "C" shape and remains perfectly still until the threat passes.
The Moth Life Cycle
Understanding the life cycle is crucial for timing your prevention efforts. Adult moths lay their eggs in tall grass, weeds, or garden debris in late summer and fall. The eggs hatch into tiny larvae that either overwinter in the soil or feed on early spring weeds before pupating. By late spring, the mature larvae are actively feeding on the stems of your newly planted vegetables. They then pupate in the soil, emerging as adult moths in late summer to start the cycle all over again.
Spotting Cutworm Damage vs. Other Pests
Beginners often confuse cutworm damage with issues caused by slugs, snails, or even rabbits. Here is how to tell the difference:
- Cutworms: The stem is chewed completely through, usually right at or slightly below the soil line. The top of the plant is left lying next to the root stub. You will not see bite marks on the leaves.
- Slugs and Snails: These pests leave irregular, ragged holes in the leaves and stems, accompanied by shiny, slimy mucus trails on the soil and plant foliage.
- Rabbits or Deer: These animals leave clean, angled cuts on the stems, but they typically eat the top of the plant rather than leaving it lying on the ground. The cuts are also usually higher up on the stem.
Beginner-Friendly Prevention Strategies
In the world of Integrated Pest Management (IPM), prevention is always cheaper and more effective than treatment. As a new gardener, implementing these cultural and physical controls will save you time, money, and heartbreak.
The Cardboard Collar Method
This is the single most effective, low-cost physical barrier you can use to protect transplants. Cutworms must wrap their bodies around the stem to chew through it; if they encounter a barrier, they will usually give up and move on.
- Save your empty toilet paper or paper towel cardboard tubes.
- Cut them into 3-inch sections.
- When transplanting your seedlings, place a cardboard collar around the base of the plant.
- Push the collar about one inch into the soil, leaving two inches exposed above the soil line.
- The collar will naturally biodegrade in the soil after a few weeks, by which time your plant's stem will have thickened and hardened enough to resist cutworm attacks.
Alternative Materials: If you do not have cardboard, you can use aluminum foil, plastic solo cups with the bottoms cut out, or even rings of wax paper. The cost is virtually zero, making it perfect for beginners on a budget.
Garden Bed Maintenance and Timing
Cutworm moths prefer to lay their eggs in weedy, overgrown areas. Keep your garden beds completely weed-free in the fall and early spring to remove preferred egg-laying sites. Additionally, if possible, delay planting your most vulnerable transplants (like tomatoes and peppers) until early summer. By late June, the first generation of spring cutworms will have finished feeding and pupated, significantly reducing the threat to your plants.
Organic and Chemical Treatment Options
If prevention fails and you notice active damage, it is time to intervene. Fortunately, there are several highly effective, low-toxicity treatments available at any local garden center.
Bacillus thuringiensis var. kurstaki (Bt)
Bt is a naturally occurring soil bacterium that produces a protein toxic only to caterpillars. When a cutworm ingests Bt sprayed on the foliage or soil surface, it stops feeding immediately and dies within a few days. It is completely safe for humans, pets, and beneficial insects like bees.
- Recommended Product: Monterey B.t. or Thuricide.
- Cost: Approximately $12 to $15 for a 16 oz liquid concentrate.
- Application Rate: Mix 2 tablespoons per gallon of water.
- Timing: Spray the base of the plants and the surrounding soil in the late afternoon or at dusk, as UV light degrades Bt and cutworms feed at night.
Spinosad
Spinosad is derived from a naturally occurring soil actinomycete bacterium. It works both through ingestion and contact, causing rapid nervous system failure in cutworms. It is highly effective but should be applied in the evening to avoid harming foraging bees, as it is toxic to bees when wet (though safe once dry).
- Recommended Product: Bonide Captain Jack's Deadbug Brew.
- Cost: Approximately $18 to $22 for a 32 oz ready-to-spray bottle.
- Application Rate: Apply directly to the soil surface around the plant base.
- Timing: Apply at dusk. Repeat every 7 to 10 days if damage continues.
Beneficial Nematodes
For a purely biological approach, beneficial nematodes are microscopic worms that you water into your soil. They actively hunt down and infect cutworm larvae hiding in the dirt during the day.
- Recommended Product: Arbico Organics NemAttack (Heterorhabditis bacteriophora).
- Cost: Approximately $30 for 10 million nematodes (treats up to 2,000 sq ft).
- Application: Mix with water and apply using a watering can or hose-end sprayer.
- Timing: Apply in the early evening when soil temperatures are above 60°F. The soil must remain moist for a week after application.
Comparison Chart: Cutworm Control Methods
Use the table below to choose the best cutworm management strategy for your specific garden size, budget, and comfort level.
| Control Method | Estimated Cost | Best Used For | Beginner Difficulty | Environmental Impact |
|---|---|---|---|---|
| Cardboard Collars | $0 (Recycled) | Small raised beds, container gardens | Very Easy | Zero impact |
| Bt (Bacillus thuringiensis) | $12 - $15 | Large gardens, heavy caterpillar pressure | Easy (Requires mixing) | Very low (Target specific) |
| Spinosad | $18 - $22 | Severe infestations, multiple pest types | Easy | Low (Caution around wet bees) |
| Beneficial Nematodes | $30+ | Preventative soil drench, long-term control | Moderate (Requires soil moisture management) | Zero impact (Beneficial) |
| Diatomaceous Earth | $10 - $15 | Dry climates, perimeter defense | Easy (Requires reapplication after rain) | Low (Can harm ground beetles) |
Expert Insights and Authoritative Guidance
When dealing with soil-dwelling pests, understanding their environmental triggers is key to successful management. According to the University of Minnesota Extension, cutworm outbreaks are often highly localized and weather-dependent. Their entomologists note that "cutworms are usually worse in low, wet areas of the garden where the soil is heavy and poorly drained." Furthermore, they advise home gardeners to monitor their plots closely at night with a flashlight, as hand-picking the larvae during their active feeding hours is one of the most effective, non-chemical control methods available for small-scale gardens.
"Scout your garden at night with a flashlight. You can often find cutworms on the soil surface or climbing on plants. Hand-pick them and drop them into a bucket of soapy water. This simple, free method can drastically reduce the population in a small home garden without the need for chemical interventions."
— University of Minnesota Extension, Integrated Pest Management Guidelines for Home Gardens
Final Thoughts for New Gardeners
Encountering cutworms is practically a rite of passage for beginner vegetable gardeners. While finding severed seedlings is incredibly discouraging, it is important to remember that gardening is a process of observation and adaptation. By utilizing free physical barriers like cardboard collars, maintaining a weed-free garden bed, and keeping a bottle of organic Bt on hand for emergencies, you can easily outsmart these nocturnal pests. Do not let a few hungry caterpillars derail your growing journey. Replant those lost tomatoes, secure their bases, and look forward to a bountiful, pest-free harvest.