Tree Care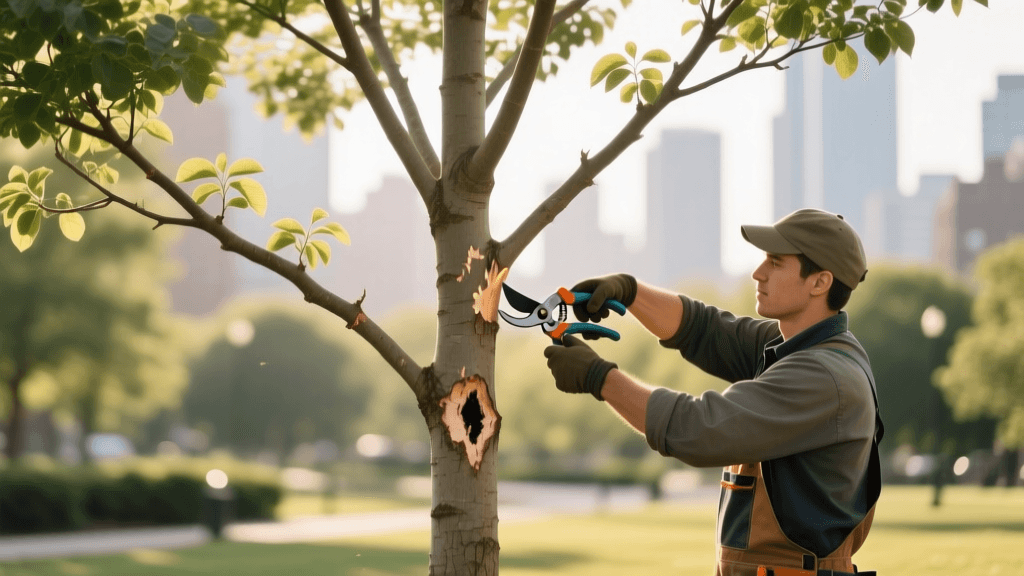
Expert Structural Pruning Guide for Young Shade Trees
Why Structural Pruning Matters for Young Shade Trees
When you purchase a young shade tree from a commercial nursery, it has likely been pruned to maximize vertical growth and fit into tight shipping containers. While this creates an attractive, tall sapling on the sales lot, it often results in a tree with multiple competing leaders, weak branch unions, and poorly spaced scaffold branches. If left uncorrected, these structural defects become permanent liabilities as the tree matures, significantly increasing the risk of catastrophic limb failure during storms. Structural pruning is the proactive process of guiding a young tree's growth to develop a strong, resilient architecture capable of supporting its own weight and withstanding severe weather.
The Optimal Timing and Frequency for Pruning
Timing is critical when making pruning cuts on young trees. The absolute best time to perform structural pruning is during the late winter or early spring, just before the spring growth flush begins. In most USDA Hardiness Zones, this falls between late February and early March. Pruning during dormancy minimizes stress on the tree, reduces the risk of disease transmission (as many fungal spores and insect pests are inactive), and allows the tree to rapidly compartmentalize the wounds once spring growth commences.
Frequency is equally important. Young shade trees should be structurally pruned every two to three years for the first 15 to 20 years of their life. If you are managing a large landscape, hiring an International Society of Arboriculture (ISA) Certified Arborist for young tree pruning typically costs between $150 and $300 per visit, depending on the tree's size and accessibility. However, for homeowners willing to learn, DIY pruning is highly manageable for trees under 15 feet tall.
Essential Tools and Budgeting for Precision Cuts
Using the correct, high-quality tools ensures clean cuts that heal quickly. Ragged or torn bark invites pathogens and delays the compartmentalization process. Here is the expert-recommended toolkit for young tree pruning:
- Bypass Hand Pruners: Invest in a professional-grade pair like the Felco 2 Classic (approximately $60). Bypass pruners make clean, scissor-like cuts on live wood up to 1 inch in diameter. Avoid anvil pruners, which crush live tissue.
- Folding Pruning Saw: For branches between 1 and 4 inches thick, a Silky Gomboy folding saw with a 210mm or 240mm blade (approximately $45 to $55) offers unparalleled cutting speed and leaves a remarkably smooth finish.
- Pole Pruner: For reaching higher scaffold branches without a ladder, a Corona or Fiskars telescoping pole pruner ($70 to $120) provides safe, ground-level access up to 14 feet.
- Sterilization Solution: Always keep a spray bottle of 70% isopropyl alcohol on hand. Spray your blades between every single tree, and immediately after cutting any diseased wood, to prevent the spread of pathogens like fire blight or verticillium wilt.
The Expert 5-Step Structural Pruning Method
The modern framework for structural pruning was heavily developed and popularized by Dr. Edward Gilman at the University of Florida IFAS Extension. His research-based methodology is the gold standard for urban forestry. Follow these five sequential steps during every pruning session:
Step 1: Remove the Three Ds
Begin by removing all Dead, Diseased, and Damaged wood. This clears your view of the canopy and immediately improves the tree's health profile. Make these cuts back to the nearest healthy branch union or the trunk.
Step 2: Identify the Central Leader
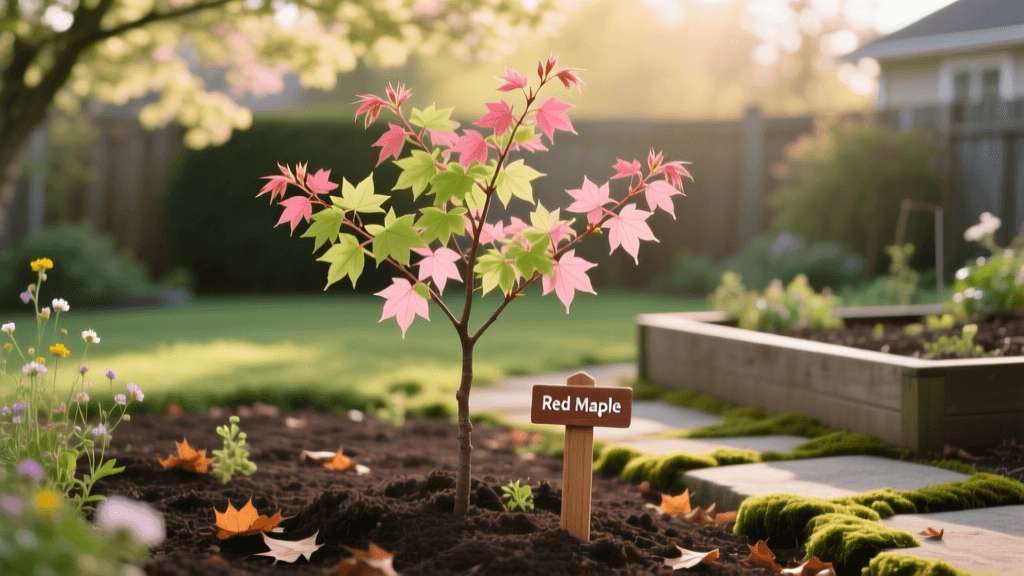
Most shade trees (like oaks, maples, and ashes) perform best with a single, dominant central leader that extends to the top of the canopy. Identify the straightest, healthiest, and most vigorous upward-growing stem. This will be your primary trunk.
Step 3: Remove or Subordinate Competing Leaders
If your tree has multiple stems vying for the top (codominant stems), you must eliminate the competition. If the competing leader is small, remove it entirely. If it is large and contributes significantly to the canopy's foliage, subordinate it by making a reduction cut, shortening it so that it is clearly secondary to the main leader.
Step 4: Select the Lowest Permanent Scaffold Branch
Determine the desired clearance height for the mature tree based on its location. For trees near sidewalks or streets, the lowest permanent branch should eventually be 8 to 12 feet off the ground. For trees in open lawns, 4 to 6 feet is acceptable. Select a strong branch with a wide crotch angle (ideally 45 to 90 degrees) to serve as this lowest permanent limb, and remove any large branches growing below it.
Step 5: Space the Remaining Scaffold Branches
Look at the remaining primary branches. They should be spaced vertically 14 to 18 inches apart along the trunk and distributed radially like the spokes of a wheel. Remove branches that are growing too close together, rubbing against one another, or growing inward toward the center of the canopy.
Understanding Pruning Cuts and Tree Anatomy
Knowing exactly where to place your pruning shears is the difference between a healthy tree and a decaying one. Trees do not 'heal' in the human sense; they 'seal' or compartmentalize damage by growing specialized barrier zones around the wound. To facilitate this, you must understand the branch collar and the branch bark ridge.
According to the University of Florida IFAS Extension, 'A proper pruning cut is made just outside the branch collar. The collar is the swollen area at the base of the branch. Cutting flush with the trunk removes the collar and damages the trunk tissue, leading to decay and poor wound closure.'
Never make a flush cut. Always leave the collar intact. Conversely, do not leave a long stub, as the tree cannot effectively grow callus tissue over dead wood, leaving a permanent entry point for rot.
Comparison of Pruning Cut Types
| Cut Type | Description | Best Use Case |
|---|---|---|
| Removal Cut | Removes a branch entirely back to its point of origin (the trunk or a larger parent branch), cutting just outside the branch collar. | Eliminating competing leaders, removing dead wood, and thinning out crowded scaffold branches. |
| Reduction Cut | Shortens a branch by cutting it back to a lateral branch that is at least one-third the diameter of the removed portion. | Subordinating codominant stems, reducing the length of overly vigorous branches, and maintaining clearance. |
| Heading Cut | Cuts a branch back to a bud or an arbitrary point between nodes, leaving no lateral branch to assume terminal growth. | Avoid in shade trees. This stimulates dense, weak, watersprout growth and ruins natural canopy architecture. |
Critical Measurements and Rules of Thumb
To maintain structural integrity, adhere to the 50% Rule: Never allow a single lateral branch to grow larger than 50% of the trunk's diameter at the point where it attaches. If a branch is thicker than half the trunk, it is not a branch; it is a codominant stem. Large branches have weaker unions and are highly susceptible to splitting. If you find a branch violating this rule on a young tree, use reduction cuts over several years to slowly subordinate its growth until the trunk regains dominance.
Additionally, monitor crotch angles. Branches with narrow, V-shaped crotch angles (less than 30 degrees) often develop included bark—bark that gets pinched inside the joint, preventing strong wood-to-wood attachment. These branches are prime candidates for storm failure and should be removed or heavily subordinated while the tree is still young and the cuts are small.
Common Mistakes to Avoid
Even well-intentioned gardeners can severely damage young trees through improper techniques. Avoid these critical errors:
- Lion's Tailing: This is the practice of stripping all the inner lateral branches off a primary limb, leaving foliage only at the very tip. This shifts the weight to the end of the branch, increasing the lever arm and making the limb highly prone to snapping in high winds. It also sunburns the exposed bark.
- Topping: Indiscriminately cutting off the top of the tree to reduce height. This triggers a massive, stressful survival response, resulting in dozens of weakly attached watersprouts that will eventually break.
- Over-Pruning: Never remove more than 25% of a young tree's live canopy in a single season. Removing too much foliage starves the root system and stunts overall growth.
Post-Pruning Care and Wound Management
Once the pruning is complete, your focus must shift to supporting the tree's recovery. Do not apply pruning paint, wound sealants, or tar to the cuts. Decades of arboricultural research have conclusively proven that these products trap moisture against the wound, accelerate decay, and inhibit the natural callus formation process. Leave the cuts exposed to the air.
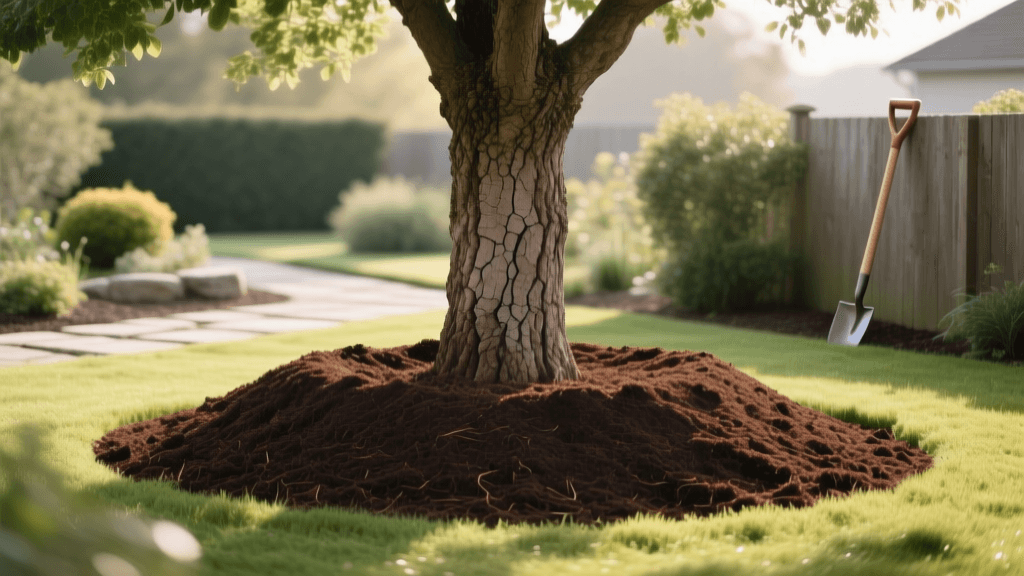
Watering is crucial after pruning. A young tree requires approximately 10 gallons of water per inch of trunk diameter (measured at knee height) per week during the growing season. Use a slow-release soaker hose or tree watering bag to ensure the water penetrates deeply into the root zone. Finally, apply a 2 to 4-inch layer of organic wood chip mulch over the root zone to retain moisture and regulate soil temperature. Keep the mulch strictly 3 inches away from the trunk flare to prevent collar rot and rodent damage. By combining expert structural pruning with meticulous aftercare, you will establish a magnificent, storm-resistant shade tree that will thrive for generations.